


Easy, Small Charcuterie Board for Two
Charcuterie boards are a great way to showcase your best cheese and meats. They're also perfect for parties and dinner parties. In this guide, we'll walk you through all the steps of assembling a charcuterie board so you can easily create one yourself!
Choose your favorite cheeses and meats. Of course, you want them to look good and taste delicious, so choose some you like! I'd recommend starting with a variety of meats and then adding in some cheeses—like one soft cheese (like Brie) and one hard cheese (like cheddar). For snacks, try dried fruit or nuts in addition to crackers.
Finally, pick out a board that is big enough for all the items but doesn't take up too much space on your table. If possible, measure the surface area of your table before buying anything else, so there's no last-minute scrambling for another surface when everyone shows up!
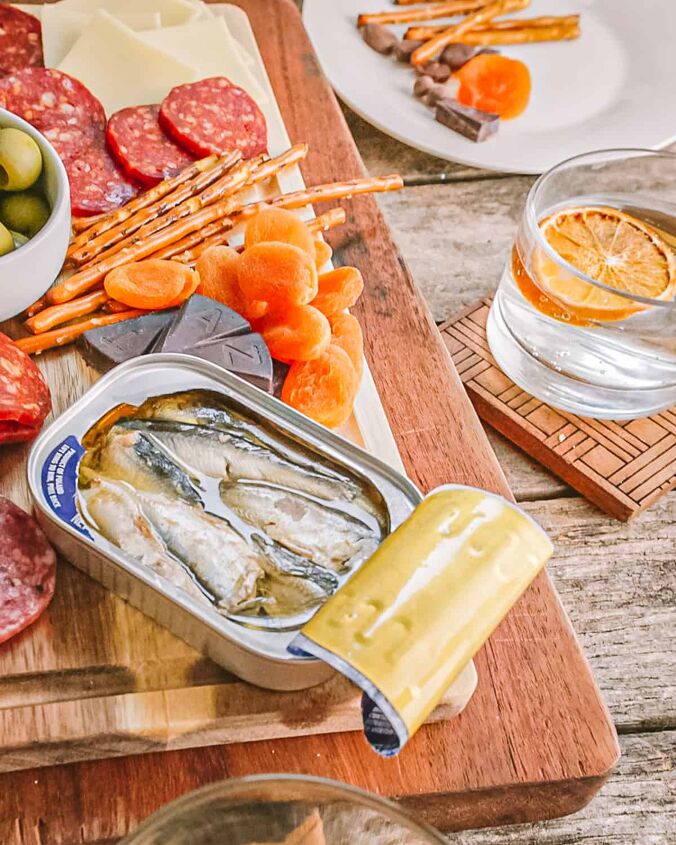
Charcuterie boards bring people together around good food! You can serve it at a party or just as an appetizer for two, and it's also a delicious dinner option. The critical components of a charcuterie board are cheese, meats, and snacks. You can buy these items pre-packaged at your local grocery store to make things easy. If you are looking to make our own board, here's what you will need:
- Cheese (I recommend Brie)
- Meats (I recommend Genoa Salami)
- Crackers (I recommend Wheat Thins)
- Snacks (I recommend nuts like almonds)
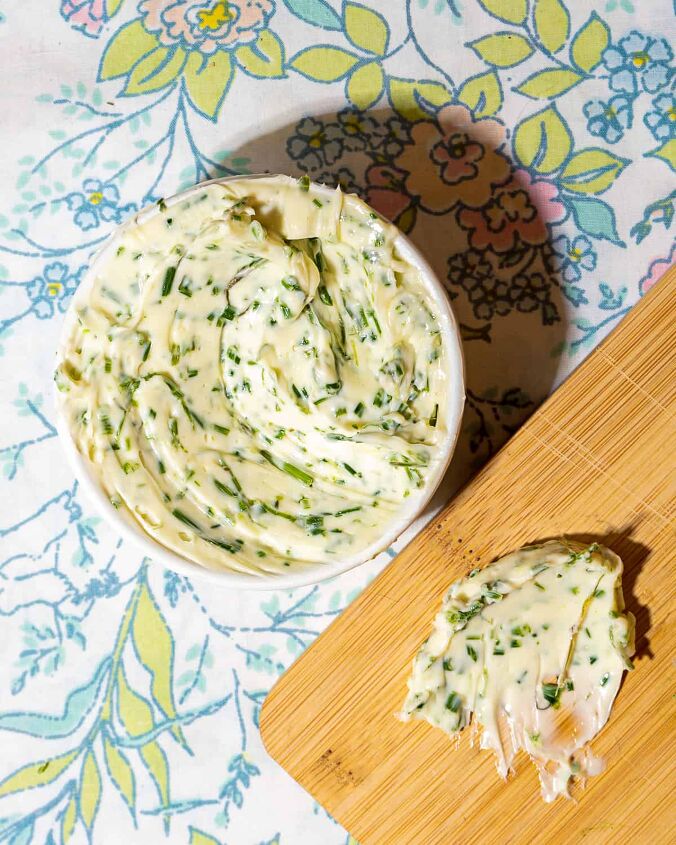
Your board will never be complete without a variety of cheese. There are so many options out there that it can be hard to decide which one is best for your charcuterie board, but the most important rule of thumb is this: make sure the cheese is the first thing you add to your board.
This will ensure that all of your guests have at least one bite of cheese before they move on to something else—which means everyone gets their fair share!
When deciding what kind of cheese you want, it's best to go with something soft and creamy like Brie or camembert. These types are less likely than harder cheeses (like cheddar or parmesan) to crack when sliced into thin pieces, so they're easier on both you and those who are consuming them later in life if they happen upon some leftover nibbles from a party held years ago without knowing what was actually inside those little containers beforehand!
The most common meat used in charcuterie boards are:
- cured meats (such as prosciutto, coppa or salami)
- Fresh sausages (such as mortadella or boudin blanc)
- Terrines
- Spreadable meets (pates, nduja)
Here are a few of my favorite cured meats:
- prosciutto di parma - Prosciutto is Italian dry-cured ham, usually made from pork. It's very lean and has a deep red color. You can find it by itself or pair it with melon on charcuterie boards.
- Soppressata - A spicy Italian sausage traditionally made from pork and served uncooked, sliced thin, or rolled into balls called salsicce in Italy.
Crackers and bread round out aboard. They can be served with cheese, meats, and spreads. Crackers can also be served with pickled vegetables, nuts, and dips.
There are many types of crackers that you can choose from for your charcuterie board, including:
- Rye bread
- Sourdough bread
- Flavorful grain crackers (e.g., wheat berries)
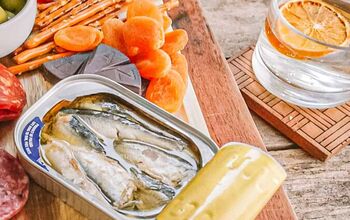
Here are some suggestions for snacks:
- Nuts and dried fruits (almonds, peanuts, cashews)
- Pickles and olives (gherkins, stuffed olives)
- Crackers and bread (pumpernickel sticks, crackers with cheese or jam spreads on them)
- Olive oil and vinegar for dipping your snacks in! Make sure you have enough for all your guests!
Fillers are the fun part of a charcuterie board, as they add color and texture to the presentation. Your opportunity to experiment with colors, textures, and shapes gives your board a nice pop.
Fruits: Strawberries are particularly significant because you can make them look like flowers! Oranges are another popular option—just slice them into rounds or wedges and arrange them on top of the spreadable cheese option(s). Cut the larger pieces of fruit into slices for people who prefer it. If you want to go all-out with fruits on your board, consider adding grapes or kiwis too!
Nuts & seeds: Walnuts and almonds are perfect for adding some crunchiness while still keeping things light enough not to overpower any other ingredients in the display. Pecans also work well due to their rich flavor profile; try mixing them with dried cranberries for added sweetness (and extra antioxidants!)
Vegetables: For an elegant touch without overdoing it on calories per serving size (unless everyone wants veggies), consider using bell peppers instead of celery sticks as dippers for spreads like mustard or peanut butter
- Wood, marble, or glass. There are a lot of different materials to choose from in terms of your board. If you're on a budget and want something that looks nice and can get the job done, the safest option is usually wood—it's more durable than some other materials and won't break if you drop it. However, if you have a little bit more money to spend or just love experimenting with food presentation (like me), I'd suggest looking into marble or glass boards—they're pretty to look at and will last for years!
- Size matters! As for size, I recommend going with one about 24" x 15". This will be big enough for most people without being too cumbersome or hard to move around; plus, it'll fit on most counters without taking up too much room."
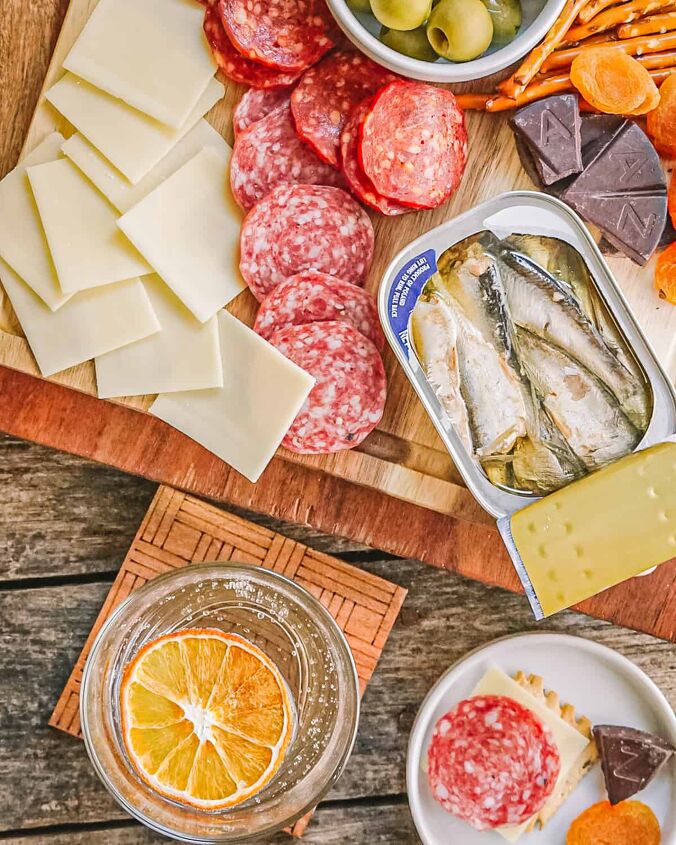
For your charcuterie board, you'll want to choose a variety of meats and cheeses. Let's start with the former. If you're using a deli counter for meats, ask for slices about ¼" thick or less—these will be easier to cut into small pieces.
For the best flavor and tenderness, select meat from the middle of the loin (the section between the ribs and tail) because this is where most of the fat resides.
When choosing your cheeses, choose two or three different varieties: one hard cheese like cheddar or gouda; one soft cheese like brie or goat cheese; and perhaps an aged cow's milk cheese like parmesan or gouda.
If your store doesn't have pre-sliced deli meats ready to go onto your board, don't fret! You can easily slice them before bringing them to your party—just use a sharp knife (keep it in hot water between cuts) and make sure each piece is uniform in thickness and size, so it looks nice on display!
There are many types of cheese, but generally, you want to find cheeses that are similar in texture and don't have too much flavor overlap. For example, you wouldn't like blue cheese on a charcuterie board because it will overpower the other flavors.
Here are some tips when selecting your cheeses:
• The best way to cut cheese is with an extremely sharp knife or wire. You can buy these at any kitchen store; they usually carry a case for easy transport if you have friends over for dinner!
• When serving your cheese, ensure everyone gets spreadable variety because these tend to melt more quickly than harder ones like cheddar or gouda. Spreadable include ricotta Salata, goat's milk chèvre (this one comes from France), and Danish blue (this one is expensive). Some people also like double-crust crackers; they're great on their own but even better when paired with spreads!
• Store any leftover portions in small plastic containers so they don't dry out over time—if there's still moisture inside those containers, then everything should keep nicely until next week's brunch gathering at my place 🙂
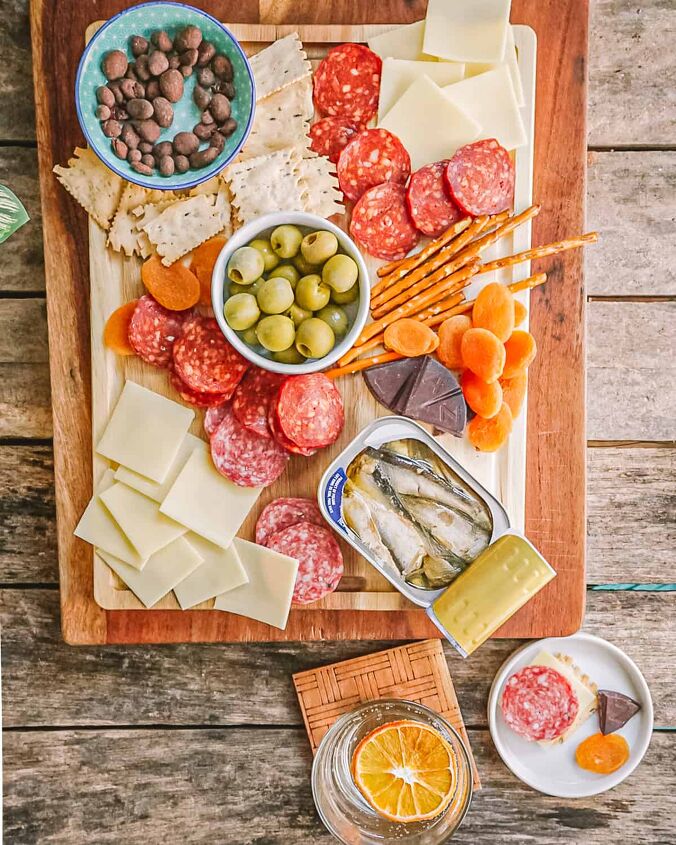
These boards can be easy to make, but they can also be tricky to pull off. So the first step in assembling your board is to lay it all out. First, pick out the meats and cheeses you want on your board (you can always add them later).
Hold back on the fillers like olives until later because they tend to get lost among everything else if you put them in beforehand.
Now it's time for cheese! First, slice any large pieces into smaller servings and arrange them overtop of each other diagonally from left side up towards right side down so as not only do they look nice when set upon this diagonal angle but also so that guests can easily see what type of cheese is available—this way no one will miss out on tasting something delicious just because they might not know how many different types there are!
Next comes meat: slice thinly across the grain if possible (this makes slicing easier), then simply lay these slices down directly overtop of each other until finished with both types being placed side by side in the same direction as earlier mentioned; now take note: DO NOT OVERLOAD YOUR BOARD WITH MEAT OR CHEESE AT THIS POINT IN TIME.
Then, place your crackers or bread at either end of your board, followed by snacks like dried fruits and nuts in small bowls or paper cups.
- Place your bowls on the board
- Add your cheeses
- Layer in the meats
- Add crackers and other accouterments as desired
The second step is adding your cheeses. Again, the order in which you do this is up to you, but I like to start with the softer, mild cheeses so that they have time to get a little flavor from the other ingredients on the board. This way, when I add stronger-flavored foods and spices, later on, my palate isn't overwhelmed by an overwhelming taste of cheese.
Next, cut all your hard cheeses into small pieces; slice them into thin strips or crumble them overtop as crumbles or croutons if they are soft enough.
Soft cheeses should be added next (again in any order). Soft cheeses can vary greatly in texture and flavor—think about mixing different types together for an even greater variety! Add these last so that they don't overpower everything else on your board before it has had a chance to meld together (and also so that anyone who might be sensitive to lactose doesn't feel sick after eating tons of cheese).
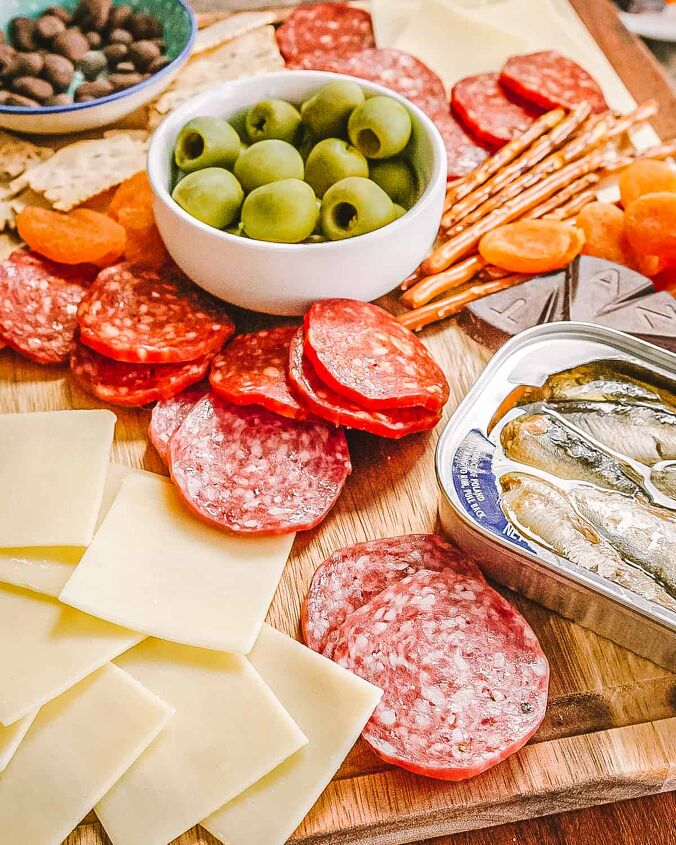
The next step is to layer in the meats. You can put out as many types of meat as you want, but try to include a variety from different regions and even countries if possible. I like to include beef, pork, poultry, and game; however, you can use whatever you have on hand, or that's available locally. The key is to be sure that there are at least four or five kinds of meat, so it feels substantial enough for a group of people (or just yourself).
Add a variety of crackers. I love using different kinds of bread (you can buy them pre-cut at the store) and make my own crackers by spreading butter on bread slices, then sprinkling with salt + pepper + herbs before baking them until crisp! Yum!
- Add a variety of meats and cheeses. I like to use cured meats, fresh sausages, and cheese.
- Add a variety of snacks: nuts or seeds, olives, pickles, or relish (for example).
- Fill in empty spaces with other fillers: fruit such as grapes or strawberries; veggies such as radishes or peppers; bread sticks/french bread cut into squares with toothpicks sticking out from underneath each piece so guests can quickly grab one off without having to go through all the trouble of turning over the board every time they want something else...this is especially useful if there are children at your party 😉
- Garnish with any remaining ingredients from steps 3&4: herbs such as chives; fruits such as grapes/strawberries, etc.
To serve a charcuterie board, you will need the following:
A cheese board or platter. The size of your tasting board will depend on how many people are attending and how much food you want to use for it. If you want something more decorative, look for a vintage wooden cutting board or even something like an old door handle that has been turned into a cheese serving tray!
An assortment of meats and cheeses complement each other well. Most stores have pre-packaged selections available, so it's easy to buy everything at once without worrying about finding something that goes together well enough.
However, if this isn't an option, then ask someone knowledgeable at your local grocery store what they recommend pairing up with certain types of meat (e.g., stinky vs. milder kinds). This step might take some trial-and-error but don't worry—it'll be worth it once everyone tastes their favorite combinations!
A charcuterie board is a French-style tasting method. It's a collection of different kinds of cured meats, cheeses, and accompaniments (like nuts or olives) on a wooden board. These can serve as appetizers or as the main course for your guests!
How do I make my own charcuterie board?you can buy all of the meat and cheese pre-made from a store or farmer's market; you could create each recipe yourself by purchasing specific ingredients at the grocery store
And that's it! Build a small charcuterie board for dinner or just have a snack with friends. Of course, you can customize your board to fit any occasion, but I hope this guide.
Easy, Small Charcuterie Board for Two
Recipe details
- 2 servings
- Prep time: 10 Minutes Cook time: 5 Minutes Total time: 15 min


Comments
Share your thoughts, or ask a question!