


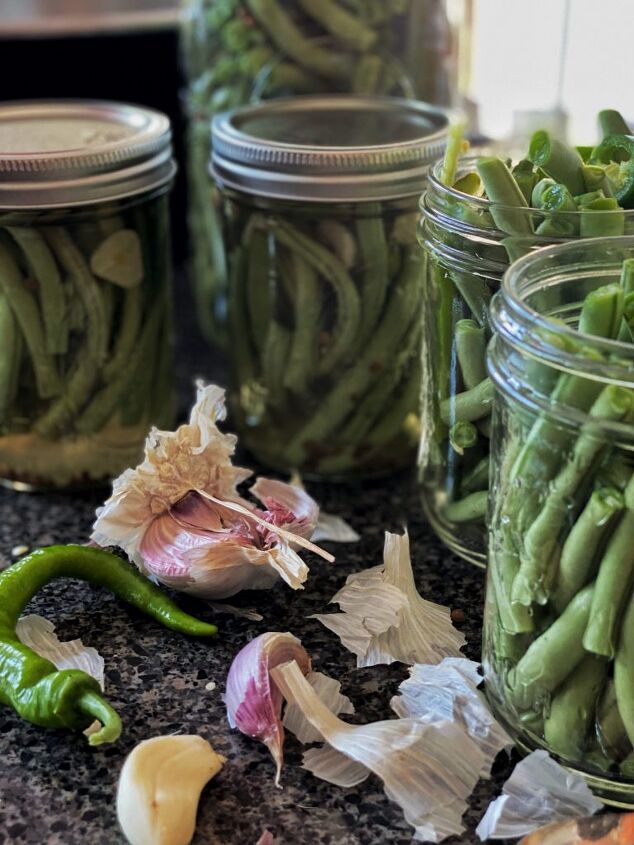
Spicy Refrigerator Pickled Green Beans
I love pickled things, and green beans, and basically anything spicy. I also love quick and easy, and don’t always want to get out my pressure canner in harvest season. If that sounds familiar, then you may enjoy pickled green beans!
To can green beans correctly, you should pressure cook them, not use the water bath method. Most veggies should be pressure canned. Maybe you don’t want to do that, find it intimidating, or simply don’t have one. But, you do have green beans you need to use now or they’ll go to waist! Or, quite possible, you’ve canned all the green beans you need, and are looking for a few other creative ways to use the last little bit. If that’s so, then I’ve got something that may work just perfect! Pickled green beans!
Sure, you could wash and snap them, give the beans a quick blanch, and freeze for later. But that’s boring. Let’s do something fun instead!
Regrigerator pickled green beans!
These easy to whip together pickled green beans last in the fridge for a couple months, but I doubt they’ll truly last that long as they’re the perfect healthy snacking item. I’ve found myself gravitating to them when I need something crunchy, or spicy, or both. They’re also an easy side to a quick dinner. Or if you’re going to a friends house and want to be fancy, bring a jar of them as a gift. They’ll love you for it, promise.
I actually intended to do a dilly green bean refrigerater recipe, but sadly, I wasn’t able to plant my dill early enough to harvest yet. So, I played around and decided on this recipe instead. Gosh I’m glad I did!
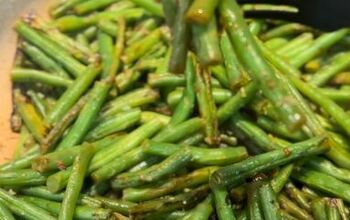
Spicy with a good dousing of garlic, oregano, and corriander, these beans don’t mess around. Filled with flavor in every bite, they hit all the right notes.
I whipped up two batches in under an hour. Let them sit at least 24 hours, though 48 would be even better. This allows all the flavors to soak into the beans giving the best melody of flavors.
Make sure to try and grab fresh garlic from your local famers market. But if you can’t, store bought will do in a pinch.
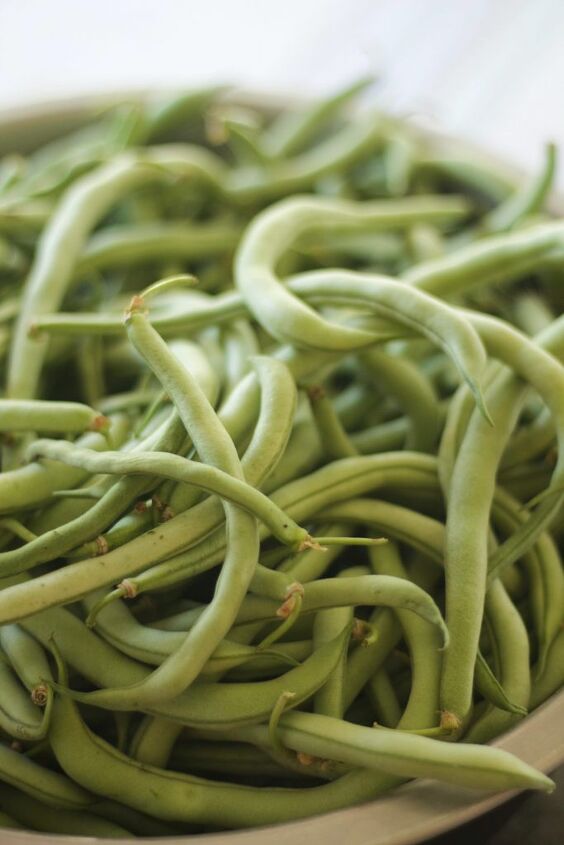
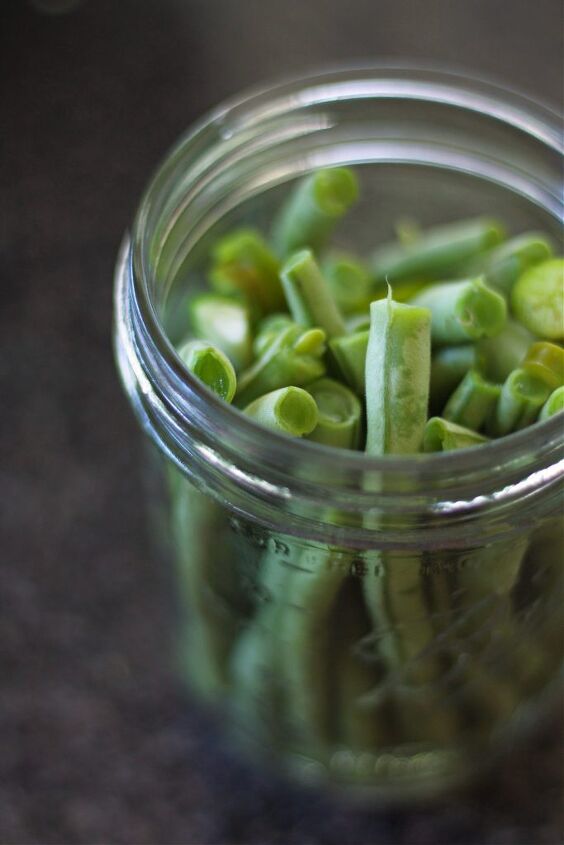
Preparing the beans:
Simply snap the ends, and place in a cold water rinse. Follow this with a cold water vinegar rinse, and finishing off with simply cold water again. Make sure to completly submerge the beans. You’ll be glad you did when you see the little bugs rise to the surface, and the dirt sink to the bottom. Green bean skins are slightly like velcro, and they need a good three part rinsing to clear them of all the extras no one wants to crunch on.
Just sayin.
Clean and prepare four pint jars
I use to have soooo many jars. So many. Years of cultivating mason jars from yards sales, relatives, and everywhere in between. But, when we moved across the country, I had to leave most of them behind. I cried. Not even joking. There must have been over a hundred on my shelves. Every shape and size. Thankfully, my neighbor was able to take them. She’s basically the only one I would have shared my collection with.
Anyhow, I have to replenish them. These are the sets I bought quick, to can the things as they come off. I hope to collect more from yard sales and such as the months go by, but this is a great starter kit that includes lids and screw tops so you’re ready to go!
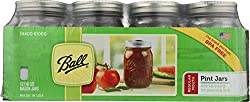
Clean the jars and lids with hot, soapy water, and allow to air dry. That’s it. Now move on to the brine.
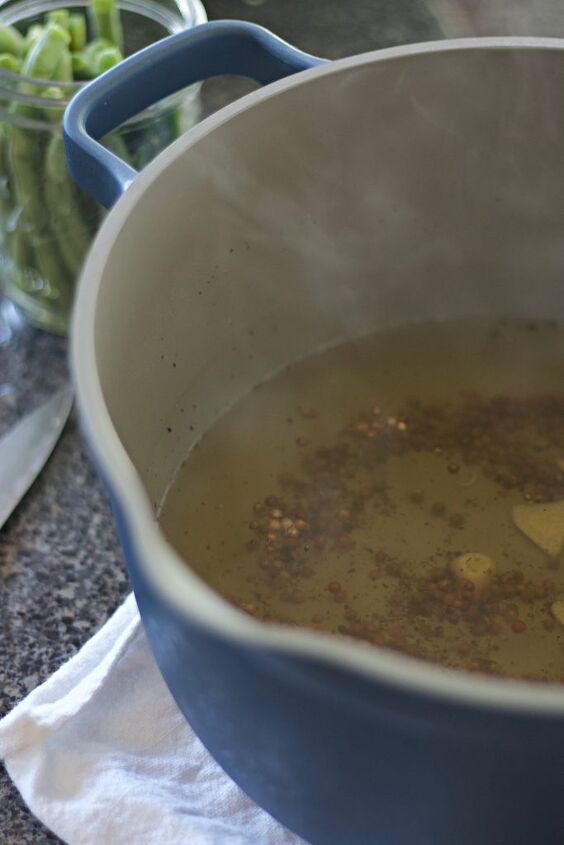
Brine
The brine is 3 cups water, 3 cups white vinegar, and 3/4 cup sugar. Bring to boil and then add 1/3 tsp salt, 6 garlic cloves sliced, 1 Tbsp oregano, and 1 Tbsp coriander.
While it’s all coming to a boil, take one to two fresh jalepenos, or other hot pepper from your garden or market, and slice into thin long sections.
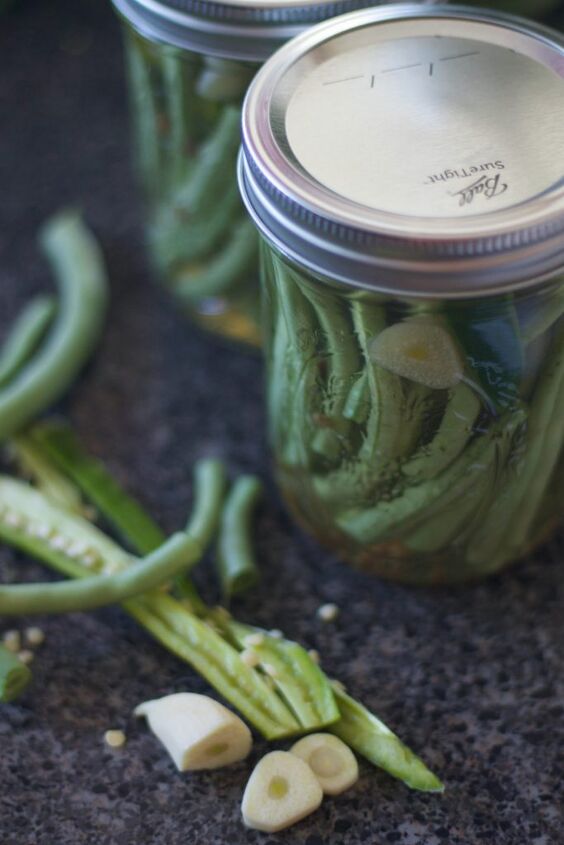
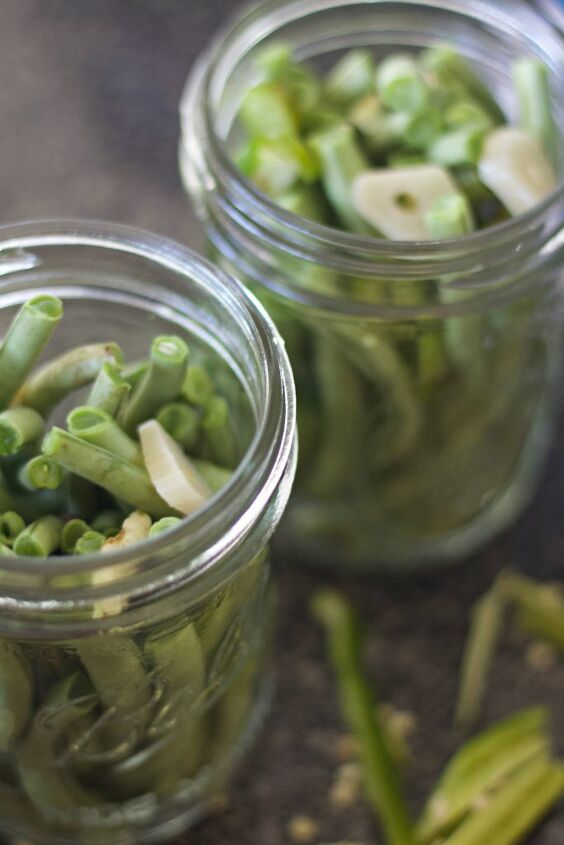
Put it all together
Gather your green beans and place lenghwise in the jars. I place the jars on their sides, and add the green beans that way so they don’t get out of line. We want tall, straight soilders in the jar. Every few beans, place a pepper slice in, then continue to add more beans, then add another pepper. This all depends on how spicy you like it. You may have to play around with the recipe after you make it once or twice and adjust the spice to your specific palate.
Once your jars are filled with pretty beans and peppers, pour the brine over the tops of the beans.
I made sure to scoop out the garlic and corriander at the end and devide them evenly into all the jars. You don’t want the last jar to get all the goodies included in the final pour!
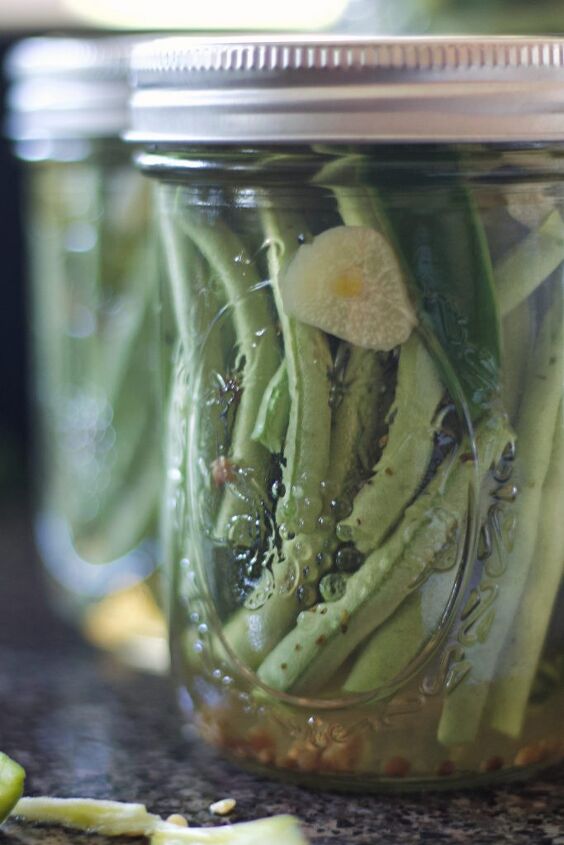
Let them cool on the counter until not steaming anymore, then place lids on and set in fridge.
You will love this yummy addition to your snacking repertoire. If you make them, tag me on Instagram and I’ll reshare your story!
Spicy Refrigerator Pickled Green Beans
Recipe details
- 4 pints
- Prep time: 20 Minutes Cook time: 10 Minutes Total time: 30 min


Comments
Share your thoughts, or ask a question!
Sugar is not listed in ingredients but is in the recipe??
Is that all the salt?