


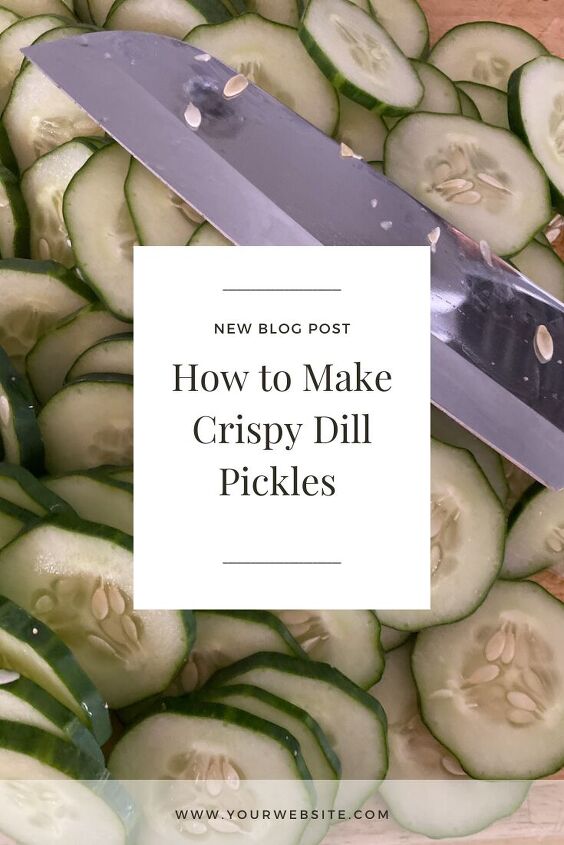
How to Make the Best Crunchy Dill Pickles?
Are you wondering how to make the best crunchy dill pickle? I have the best recipe for homemade pickles and it’s easy if this is your first time making dill pickles.
Do you have an abundance of cucumbers like me and want to know how to make a crunchy crispy dill pickle? There is nothing like homemade dill pickles!
On my blog Living Large in A Small House, I may sometimes use affiliate links, which means a small commission is earned if you make a purchase via the link. The price will be the same whether you use the affiliate link or go directly to the vendor’s website using a non-affiliate link. You can find my full Disclosure Policy HERE
The goal for homemade pickles is to not have mushy pickles but crunchy pickles.
You know it’s right when it has a pickle crisp bite.
What Kind of Vinegar Do You Use for Pickles?
White vinegar is the best, in my opinion.
You can find canning recipes with apple cider vinegar but I think white vinegar gives it the proper flavor and it also keeps the cucumber the beautiful shade of green they were meant to be.
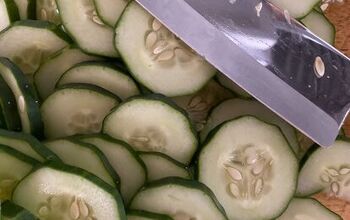
Prepping the Cucumbers
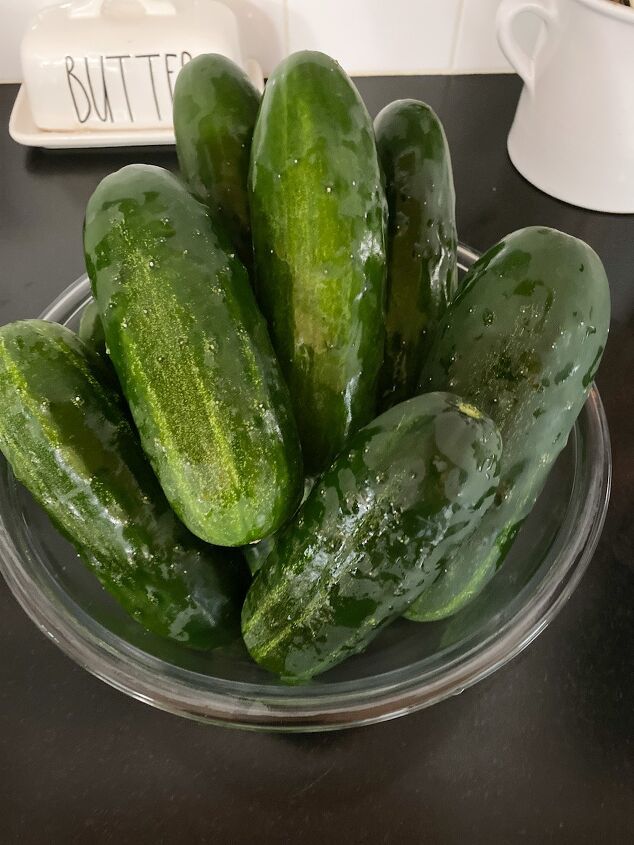
Wash the whole cucumbers and make sure to cut off the blossom end of the cucumber.
Leaving it on can give you a mushy pickle.
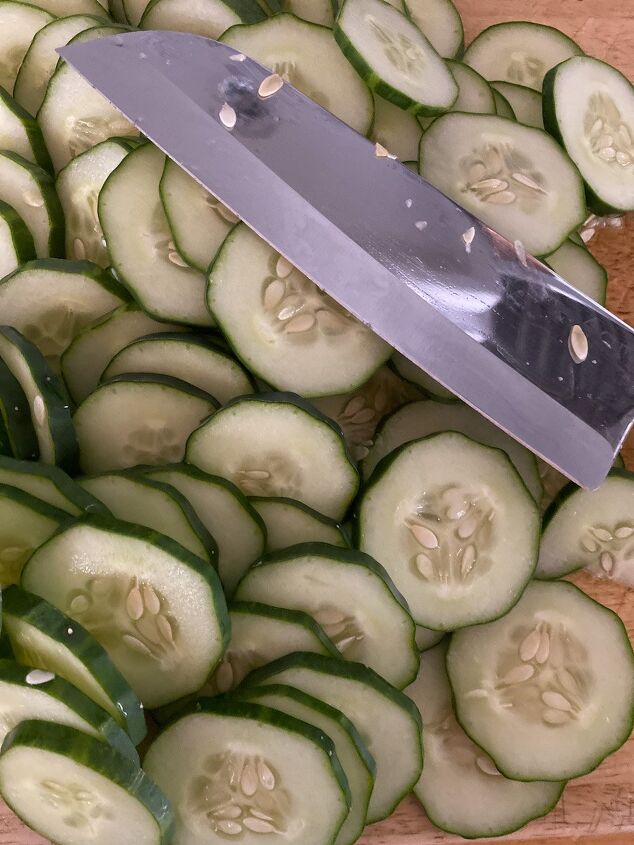
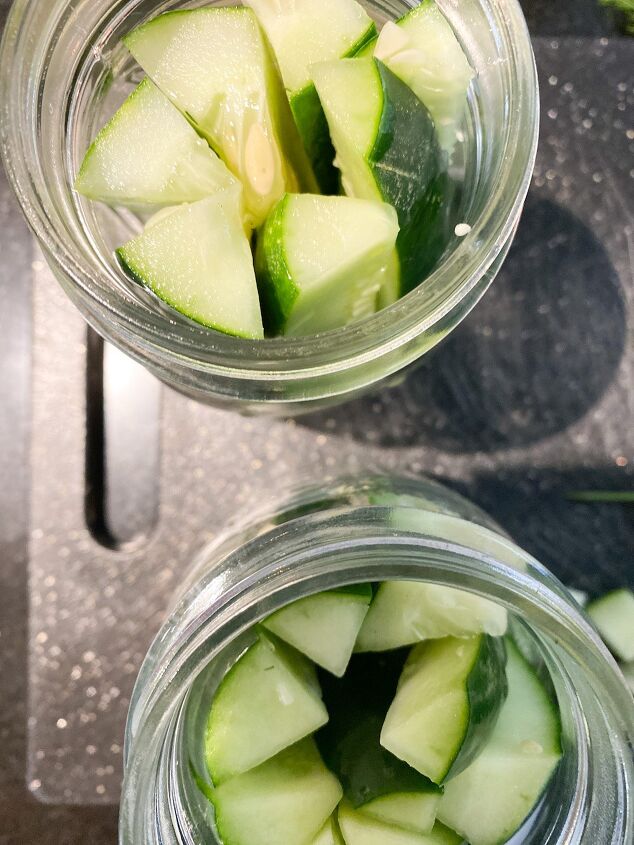
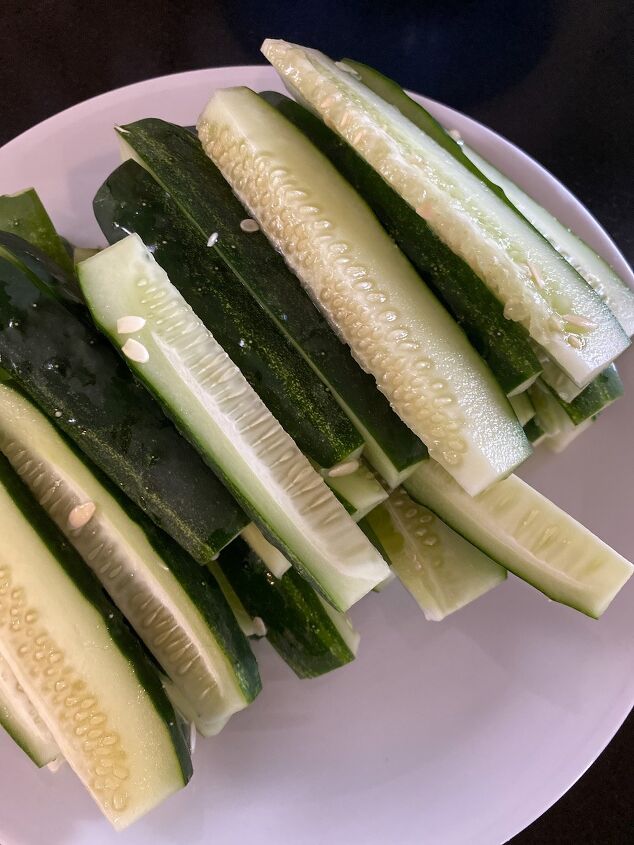
Then you will want to cut your cucumbers into spears or chips.
I cut my smaller pickle cucumbers or Kirby cucumbers into spears and cut my regular cucumbers into chips.
Water Bath Canning vs Pressure Canning
I learned how to can and preserve with a water bath canner. The one I own would definitely be considered vintage. It’s quite old but it still works.
Using the pressure canner is my preference but for crunchy dill pickles, you need to use the water bath canner. The pressure canner would turn the cucumbers into mush.
Tools you’ll need
Home Food Preservation
Making your own pickles is a great way to use your excess cucumbers and jars of pickles that you made sure beat anything you can buy from the grocery store.
I have dill in my garden but my cucumbers were behind my dill so I did have to go to the farmers market to get fresh dill but the garlic came from my own garden.
Extra Treat
You don’t typically see me but I shared a little video just for my blog followers!

Peace,
A great way to save this article is to save it to your Pinterest boards. You can find the pin button in the top left corner of the photo below. Also, don’t forget to follow me on Pinterest
Where you can find me
Featured


How to Make the Best Crunchy Dill Pickles?
Recipe details
- 10 pints
- Prep time: 1 Hours Cook time: 10 Minutes Total time: 1 hr 10 min

Comments
Share your thoughts, or ask a question!
I can't find sugar in your ingredient list, but it is written in your procedure. Do you add sugar?
I don’t see any sugar in the recipe. How much do you suggest?