


How to Can Green Beans

I grew up every summer stringing and breaking green beans in order to can them for the winter. So today I thought I would share with you all the ultimate guide on how to can green beans. Just like the old fashioned way!
I know it can kind of be intimidating in a way, but I am here to show you that really anyone should be able to can green beans effectively. It’s really not that hard once you get the hang of it.
And once you learn how to can, the possibilities are endless! For example, I also love to can homemade raspberry jelly. It’s really so rewarding to be able to can your own food and have a stockpile of it as well!

This post contains affiliate links. Click here to read my disclosure policy.
Obviously, to can green beans, there is a lot of prep work involved. But I am here to give you my step by step instruction on how to can green beans easily. You first gotta find some great green beans and string them and break them.

We hunted around to and the best price for a bushel of half-runners and the best we could find was $48 a bushel. We went to our local farmers markets around town to price them out and evaluate.
And, it was kind of a challenge to even find half-runners this year. Most vendors were sold out so a tip is to get there right when they open in order to grab you some. Early bird gets the worm as they say!
Once you have your green beans all broken and ready to go, you need to properly store them if you aren’t planning on canning them right away. I strung and broke the beans for two days before actually canning them.
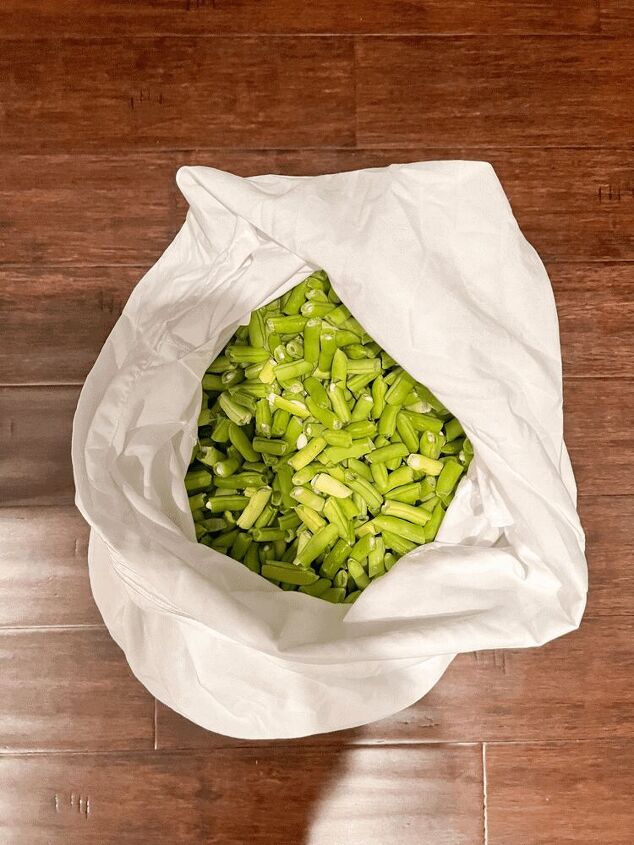
To store them, simply put them all in a pillowcase and place them in the fridge until you’re ready to start the canning process.
After you have your beans all prepped and ready to go, now it’s time to get your jars ready to can! Make sure to throughly wash your quart jars before using them. You can place them in a dishwasher to do so.
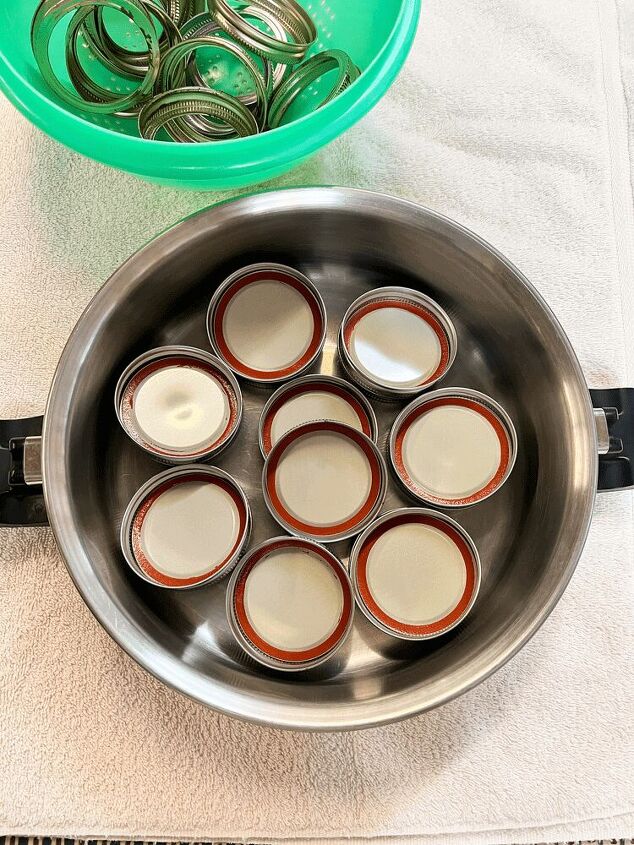
And then, to make sure the lids are ready for the canning process, you want to boil them for a few minutes. Place the rims and the lids together in a pot and pour water over them until they are completely submerged.
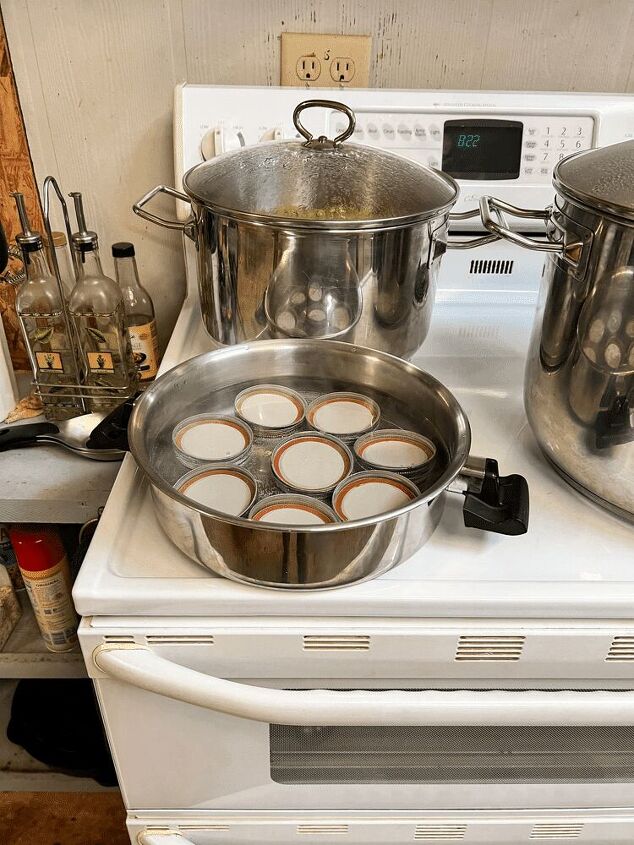
Then, place them on the stovetop and boil them for a few minutes.
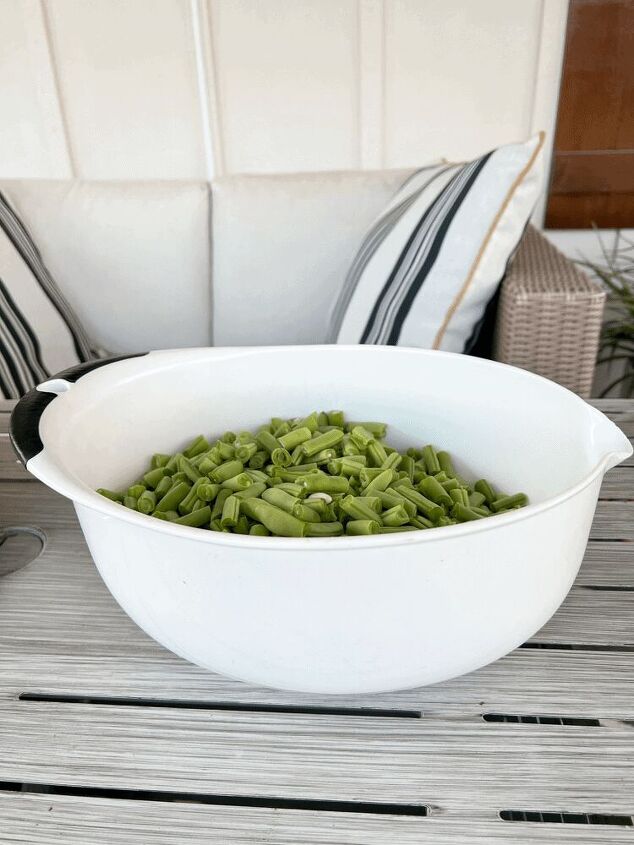
While you are prepping the jars to get them ready, now is a good time to cook the green beans. Like I said, I broke and strung one full bushel of beans so we needed one very large pot and another smaller pot to cook them in.
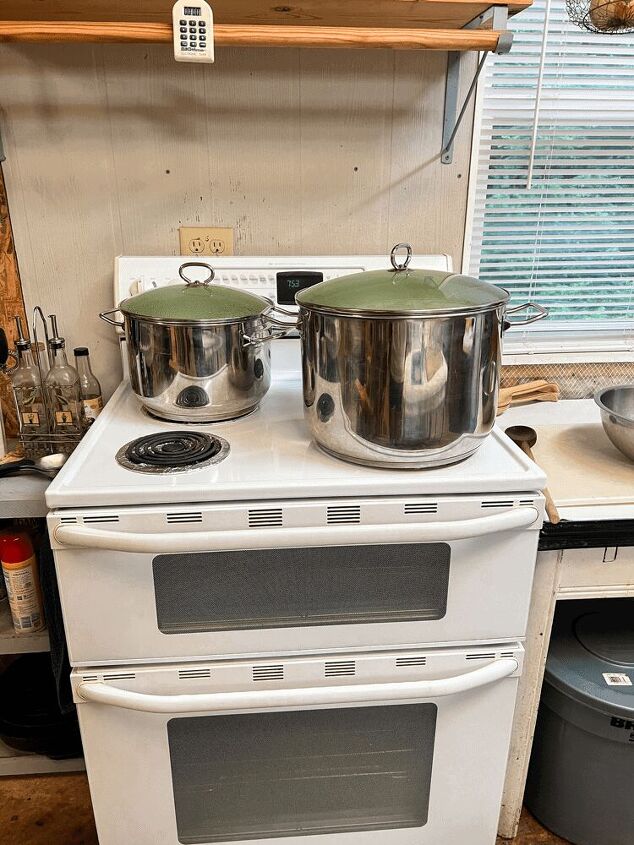
The large pot took about 45 minutes and the smaller pot took about 25 minutes total. You will notice a difference in color when the beans are done cooking.
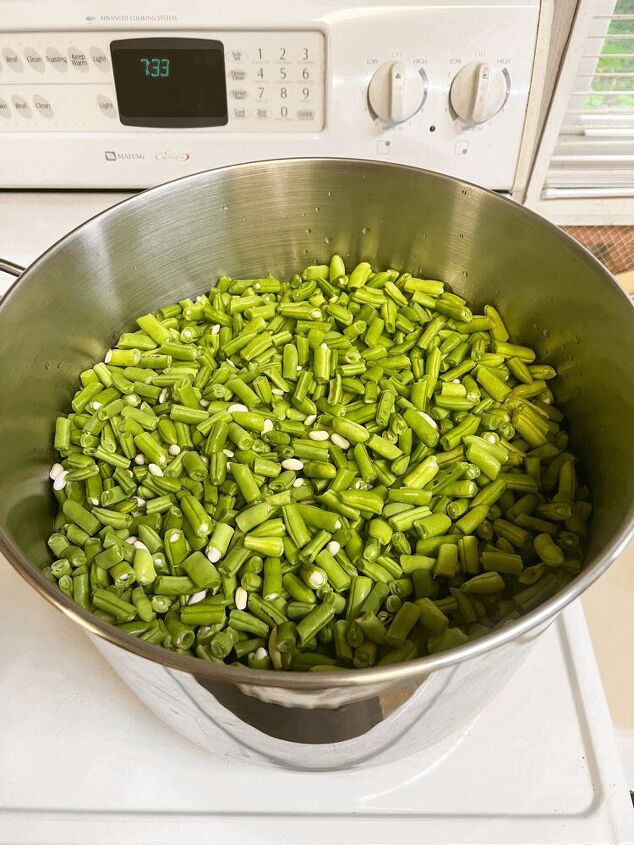
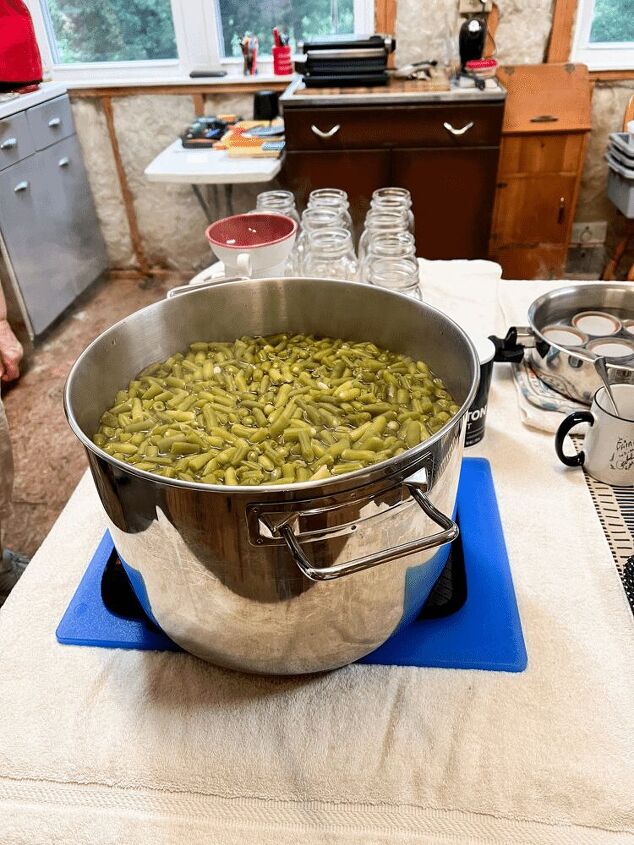
It will all depend on what size of pots you are cooking with, but once you notice the difference in color, like pictured above, you will know they are done.
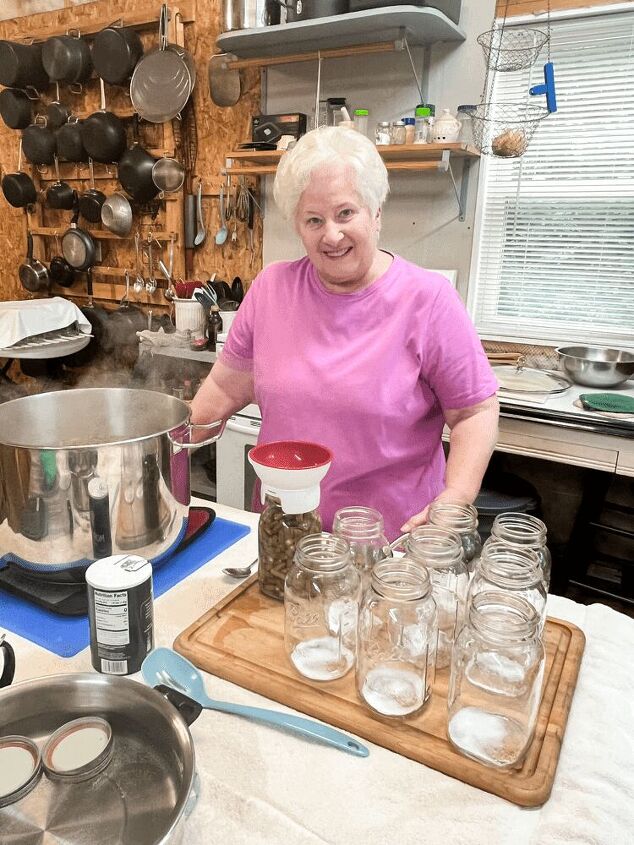
I’m going to call our method of canning green beans the old fashioned way because it has been done this way for many, many generations in our family. Just like when I canned raspberry jelly with my Meme, I canned these green beans with her as well.
She is the one who has taught me everything I know when it comes to canning. Just like she learned from her mother and grandmother too. So trust me when I say, you’re in good hands learning from her too! I tried to take as many notes as possible during the process so I could share them all with you too!
The first thing you need to do is add some salt to the jars. You do this before adding the cooked green beans into them.
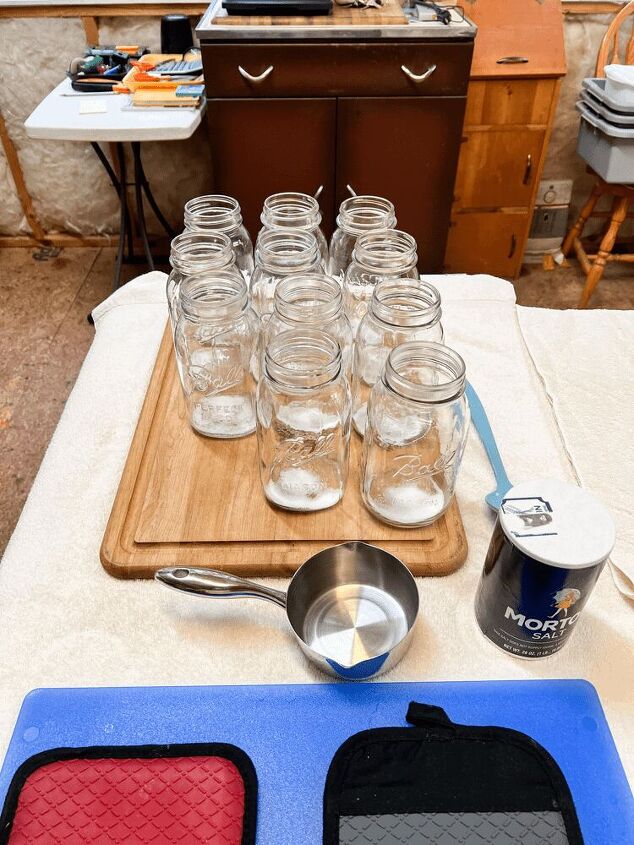
And, the kind of salt you use is very important. You want to use salt that DOES NOT have iodide in it. Just like I have pictured below.
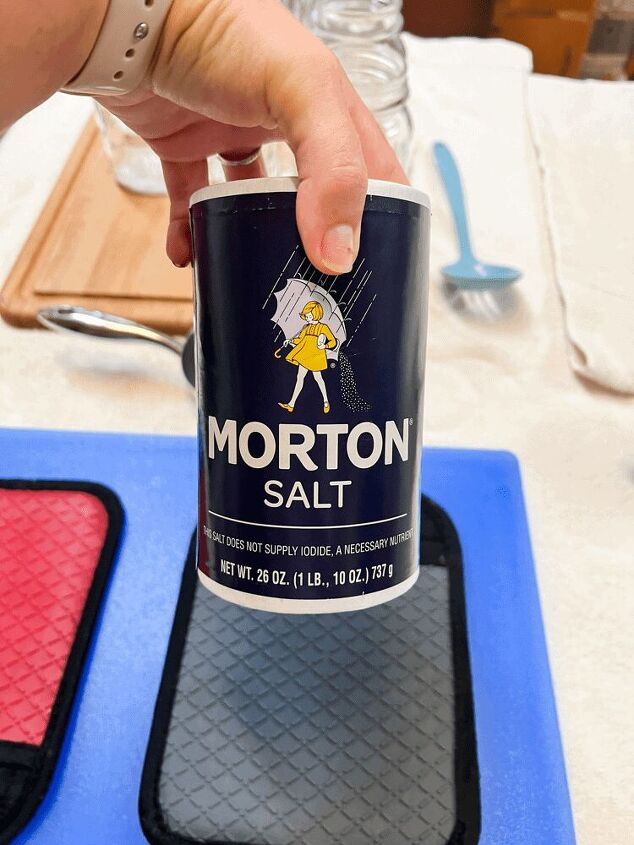
As for the quart jars, you need about a teaspoon of salt in each jar. If you’re canning using pint jars, then you’ll need about a 1/2 teaspoon of salt in each one as well.
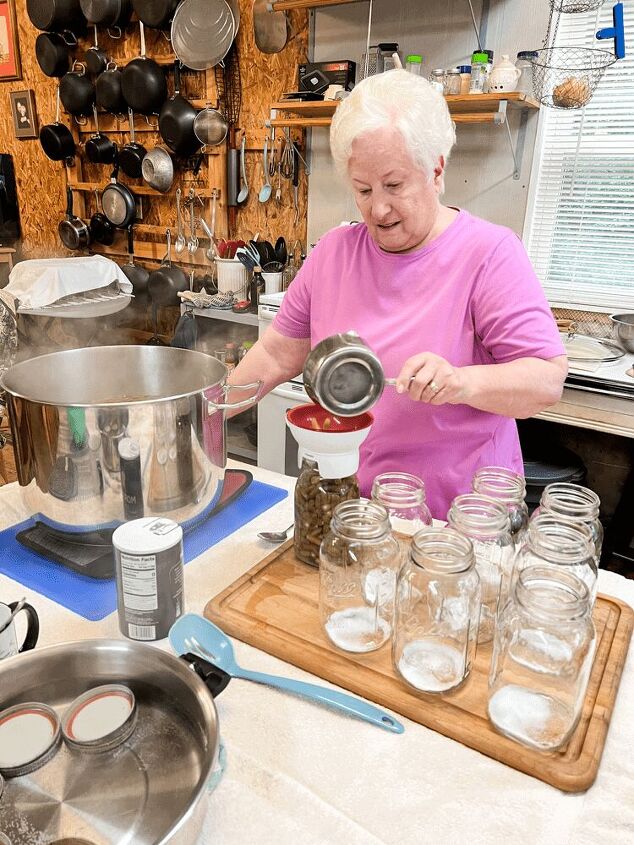
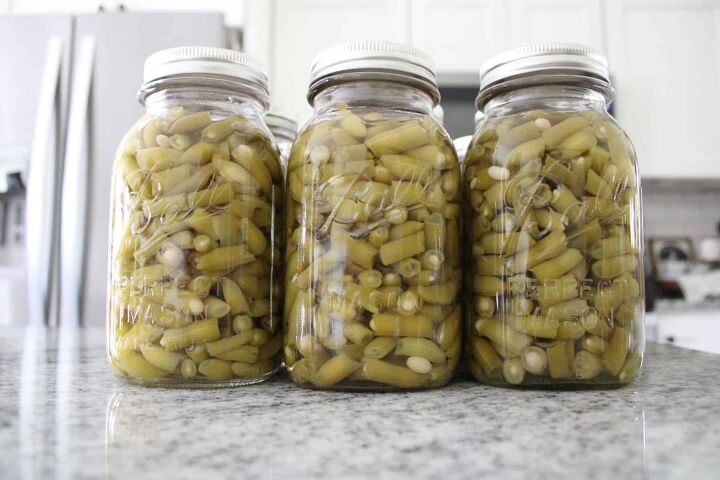
Now that you’ve added your salt, you can then begin to add in your cooked green beans. You need to use a canning funnel to help you pour the green beans into each jar.
And you don’t need to pack them tightly in the jar. Just fill them up to the top, and then lightly pat them down into the jar using a spoon.
After that, you can now add the rim and lids to the jar after they have boiled and cooled down for a few minutes. Be sure to use tongs though to lift the lids out of the water because the water will still be hot.
Using a towel, firmly screw the lids into place on the jars. Then, using rubber jar lifter, pick the jar up and get them ready to transport to wherever you are going to cook them.
We used an old school copper boiler outside sitting on a campfire stove. I should mention that this was turned on while we were cooking the green beans to get the water inside hot enough and ready.
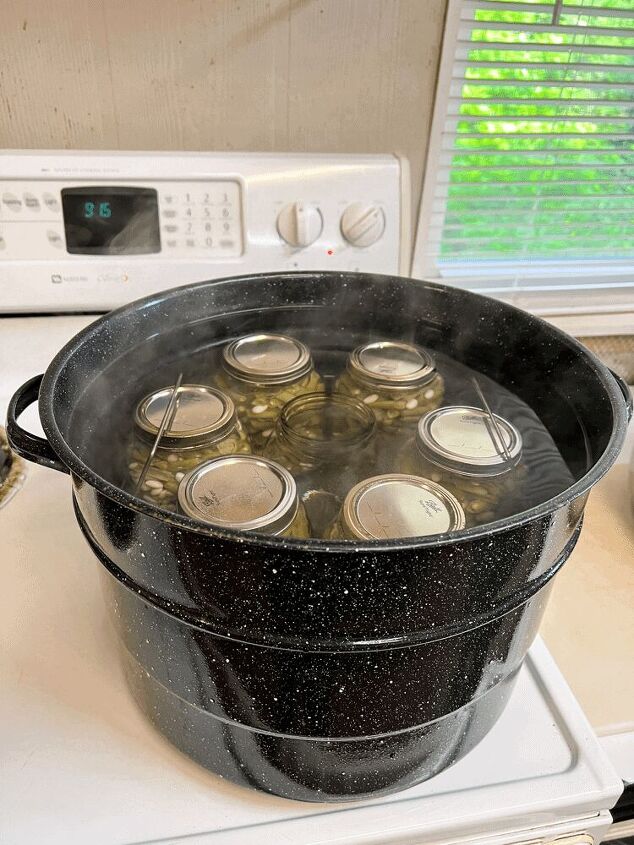
We were able to fit 16 quart jars full of beans in the boiler outside. We cooked them inside the boiler then for about 3 hours. I still had 6 more quart jars left so we decided to cook those upstairs on the stove while the others were cooking in the boiler. And again, we did those for 3 hours as well.
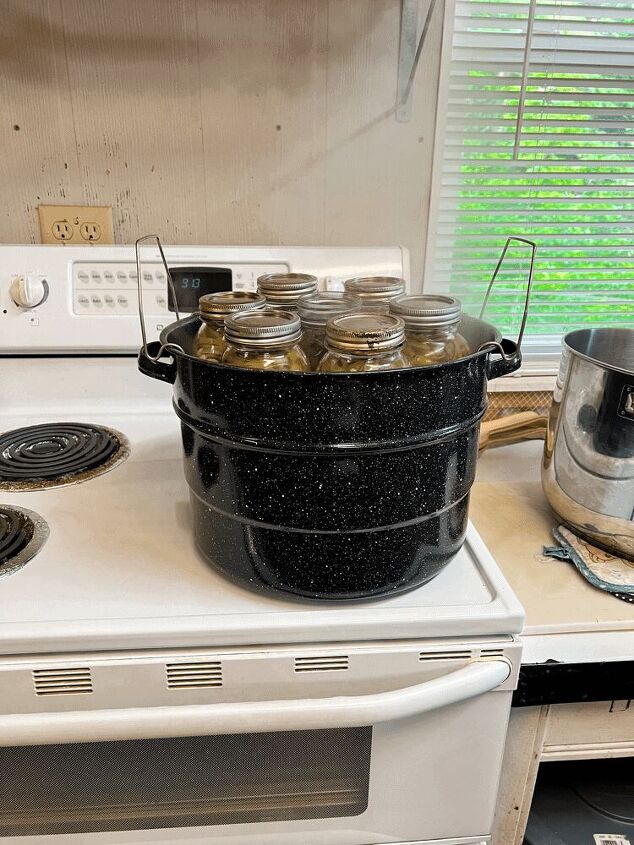
Since I only had 6 jars, we placed a 7th empty jar in the middle full of hot water, to keep the other jars from falling down. And you want to have about an inch and a half of water above the jars when you place them in the pot. Same for the boiler too.
By canning the green beans this way, it is very possible to can them without a pressure cooker. Plus, it is a lot faster this way as well. Since we were able to fit a total of 16 jars into the boiler too!
If you don’t have a boiler, you can definitely use a pressure cooker for this process. It will just take a little longer to do so.
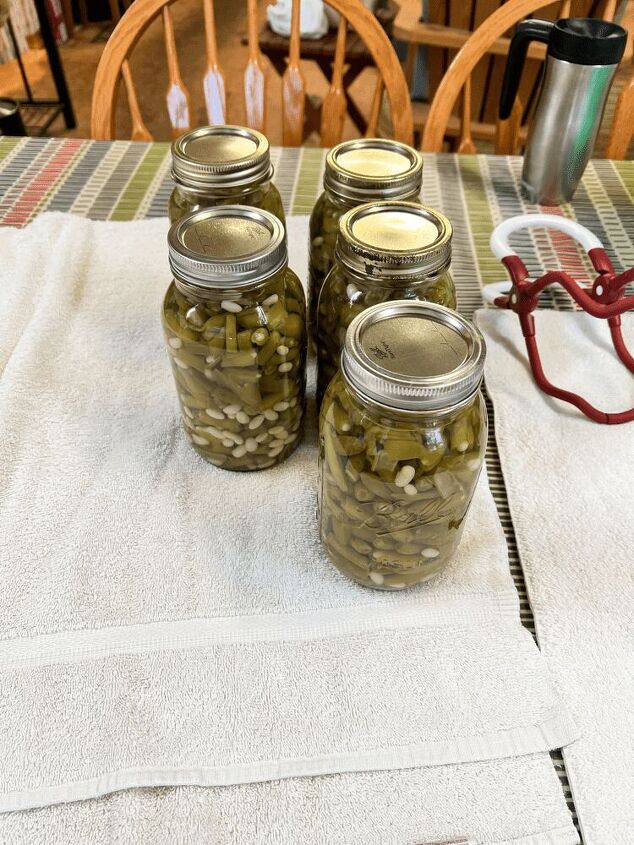
After you have canned them in the boiler, they will be very hot. Use the rubber jar lifters to lift them out carefully. Then, place them in an area to cool. Do not try to move them around during the cooling process.
They will be more likely to break when the jars are hot. Well, I hope this post was very informative for you.
And I hope you learned just how to can green beans easily and effectively. If you have any questions, please let me know! I am by no means an expert, but I can definitely find out from my Meme, who is one!
Have you all ever tried to can anything on your own before too?? I would love to hear any success and/or failures! Leave me a comment below and let me know!

How to Can Green Beans
Recipe details
- 22 Quarts
- Prep time: 6 Hours Cook time: 45 Minutes Total time: 6 hr 45 min


Comments
Share your thoughts, or ask a question!