Canned Dilly Beans

6 pints
1 hr 15 min

Dilly beans are like dill pickles but made with green beans. They are easy to make in a water bath canner and a good recipe for canning beginners.

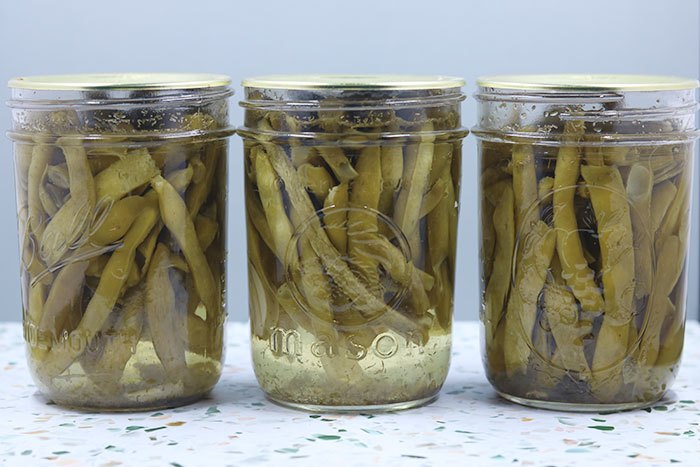
Green beans have to be pressure canned due to the low acid content. However, dilly beans have vinegar in them, so they are safe for water bath canning.

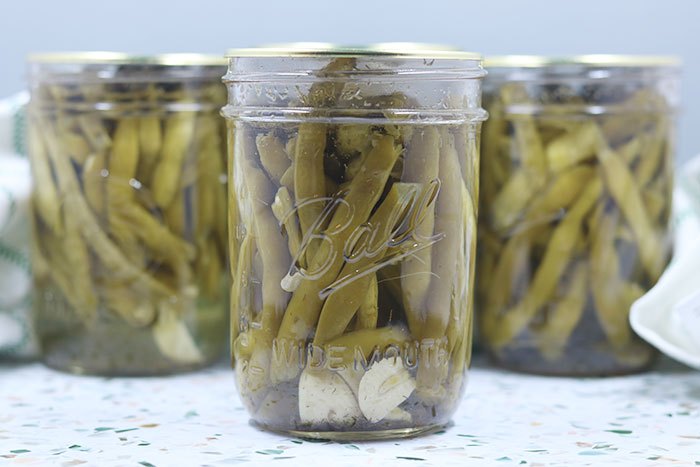
These are similar to dill pickles, but they have more crunch. You can eat them like a snack or use them like you would dill pickles in recipes. You can use fresh dill or dried dill to make dilly beans.

When properly canned, dilly beans will last about 12 to 18 months on the shelf.
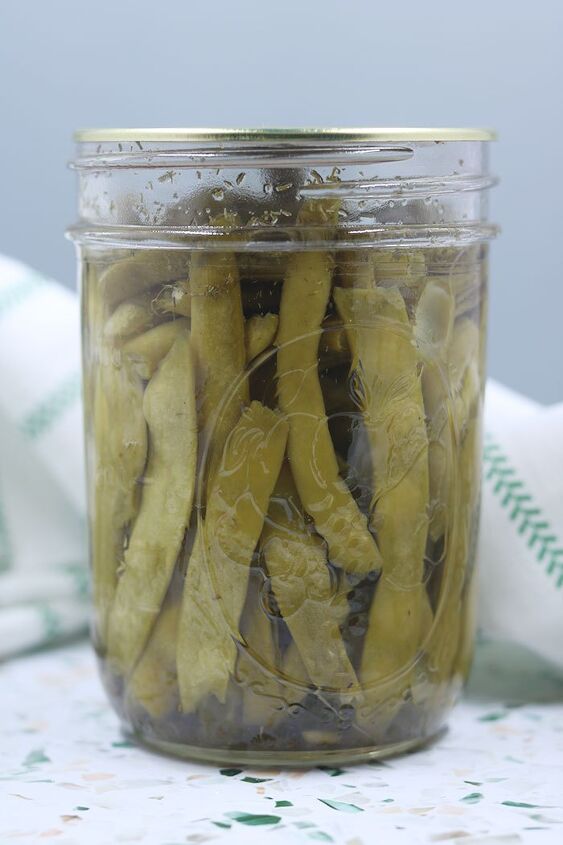
Recipe details
  • 6  pints
  • Prep time: 60 Minutes Cook time: 15 Minutes Total time: 1 hr 15 min
Show Nutrition Info
Hide Nutrition Info
Ingredients

  • 3 pounds of green beans (yellow wax beans will also work)
  • 3 3/4 cup vinegar
  • 3 3/4 cup water
  • 1/3 cup canning salt
  • 6 cloves garlic, sliced
  • 6 sprigs of dill or 1/4 teaspoon dried dill weed
Instructions

Wash your jars, lids, bands, and all canning tools. Let the lids and bands air dry and fill the jars with water and set in the water bath canner. Add water almost to the top of the jars. (You will dump the water in the jars, which will raise the water level later.) Turn on the burner and bring the canner to a simmer while you prep your garlic dill green beans.
Wash your beans and trim off the ends. You can cut them into about 4 inch long pieces or snap them.
In a large pot, combine the vinegar, water, and canning salt. Bring the mixture to a boil and then reduce heat to medium low and let simmer for 10 minutes. Keep the brine warm after this.
Once the brine is warm, use the jar lifter to carefully dump the water from a jar into the canner and place the jar on the counter. Add a clove of garlic and 1 sprig of dill or 1/4 teaspoon dried dill weed to the bottom of the jar.
Pack the green beans into the jar. If you are using whole beans, it helps to have the jar sideways to stack the beans. Pack the beans in the jar as tight as you can because raw packed food has more air than cooked food, which can make them float.
Then use a canning funnel and a ladle to add the warm brine over the green beans. Fill to 1/2 inch headspace. Use your bubble popper to release trapped air bubbles. I also used a butter knife to press down to make sure the brine reached the bottom and to release more air. This canned dilly green beans recipe traps a lot of air into the jars, so really work to release that air. Add more brine if needed.
Wipe the rim with a damp towel and place a lid on the jar. Secure the lid with a band and tighten to fingertip tight. Use the jar lifter to place the jar back in the canner.
Repeat with all of the jars. Once all of the jars are filled, add water to the canner if needed to bring the water level up so it covers the jars by 2 inches. Then turn the heat on high and bring to a boil. Let boil for 15 minutes, adjusting for altitude.
After processing, turn off the heat and remove the lid from the canner. Let the jars cool for at least 5 minutes. Then use the jar lifter to place jars on a towel or cooling rack. Let sit undisturbed for 24 hours before testing the seal.
Cari @ Homesteading in Ohio
Want more details about this and other recipes? Check out more here!
Go
Comments
Next