


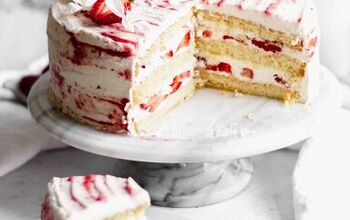
Strawberry Shortcake Layer Cake (sponge Cake)
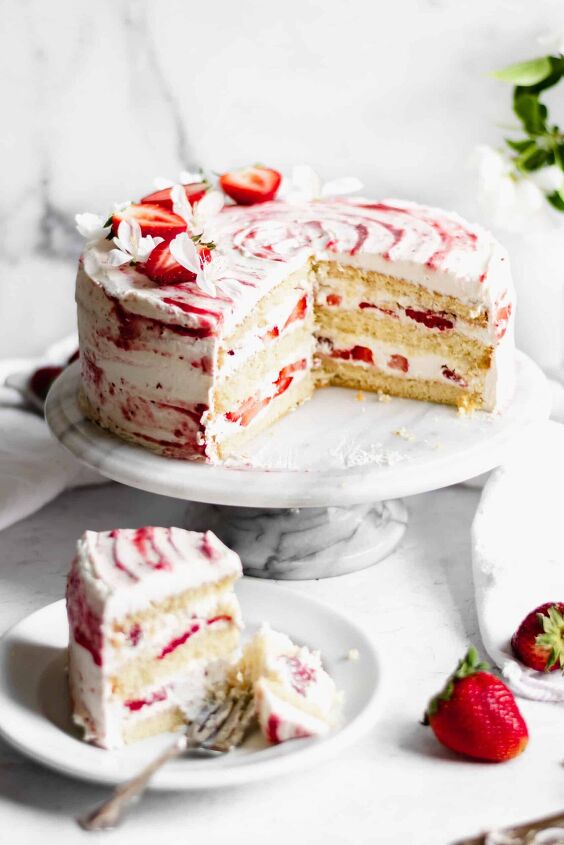
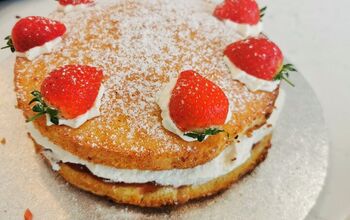
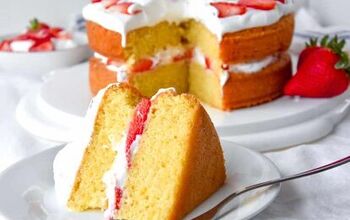
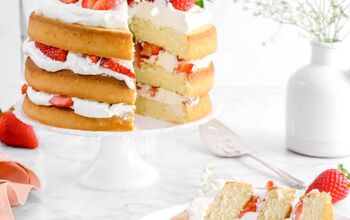
This Strawberry Shortcake Layer Cake is made with a genoise sponge cake, fresh strawberries and lightly sweetened whipped cream, all layered together to produce a striking version of a summertime classic.
This post contains affiliate links. As an Amazon Associate, I earn from qualifying purchases.
Strawberry shortcake is a summertime favorite and feels like the perfect treat. Whether you're making homemade biscuits or buying store bought sponge vessels to hold your berry juice, you really can't go wrong. It's the best combination of flavors, textures, and sweetness. Now, turn that whole situation in a gorgeous Strawberry Shortcake Layer Cake and you've got yourself what we like to call a glow up!
Made with a light and airy sponge cake, a strawberry simple syrup is brushed on each layer to provide sweetness and moisture to the cake. Each layer is filled with fresh cut strawberries and lightly sweetened homemade whipped cream. Eaten slightly cold, you could almost describe the cake as refreshing!
I use the Tartine genoise sponge cake recipe for this cake - the Tartine cookbook is one of my absolute favorites and this recipe has never failed me. Sponge Cakes can be finicky, though, as the goal is to keep quite a bit of air in the batter. Proper folding technique is needed here as to not deflate the batter, so if you're unsure how to do this, watch this video! This is the exact genoise sponge used for this recipe, so it's a perfect example.
Start by preheating the oven to 350℉ and line the bottom of a 10" springform pan with parchment paper. Here's my best tip for lining a springform pan 😉. If using spray to stick the parchment down, take care not to get it on the sides of the pan. The non-greased sides is what helps the batter "crawl" up the pan.
Next, melt the butter over low heat and keep it warm. Then, sift together the flour, corn starch and salt into a bowl.
Make a double boiler by filling a saucepan with about one inch of water, then place a bowl overtop. The bottom of the bowl should not touch the water. Use a glass or metal bowl for this. Turn onto medium heat then add the eggs, salt and sugar and whisk to combine. Whisk occasionally until the mixture is rather warm to the touch and reads 120℉ on a kitchen thermometer.
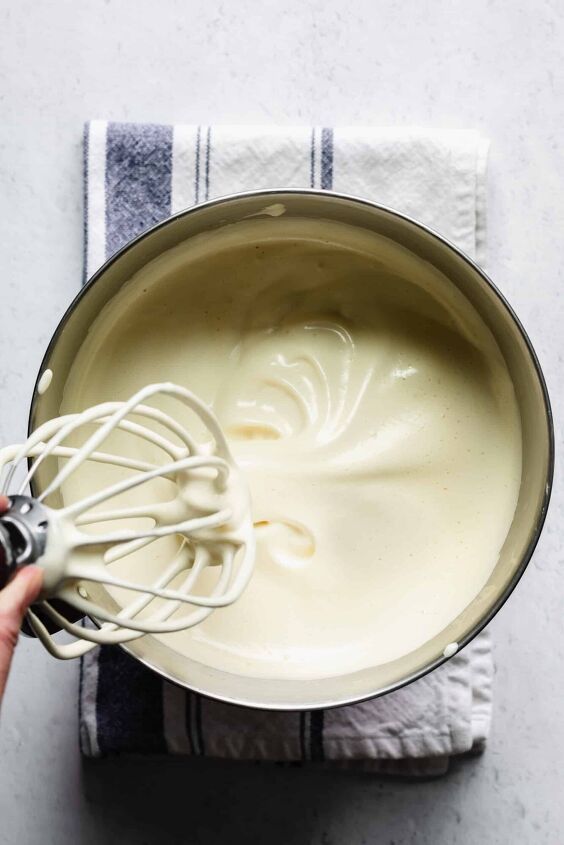
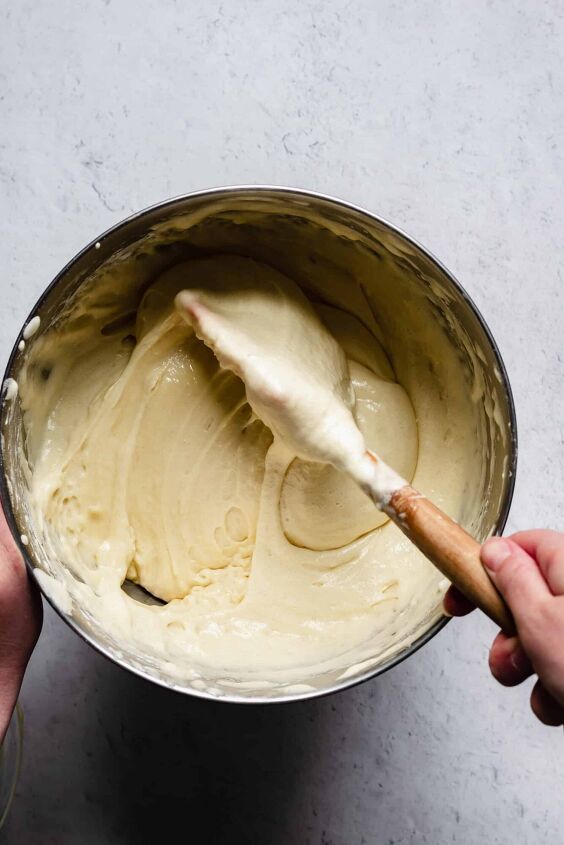
Add the egg mixture to the bowl of a stand mixer fitted with the whisk attachment (you can also use a handheld mixer) and whisk on medium speed for about five minutes. It will become pale, thick, and fluffy. When the whisk attachment is pulled straight out of the batter, a large ribbon will flow off.
Add the flour into the batter in three batches, folding in the first round of flour completely before adding the next. Be sure to scrape the whole way to the bottom to bring the flour back to the top and incorporate it.
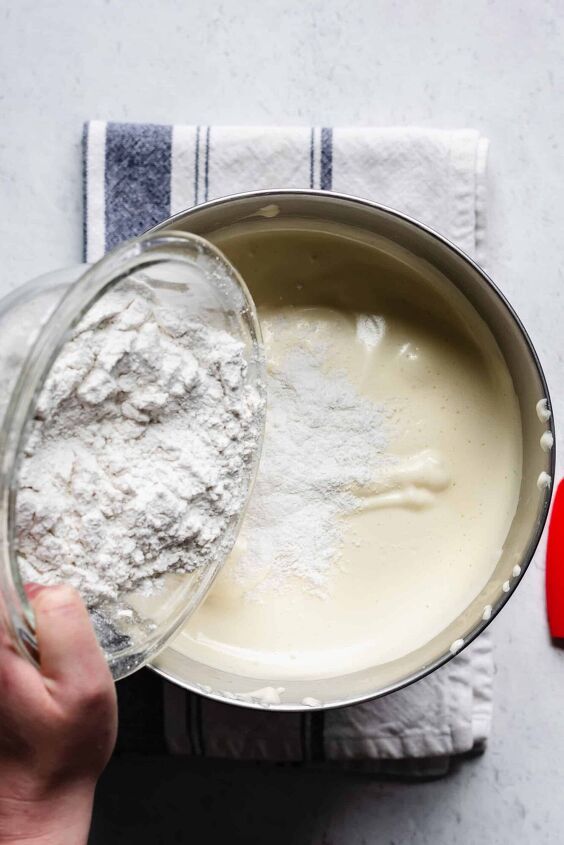
The flour will sink to the bottom, so just when you think you're done folding, another pocket of flour will unveil itself! Be patient and careful. As you fold, only "scrape" with a spatula what is covered by batter. Don't scrape down any dried flour bits at the top, I try to steer clear of the top as best as possible. Again, watch this video to see how it's done!
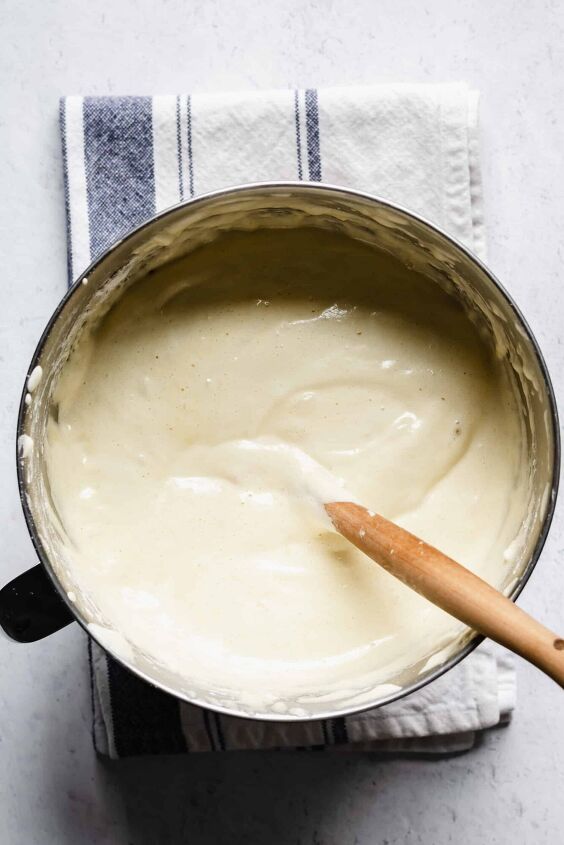
Once all of the flour has been incorporated, remove a small bowl's worth of batter and stir in the warm butter to completely combine. Add the butter batter into the normal batter and immediately fold until fully incorporated.
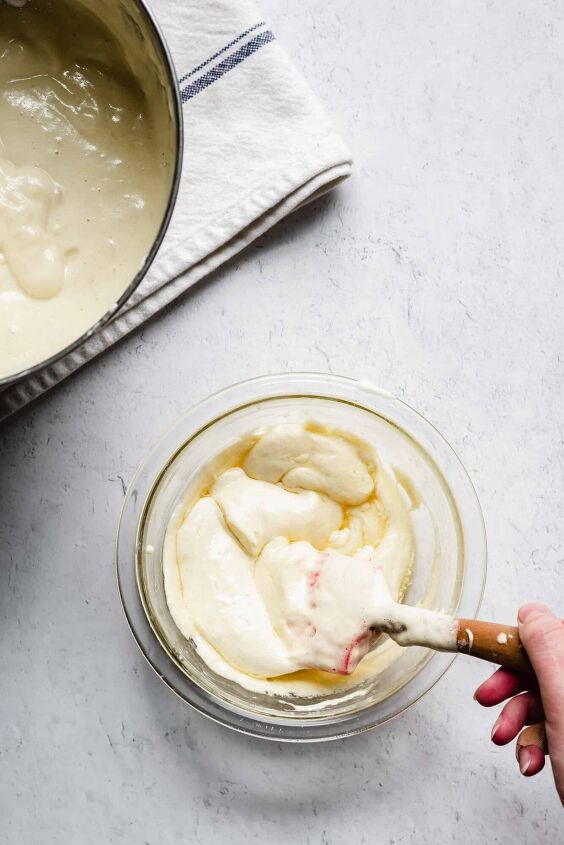
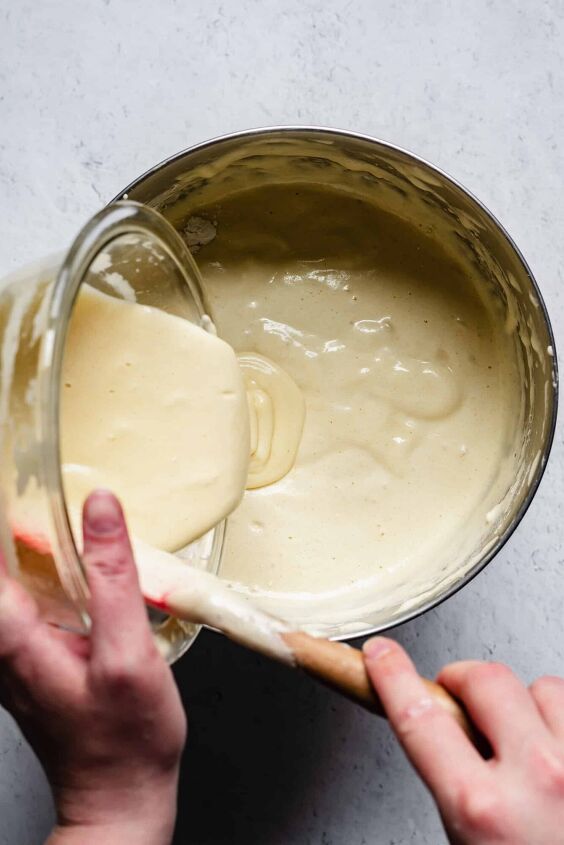
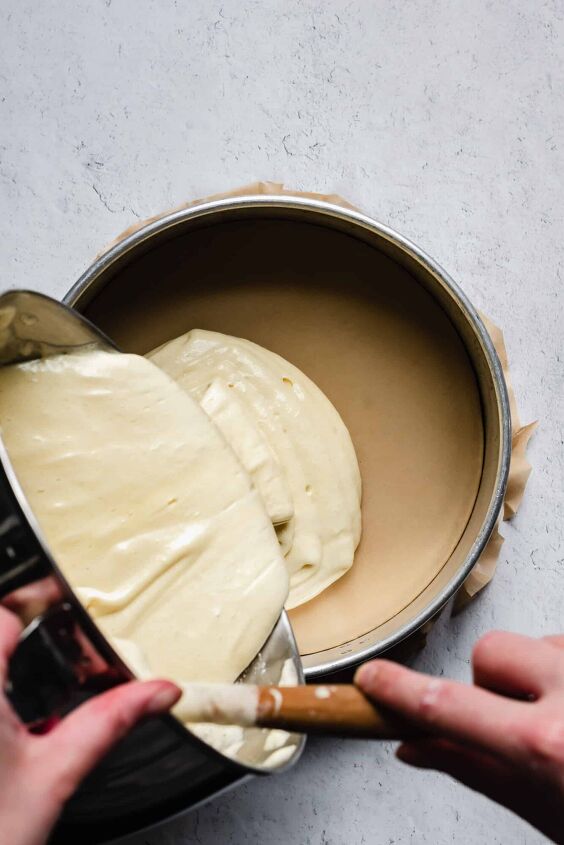
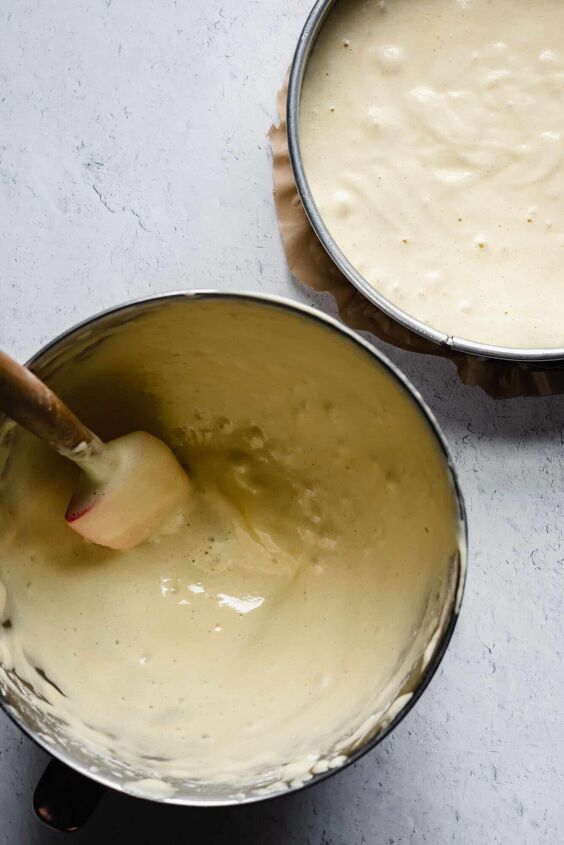
Set down your spatula (trust me) and pour the batter into the prepared spring form pan. I am holding the spatula in the pouring picture above but I swear, just put it down! Allow the batter to flow freely, don't tap it, and definitely do not scrape it. Whatever falls out of the bowl on its own is what you get. Scraping the sides will add chunks to the batter and will cause it to deflate. That's why I have you put the spatula down - because if you're anything like me, it takes every ounce of your being to not scrape the dang bowl! The third photo below shows how much batter will be left over.
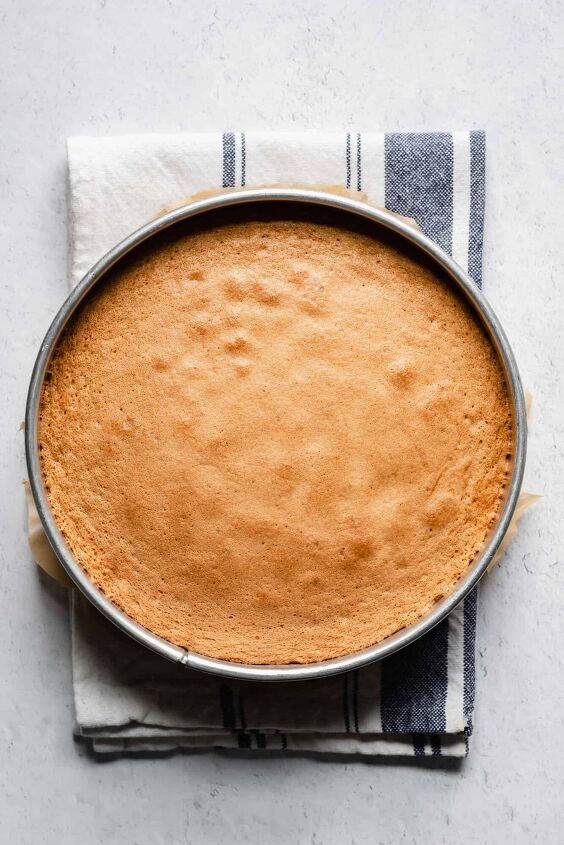
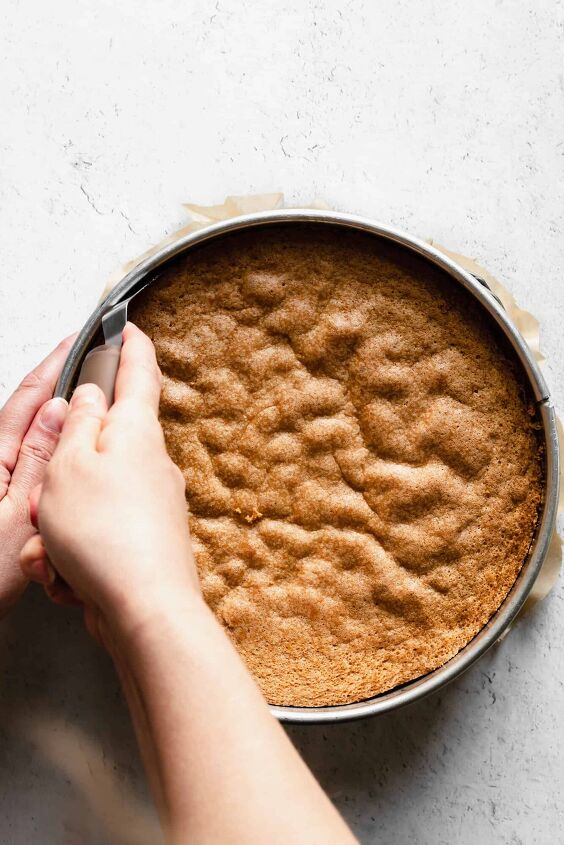
Bake the sponge in a preheated 350℉ oven for 35-45 minutes. The top will be nicely browned and it will feel slightly springing. It may leave a small indent when touched, but should not sink in. Allow the cake to cool completely on a wire rack.


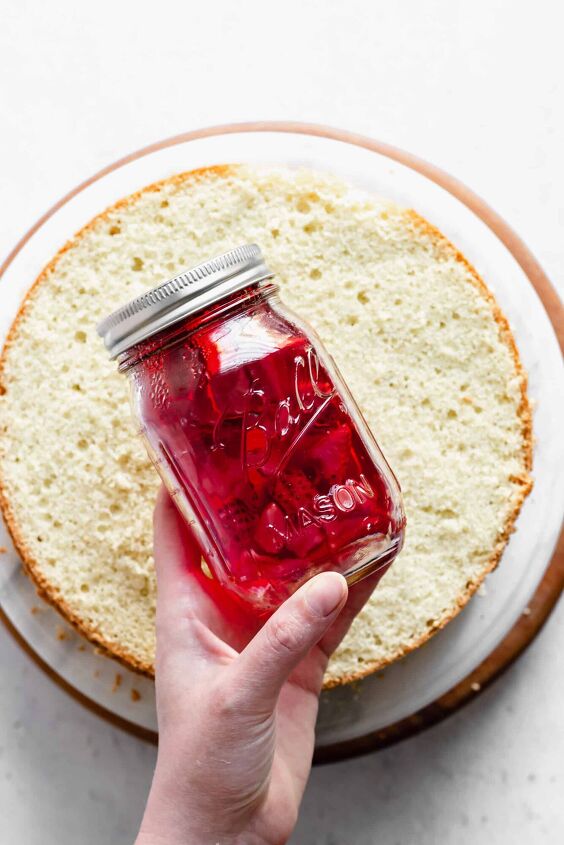
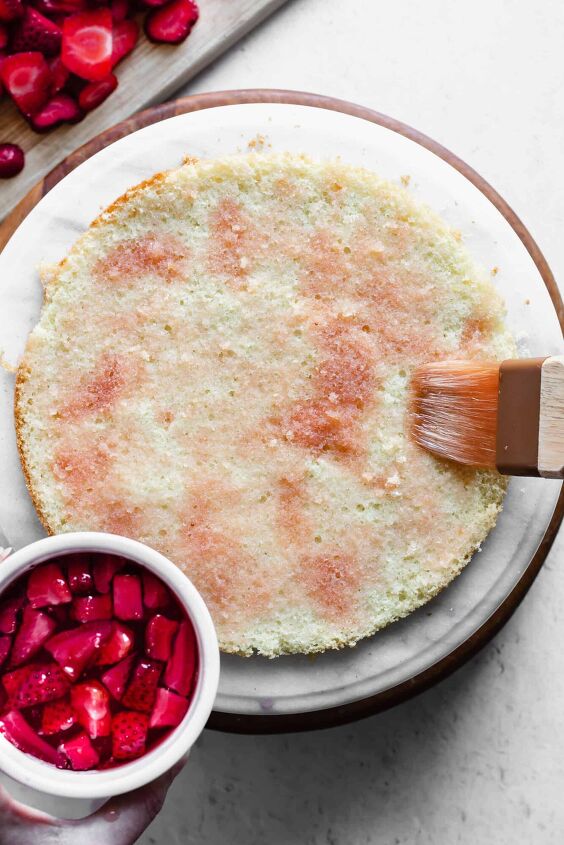
Strawberry Simple Syrup. The syrup is brushed over each layer of the cake to create a flavorful, moist sponge. To make the simple syrup, combine the sugar, water and strawberries in a saucepan over medium heat until all the sugar dissolves. Transfer to a jar and allow it to cool completely. I always make this simple syrup a day ahead of time and store it in the fridge.
Strawberry Puree. This step is completely optional and is mostly decorative. It does add an additional punch of strawberry flavor though, so I do recommend it! Cook down the strawberries and sugar until the strawberries break down and juices develop. Then, add the slurry of corn starch and water and allow it to bubble for about a minute. Use an immersion blender (or blender, food processor, etc.) to puree the strawberries until smooth. Set aside to cool.
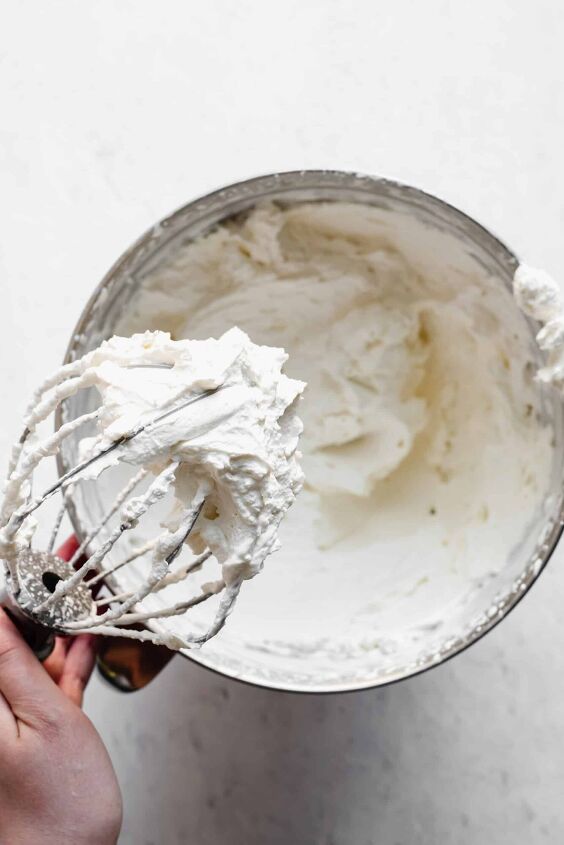
Fresh Whipped Cream. The whipped cream has gelatin added to stabilize the cream so it stays in tact for a couple of days! If you're planning to eat the entire cake within a few hours of making it, feel free to omit the gelatin.
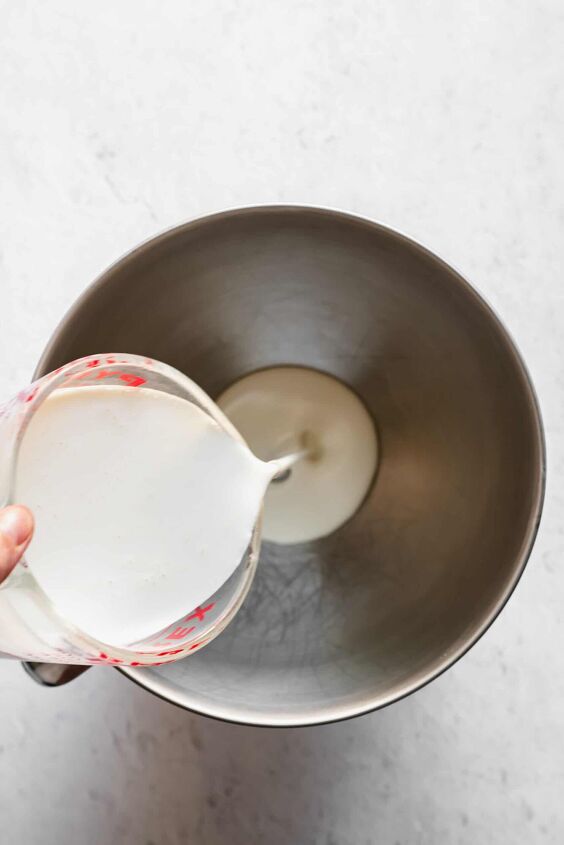
Start by freezing your mixing bowl and whisk attachment for about 15 minutes. In the last few minutes, add the gelatin and water to a small saucepan, stir, and turn to the lowest setting. Stir it again as it starts loosening up. This next step will depend on your stovetop - the gelatin needs to stay slightly warm so it holds a liquid phase. Either keep the heat on the absolute lowest setting or turn it off while you make the heavy cream.
Add the heavy whipping cream to the cold bowl and mix on medium low for about a minute, then turn to high until soft peaks form. Switch to low speed and spoon in the powdered sugar and add the vanilla. Switch back to high and drizzle in the liquid gelatin and finish whisking until stiff peaks form and it holds a ball in the whisk.

Strawberries. Hull one pound of strawberries and slice them thin.
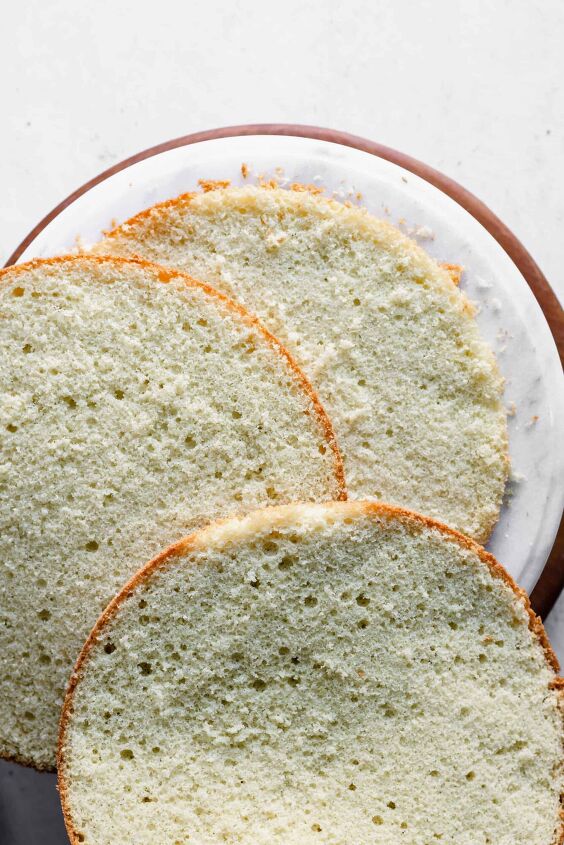
Start by running an offset spatula or knife around the sides of the springform to remove the cake from the sides. Then, remove it from the pan and cut the sponge cake into three even layers. If you have a turntable, you'll want to use it. I like to arrange my cake on the vessel I plan to serve it on, and place that on top of the turn table. I also typically add a few strips of parchment paper under the edges of the bottom layer to cover my serving platter and keep it clean.
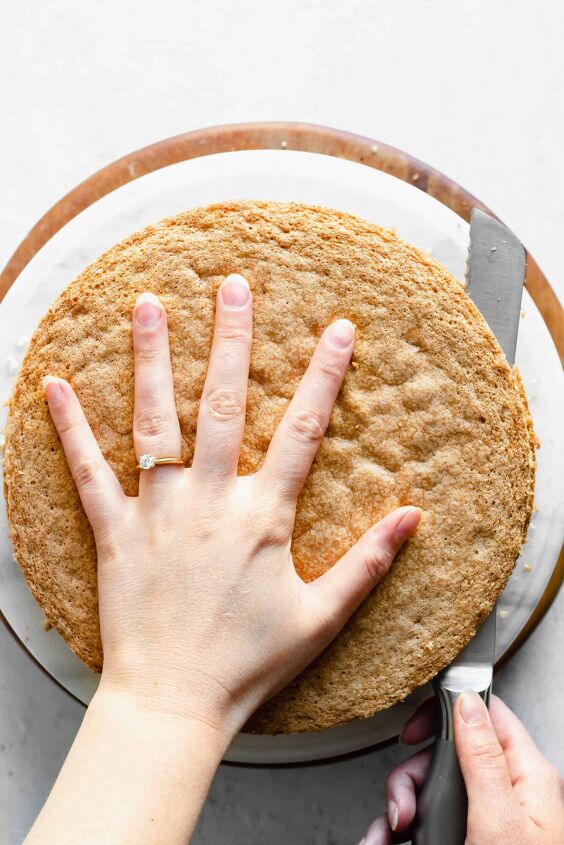
Place one hand on top of the cake and use a serrated knife to score a horizontal border in the bottom third of the cake. Then, follow the border, pulling the knife towards you as you gently put pressure inward and turn the cake simultaneously. Continue until the layers become separated. Repeat the process, splitting the next layer in half.
Starting with the bottom slice (the first layer cut off), brush the strawberry simple syrup over the entire layer of the cake. You can also do this using a spoon and drizzling the syrup all over.
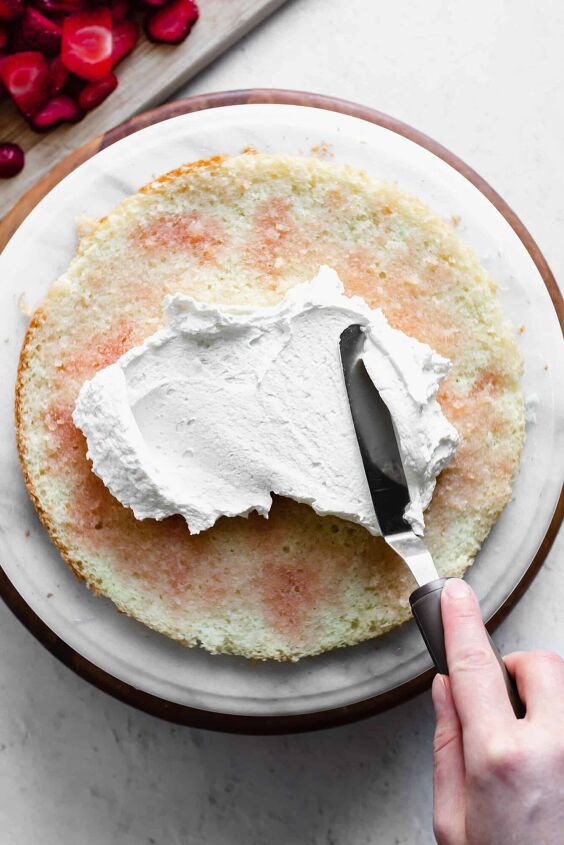
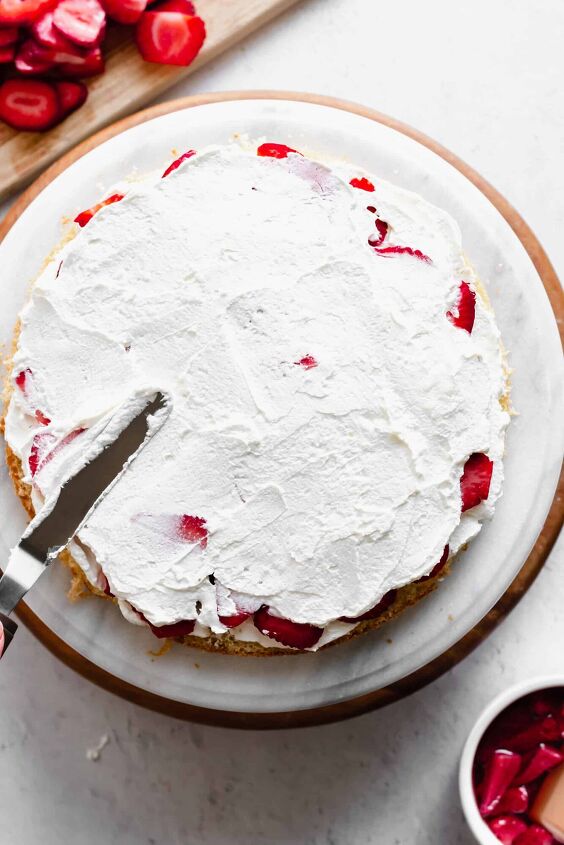
Next, add a small amount of whipped cream and spread evenly so it meets the edges. Only use enough to just cover the cake - another layer will be added on top of the strawberries. Disperse the sliced strawberries completely over the top of the whipped cream, then add another dollop of whipped cream and spread so it mostly covers the strawberries.

Add the middle cake layer on top and press down gently with both hands to help the layers combine. Follow the same steps: simple syrup, whipped cream, strawberries, whipped cream.
Before adding the final layer, brush the underside (exposed crumb side) with the syrup, then add the layer crumb side down. Press again.
Add the rest of the whipped cream to the cake and spread it evenly over the top and sides of the cake to cover it completely. If you have a cake scraper, use that to smooth the sides and top. An offset spatula also works great here (that's actually what I use for this cake since it doesn't need to be perfect).
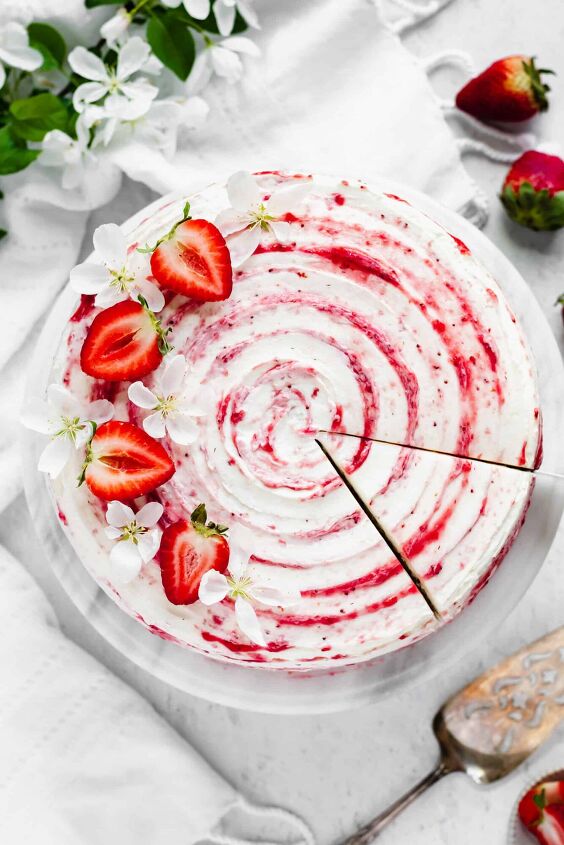
Once covered, add swipes of strawberry puree randomly over the sides and top. I add a dab to an offset spatula or small rubber spatula to swipe it on. Then, use a cake scraper or the same offset spatula to pull the puree through and across the whipped cream to create the striped effect. To get the swirled design on top, place the tip of an offset spatula on the edge of the cake, and spin a turn table continuously, moving the spatula slightly inward until the swirl reaches the center.
- Chocolate Layer Cake
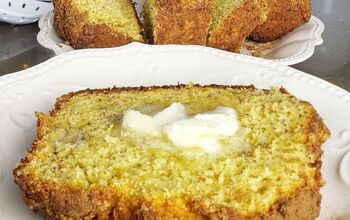
- Lemon Poppy Seed Cake with Cream Cheese Frosting
Strawberry Shortcake Layer Cake (sponge Cake)
Recipe details
- 12 servings
- Prep time: 1 Hours Cook time: 45 Minutes Total time: 1 hr 45 min


Comments
Share your thoughts, or ask a question!