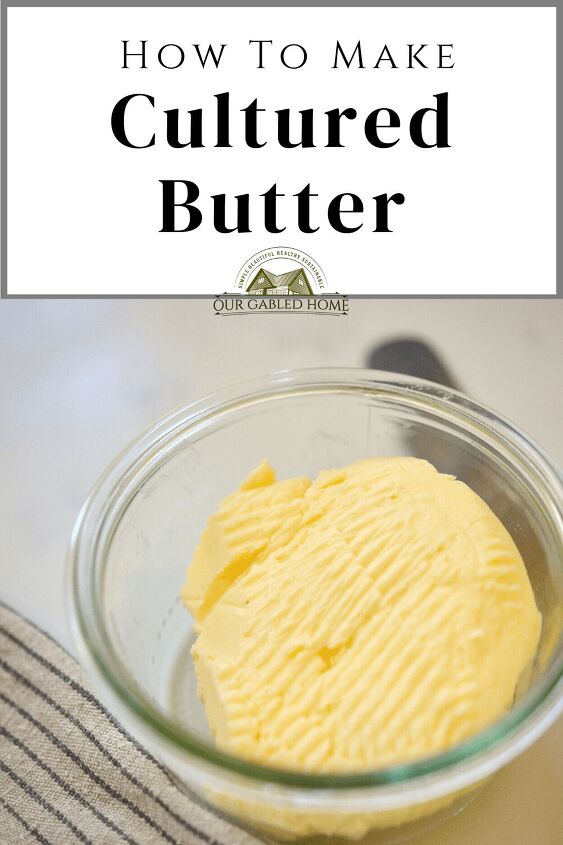
How to Make Cultured Butter | Quick & Easy -

-
Making cultured butter at home is not only easy but also quick. You will love this healthier butter with great taste!
Even though I have been making butter for quite a while, I am now absolutely in love with cultured butter!
In this post, I’ll share how to make it – you’ll be surprised by how quick and easy the process is! But also, I’ll tell you why I think it’s so much better than sweet cream butter.
This post contains affiliate links, which means I make a small commission at no extra cost to you. You can read my full disclosure here.
What’s not to love:
- Easy: if you have been following me for a while, you might know that I am always searching for taking the “complicated” out of everything. This cultured butter could not be simpler to make!
- Quick: I’ll share my favorite piece of equipment to show you that you can really make butter in less than 15 minutes! I am not joking!
- More butter: I have found that I get more butter using soured cream than sweet cream.
- Delicious: in my opinion, butter makes everything better. If you haven’t tasted cultured butter you may be in for a real treat. Fermenting your cream before churning gives the butter a deeper, richer, more complex flavor.
- Healthy: Did you know that cultured butter is actually healthier than sweet cream butter? Let me explain in the next paragraph.
In our home, we are not afraid of butter. There has been a lot of research indicating that butter is actually a very healthy fat. Especially, if it’s made from pasture-raised, grass-fed, or organic milk.
However, by culturing the cream to make butter, you are turning lactose into lactic acid which gives it its slight tang. This is great news for anyone who has issues with digesting lactose. Since lactic acid is a type of probiotic, cultured butter is actually good for your digestion!
You will need only 2 ingredients for your homemade butter:
- Cream: In short, it doesn’t matter what cream you use. However, I always recommend using the best quality cream you can afford. In my opinion, that is raw cream from our raw milk. If you don’t like to use raw dairy or have no access to it, you can perfectly use pasteurized cream, both heavy cream or whipping cream.
- Buttermilk: We need something to culture the cream with. That is where live cultures of fermented dairy come in. I prefer using buttermilk for its mild taste.
While it can be very nostalgic and fun to make butter in an old-fashioned butter churn, I promised you that this would be quick. Therefore, I recommend a few items:
- High-speed blender: This is such a game-changer. With your high-speed blender such as a Vitamix or Blendtec you can churn butter in less than 5 minutes. Keep reading if you’re looking for alternatives to a blender.
- Mesh strainer: In order to strain the butter, I prefer using a medium-mesh strainer. With that, I get these little specks of butter in the buttermilk that I have come to love when drinking it in the European Alps. But of course, you can use any strainer you have.
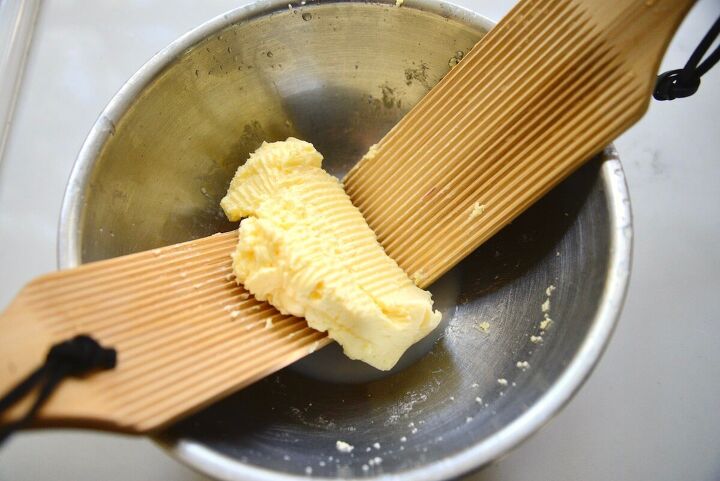
- Butter paddles: Using wooden butter paddles helps squeeze liquid out of the butter while not handling it with your warm hands.
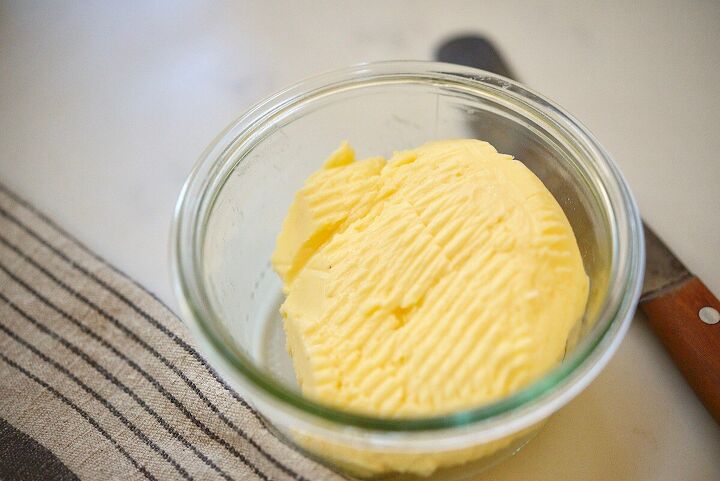
- Glass jars: I love using pint-size mason jars for when I culture my cream. Once, I have made my butter, I often keep it in nice-looking Weck jars. You can also keep your butter on the counter in a butter bell.
Here are the simple steps to make butter from cultured cream:
- Pour about 2 cups of cream into a glass jar. You can use your cream straight out of the refrigerator.
- Add about 2-3 tablespoons of buttermilk and stir well.
- Cover the jar with a lid, beeswax wrap, cloth, or any other cover.
- Place the cream in the covered container on your counter at room temperature for anywhere from 8 hours to 2 days. Check your cream mixture for your preferred “sourness” or tanginess.
- Pour the sour cream into your blender. Blend on a low to medium setting until the mixture turns into whipped cream but continue blending until the fat separates from the liquid.
- Strain the butter. You can keep the remaining buttermilk and enjoy straight or use it in your favorite recipes.
- Use filtered, cold water to wash the butter and strain. Repeat this step until the water is no longer milky or cloudy.
- Now, use the butter paddles to squeeze out as much liquid as you can.
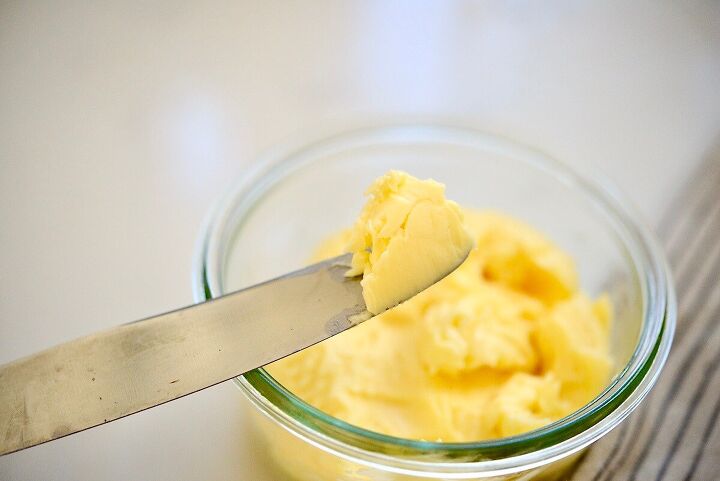
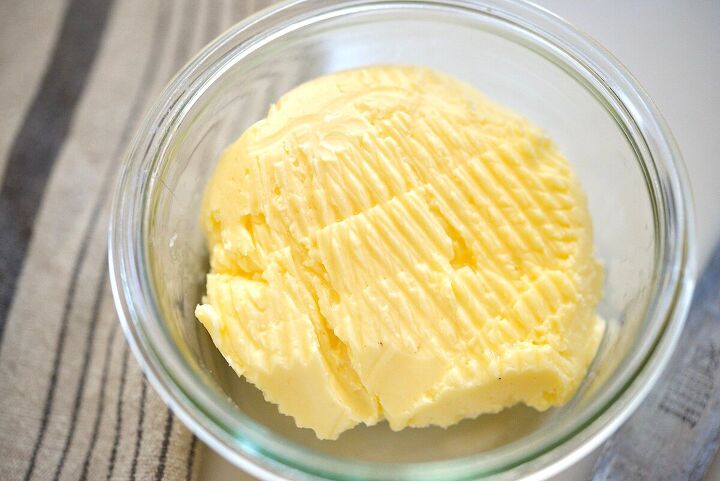
- Transfer your butter into a nice jar, parchment paper, wax paper, or butter bell.
Here are some substitutions and variations for this recipe:
- Blender: if you don’t have a blender for churning your butter, you can use absolutely use a food processor or stand mixer with the whisk attachment. You can even use a hand mixer. Or you use low-tech methods such as an old-fashioned butter churn. Some people simply put the cream in a jar and shake it until they have butter.
- Cream: As I said above, use whatever cream you have. If you use cream from pasture-raised or grass-fed cows you might notice that your butter will be naturally more yellow. This is due to the beta carotene which your body converts to Vit. A.
- Buttermilk: While I prefer real buttermilk, you can also use plain yogurt or kefir for fermenting your cream. If you’re using yogurt, you will need to find a warm place for your jar of cream.
- Butter paddles: I just love using my butter paddles and they are a worthwhile investment if you’re making your own butter regularly. If you don’t own butter paddles, you can also use wide wooden spoons.
- Mesh strainer: Depending on how much butter you want to strain out of your buttermilk you can use any strainer you have. You can even use a cheesecloth or a clean kitchen towel.
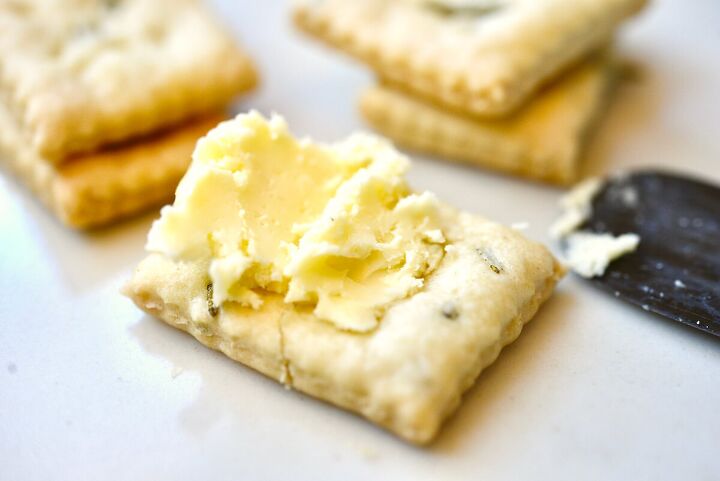
As a good German, there is nothing better than a slice of fresh-baked sourdough bread with some butter and salt.
However, you can use cultured butter in all your favorite recipes. You will find that it has a more pronounced butter flavor and makes baked goods particularly tender and flaky.
You also add other ingredients to your butter such as sea salt, chopped herbs, garlic, or spices such as paprika.
Due to the culturing process, I find that cultured butter lasts longer than sweet cream butter.
- On the counter: if you like to keep your butter on the counter, I recommend you use it within 3 days. Putting it in a butter crock will make it last quite a bit longer.
- In the refrigerator: Since we use butter pretty much every single day, we simply keep it in a little ramekin or Weck jar. We eat it fast enough that it won’t spoil but it should last about 2-3 weeks in the refrigerator. If you cover it tightly, it should last about 4 weeks.
- In the freezer: You can also wrap your butter tightly in wax paper or plastic wrap and keep the butter in your freezer for about 4 months.
Here are some additional notes and tips for best results:
- Where to ferment the cream: I like to keep all my ferments at least 4 feet separate from each other. Sometimes, I have sourdough, sauerkraut, or other ferments and I don’t want any cross-contamination.
- Best temperature: I find that cream churns best when it is at 50˚-60˚F. For me, that means that in the summer, I place my soured cream in the refrigerator overnight, then take it out and let it sit on my counter for about one hour.
- Water: Often, tap water will contain chlorine which I like to keep away from all of my ferments. Therefore, I only use filtered water for washing my cultured butter. You can also let tap water sit in an open container for about 12 hours during which time the chlorine should evaporate. Or boil your tap water for about 15 minutes.
- Water temperature: You definitely want to use cold to ice-cold water. You can always add some ice cubes to your washing water to keep the butter from getting too warm.
- Using your hands: You can use your hands to squeeze any liquid out of the butter. I do recommend that you start with fairly cool butter, use cold water for washing the butter, and work fast so as to not warm up the butter too much.
How to Make Cultured Buttermilk
How to make Old-Fashioned Butter
Slowing Down Your Kefir
Homemade Yogurt
Tender and Flaky Einkorn Pie Crust
German Crusty Bread Rolls
Artisan Sourdough Bread
Vitamix blender
Mesh strainer
Butter paddles
Pint size mason jars
Weck jars
How to Make Cultured Butter | Quick & Easy -
Recipe details
- 1 cup
- Prep time: 15 Minutes Cook time: 0 Minutes Total time: 15 min


Comments
Share your thoughts, or ask a question!