


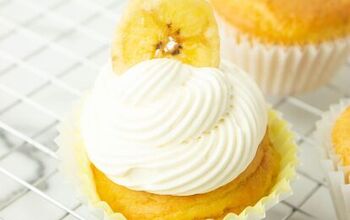
Secret Ingredient Banana Pudding Cups
Today, we’re making Secret Ingredient Banana Pudding Cups!

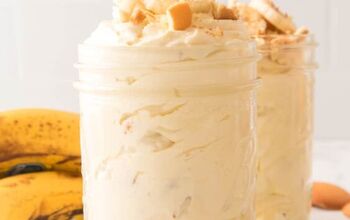
We all know I love anything in miniature or single serve size, and these delicious little dessert cups are it. We’re taking perfectly ripe bananas, homemade whipped cream, and store bought cookies and pudding then layering it all in portable little cups making for beautiful presentation and easy eating. But not without a secret surprise ingredient!
In the name of suspense, let’s work backwards through each layer. So, we’ll start at the top with some homemade whipped cream. All we need is some cold heavy cream, a little powdered sugar, and some vanilla bean paste. We’ll use a stand mixer to whip the cream to soft peaks, add in the sugar and vanilla, beat a few seconds longer, and voila…homemade whipped cream! It truly couldn’t be easier. Now if you don’t have vanilla bean paste, you could totally use
vanilla extract instead. I just really like to see the little vanilla bean speckles in my whipped cream.

Next, let’s talk banana. The more ripe the banana, the sweeter it is. But along with that also means the more mushy it is. I find that the perfect banana for banana pudding is yellow and still mostly firm to the touch, with about 50% brown spots on the peel. This gives us both the sweetness that we need for the dessert and the firmness we need to hold up to all the creamy elements. I like the slice the bananas pretty thin, maybe an 1/8 inch thick or so. And, that seems to be the right ratio to get a gentle banana bite without it taking over the whole pudding cup.
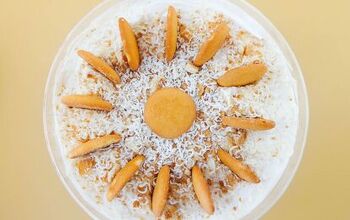
For our cookie layer, there are traditionally two ways your can go in banana pudding: Nilla wafers or Chessmen butter cookies. It actually seems to be a pretty hot debate. In all honestly, I’ve never tried Chessmen cookies because I was raised in a Nilla wafer family. So, I guess I’m biased! As a result, we’re using Nilla wafers in our pudding cups. But, if you’re from a Chessmen family…go for it.
The last component we need to talk about for these dessert cups is the pudding layer. And, this is where the secret ingredient comes in! We’re going to use store bought instant vanilla pudding mix in these dessert cups. I know, I know. But, there’s absolutely no shame in letting the grocery store do some of the work for you. However, we’re going to jazz the pudding up with my secret ingredient: vanilla ice cream!
Instant pudding mix calls for milk in the directions to help it blossom into pudding. But for this recipe, we’re taking half of the milk called for in the recipe and substituting it with melted vanilla ice cream. We’ll get the ice cream into a measuring glass. Microwave it for only about 30 seconds until it’s JUST melted. We don’t want it warmed at all. Then we’ll add the rest of the milk called for on the box, whisk it all together, and let the pudding hangout for a minute to set.
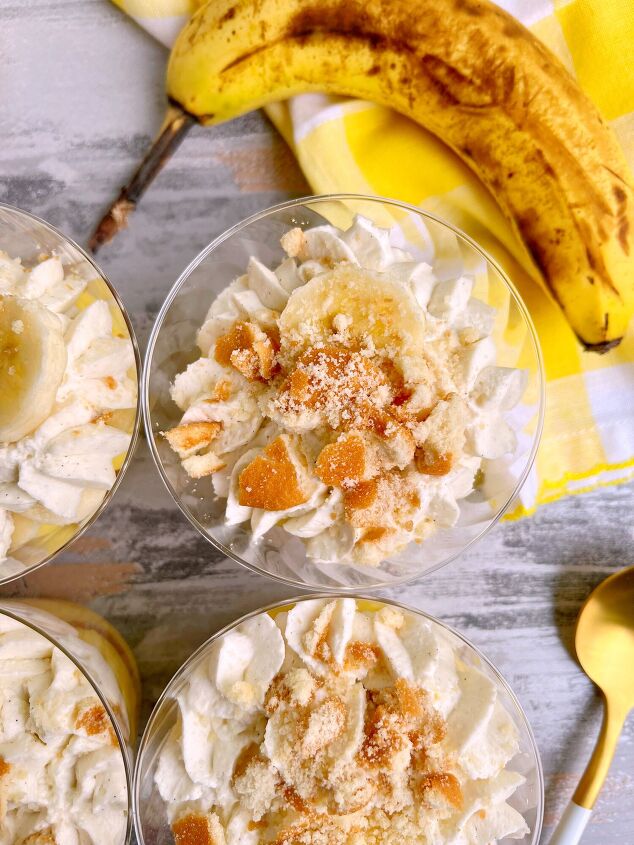
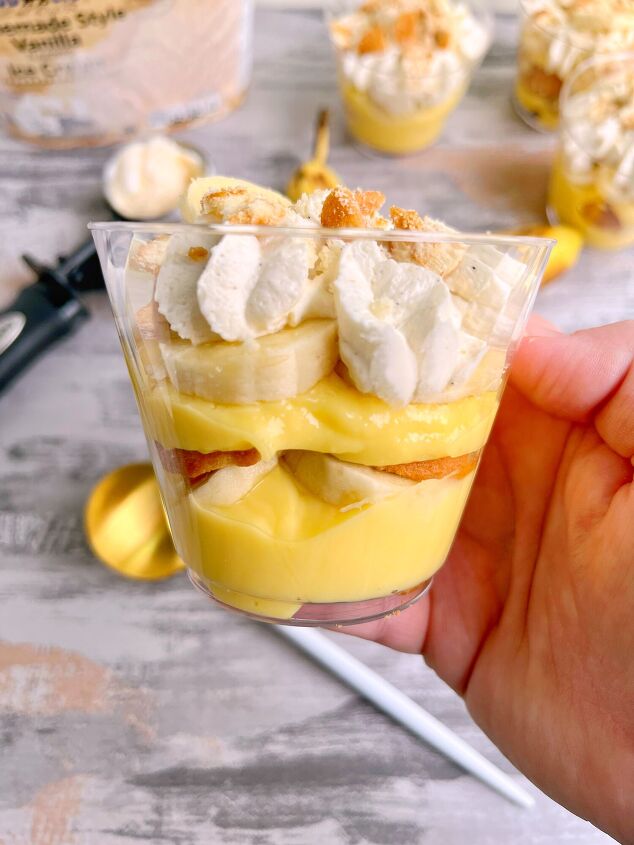
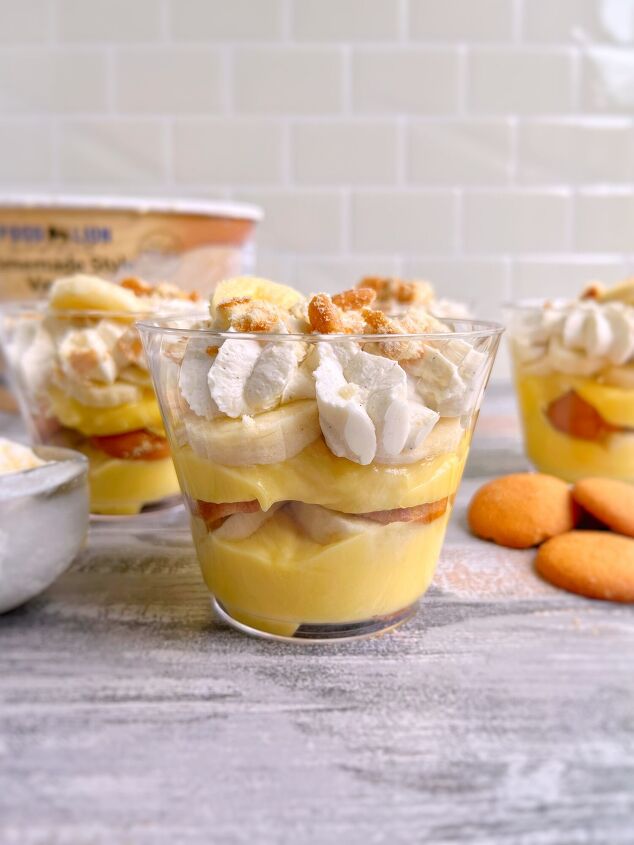
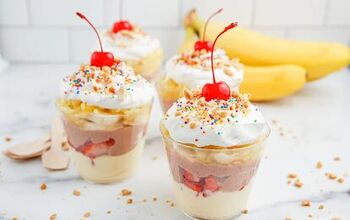
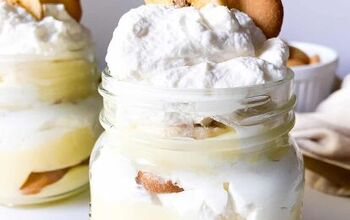
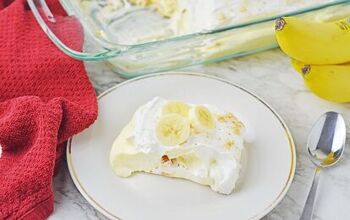
To assemble to cups, we’ll take a small, clear cup of some sort. I like to use 9oz Chinet disposable punch cups, but a rocks glass or even a stemless wine glass would look pretty too. We’ll layer in the cookies, the pudding, the banana, and repeat. Then, we’ll finish the whole thing by piping on some of our homemade whipped cream. Garnish the cups with another little banana slice and a crushed cookie to make it look nice. And, let these hang in the fridge for a little bit so those cookies can soften and be absorbed into the dessert.
These banana pudding dessert cups are so easy to assemble, they use completely basic ingredients, but they are so dang good. The secret ice cream hiding in the pudding adds an unexpected layer of richness while adding a little extra hint of vanilla. It’s simple and not necessarily recognizable, but man is it delicious. Combine that with just sweet enough bananas, just sweet enough cookies, and just sweet enough whipped cream; and you have a vanilla laced dessert that’s both light and decadent at the same time.
Alright, everyone! Are you surprised about the secret ingredient in this one? Just wait until this week’s cooking for one video where I introduce a SECOND secret ingredient to this same exact dessert. You won’t want to miss it, so make sure you’re following along on the socials!
I hope you guys love this one. And, let’s eat!
Secret Ingredient Banana Pudding Cups
Recipe details
- 6 servings
- Prep time: 1 Hours Cook time: 0 Minutes Total time: 1 hr


Comments
Share your thoughts, or ask a question!