


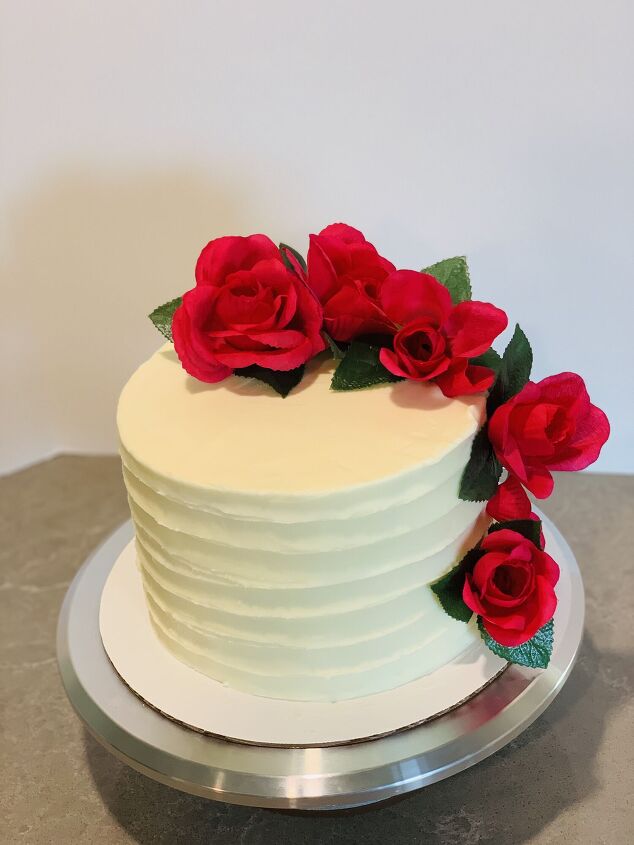
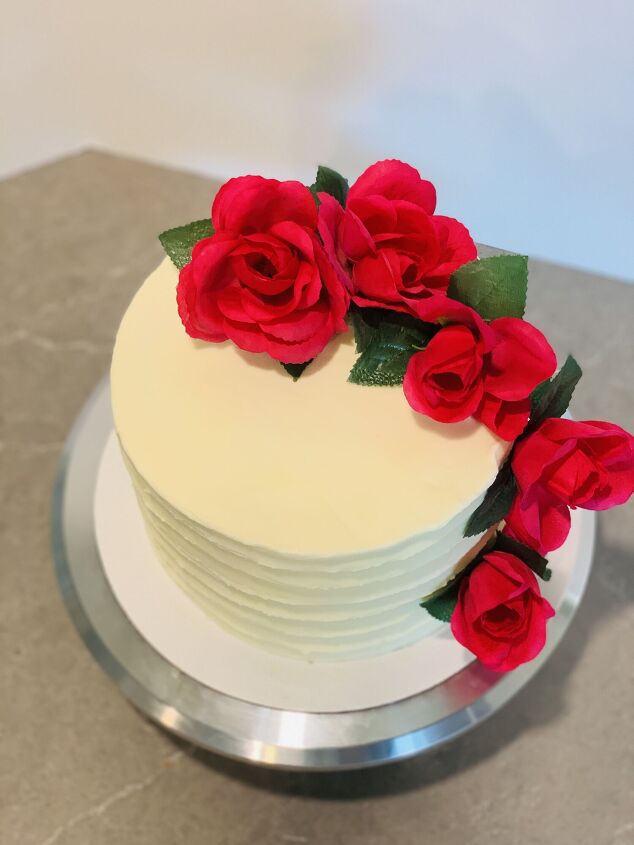
Easy Textured Buttercream Cake
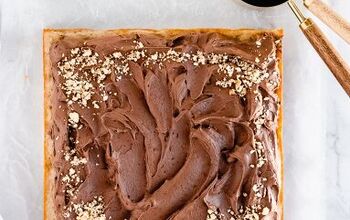
If you spend much time looking through Pinterest or Instagram at cake ideas, you’ve almost definitely seen this textured icing style before! Honestly, when I’m in the mood for an easy cake I prefer texturing my cake sides to trying to get them completely smooth! ;) Usually way faster and I get way less frustrated. I’ve done the same thing with chocolate buttercream and texturing the frosting works great either way!
The flowers were a fun touch; I found them at a craft store and washed and taped the stems. You can do the same thing with real flowers if you prefer! :) Happy baking!
(Note - not all the links in my original recipe post carry over here; if you need a link that doesn't work on Foodtalk check out IntensiveCakeUnit.com/easy-textured-buttercream-cake  )
)

Easy Textured Buttercream Cake
Recipe details
- 1 cake
- Prep time: 30 Minutes Cook time: 35 Minutes Total time: 1 hr 5 min


Comments
Share your thoughts, or ask a question!
I wouldn’t use anything on top unless it’s edible or can be washed.
I created this rose garland for this wedding cake with fresh roses imported from Ecuador.