


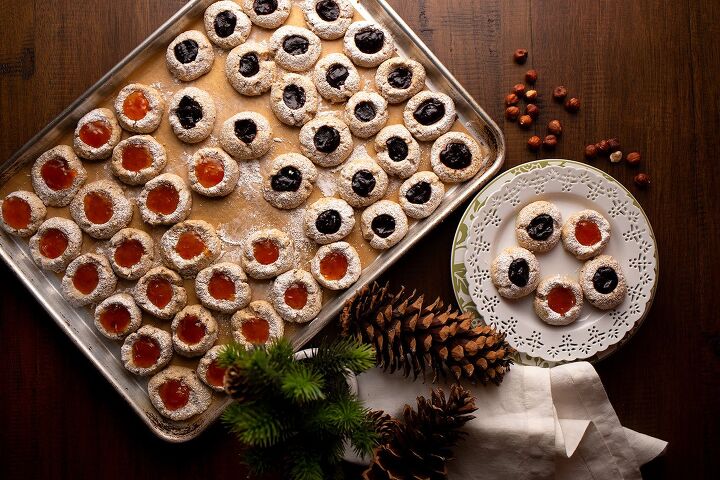
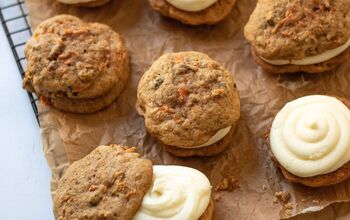
Hazelnut Jam Prints
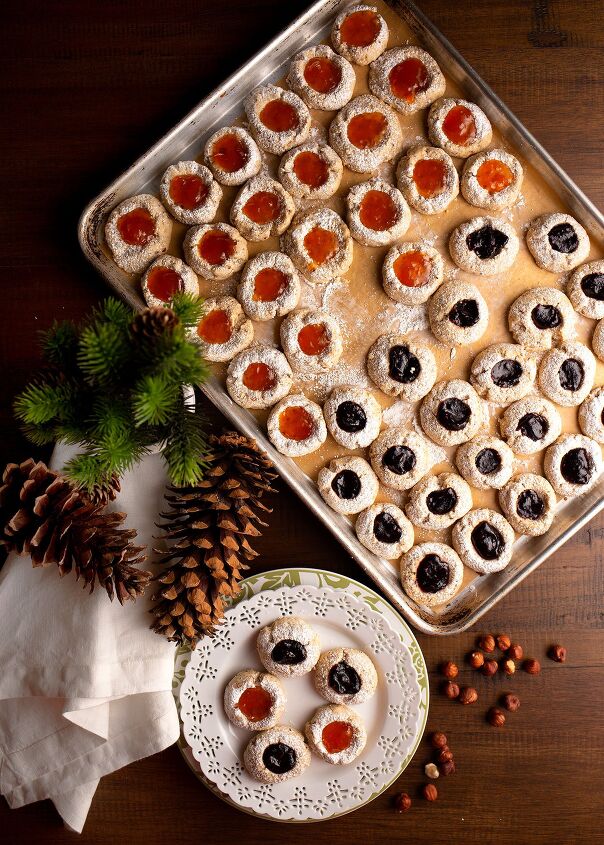
What could be more festive on a cookie tray or dessert bar than jewel-toned jelly-filled cookies for the holidays? Some people call them Thumbprint Cookies, but most thumbs are too big to make that nomenclature a viable option when actually making the cookie. SO ... I like to call them "JamPrints" and you can use your pinkie or my favorite tool, the end of a round-handled wooden spoon, to make the indention! The best thing is that these Hazelnut Jam Prints taste as delicious as they are pretty!
And as usual, I've tested them with a gluten-free flour blend so that they are available to everyone who thought they had to give them up!
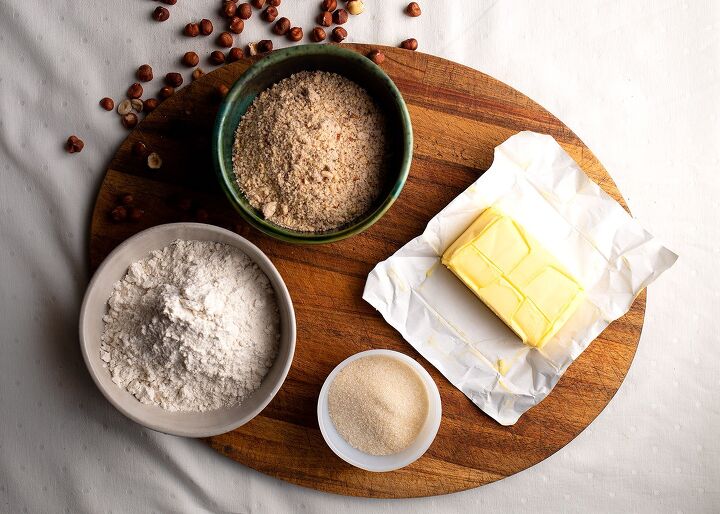
This is another cookie that has minimal ingredients which makes it easier to dive in ... just butter, a little sugar, flour, and ground hazelnuts. Oh ... and vanilla and almond extracts.
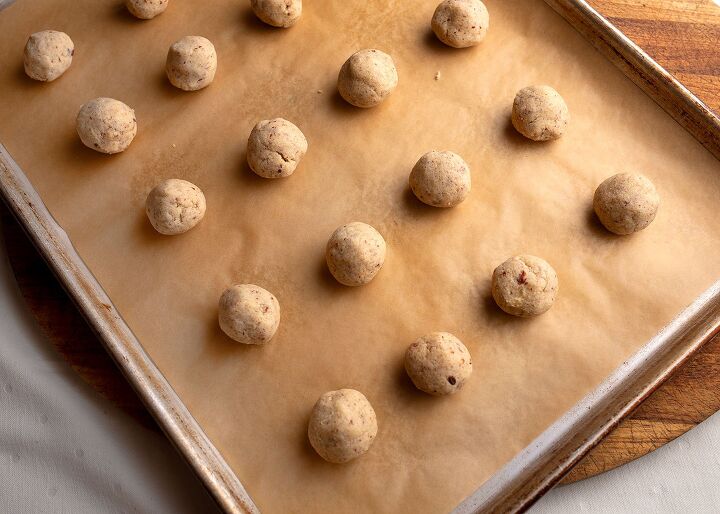
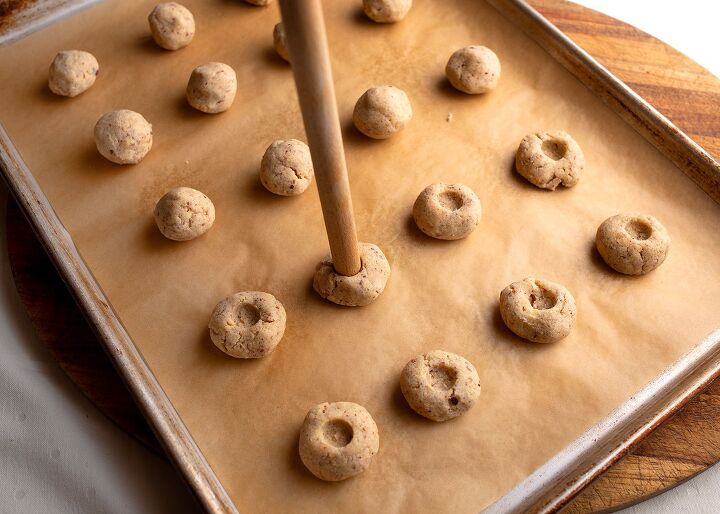
To form the Hazelnut Jam Prints, make small balls, then use the end of a round-handled wooden spoon to make an indention for the jelly filling. Indent only about halfway or the middles will burn. After they come out of the oven, you'll have to reinforce the indention, but it's better than having burnt middles!
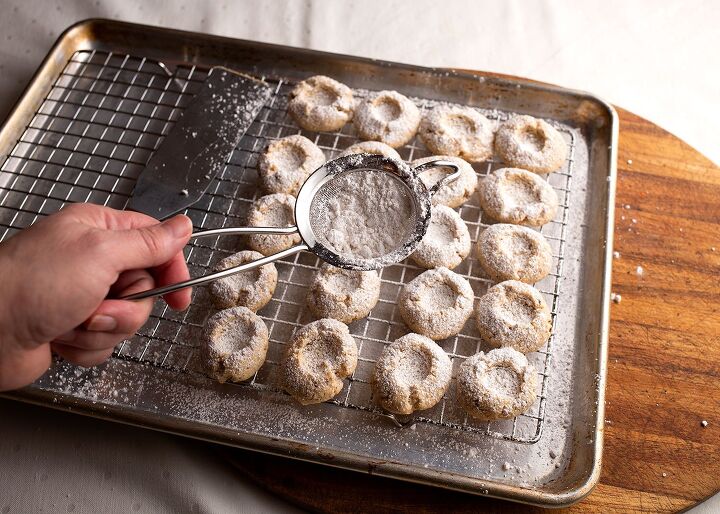
Let them cool a bit, then sprinkle with powdered sugar using a small, fine-mesh strainer.
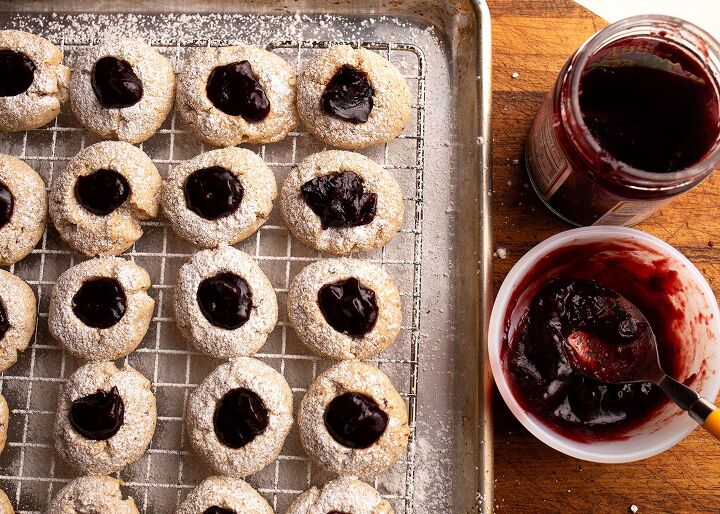
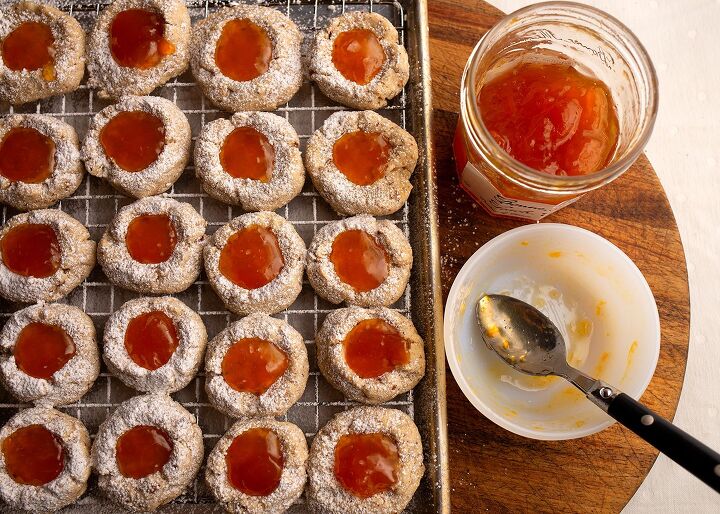
Now comes the fun part ... filling them with jelly! I usually do a berry jelly as well as a stone fruit one. Raspberry and peach are my favorites and they pair so well with hazelnuts. But you should fill them with whatever jelly you love most.
Pro Tip!
When using jelly or jam to fill cookies, warm it a bit first. You can use the microwave or a small sauce pan on the stove. It will be easier to get an accurate and smooth amount in the indention and it will firm up again perfectly.
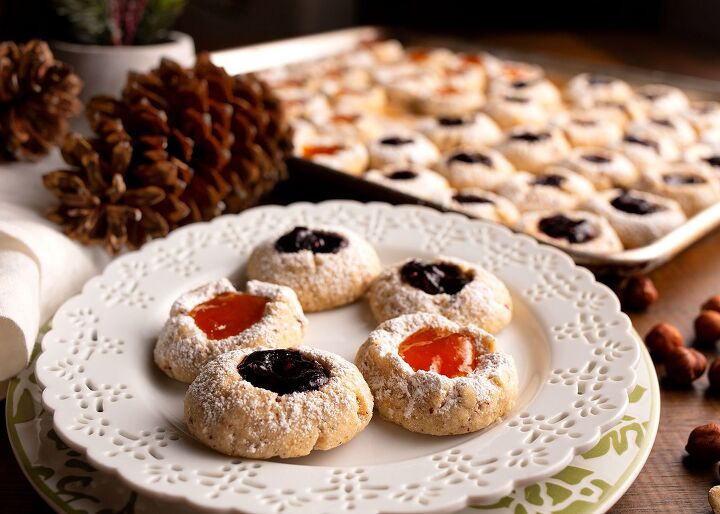
All that's left is to serve Hazelnut Jam Prints up with afternoon tea, after-dinner coffee, or to put them on a cookie tray for a party. Or eat them for breakfast!
Store Hazelnut Jam Prints in an air-tight container ... a glass one or a tin. Layer with parchment paper or waxed paper between.
Hazelnut Jam Prints
Recipe details
- 4 dozen
- Prep time: 20 Minutes Cook time: 15 Minutes Total time: 35 min


Comments
Share your thoughts, or ask a question!
I want to try these. I need to find the hazelnuts.
Super yummy! Only thing I do different is add the jam or jelly before baking. Apricot, pineapple and raspberry are the top contenders.