


Spooky Glazed Cinnamon Sugar Cookies
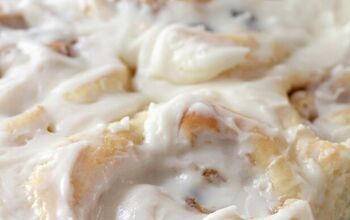
So these buttery, glazed cinnamon sugar cookies are different from what you’re used to on the blog. The cookie dough is way thicker to enable it to be rolled out and pressed with a cookie cutter. Since we’re in the spirit of Halloween, I used spooky-themed cookie cutters. These cinnamon sugar cookies are glazed with a simple white chocolate icing for the ultimate touch. The lighter consistency of the white chocolate icing is super handy for any of your spooky decorating needs.
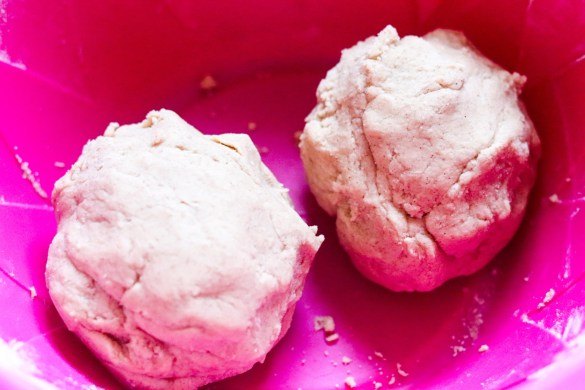
The roll out cookie dough
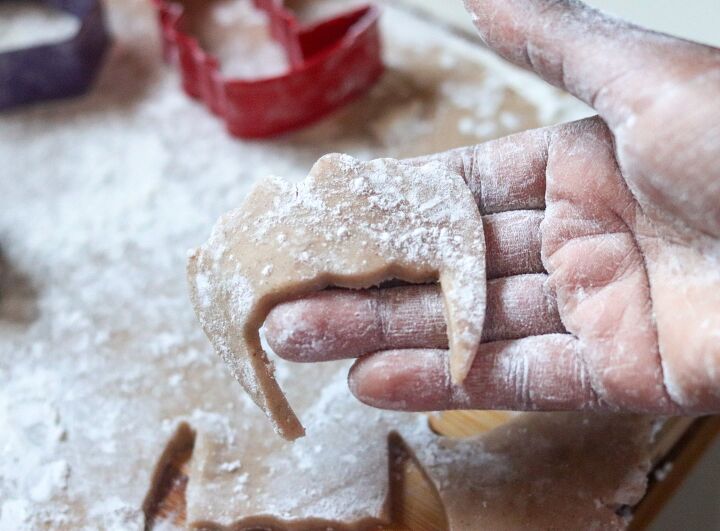
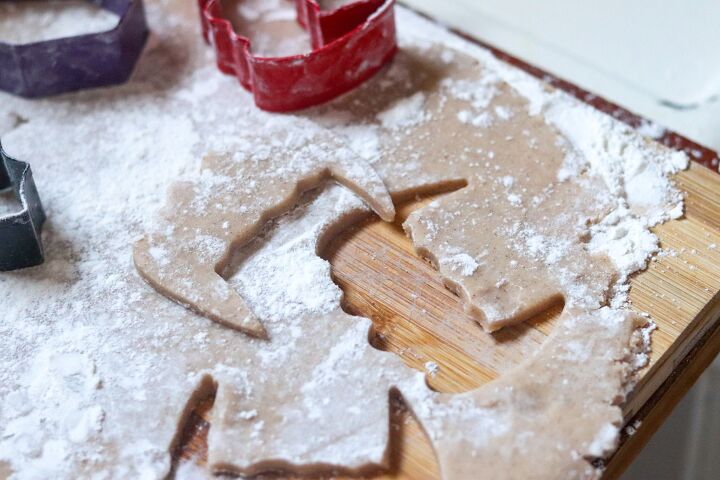
Like I previously mentioned, these rollout cinnamon sugar cookies are not your regular cookies. The cookie dough doesn’t spread out during baking and it is less sticky. This allows you to cut out the dough easily with cookie cutters. To start off, I like separating the cookie dough into two. Each cookie dough ball is rolled out with a floured rolling pin on a floured surface. Then a cookie cutter is pressed into it. Dip your cookie cutter into flour first to make shaping the dough easier. Roll any remaining scraps into a ball again, flatten again with a rolling pin and repeat the cookie cutting process. These are so fun to make and can be a cool family activity.
The white chocolate glaze
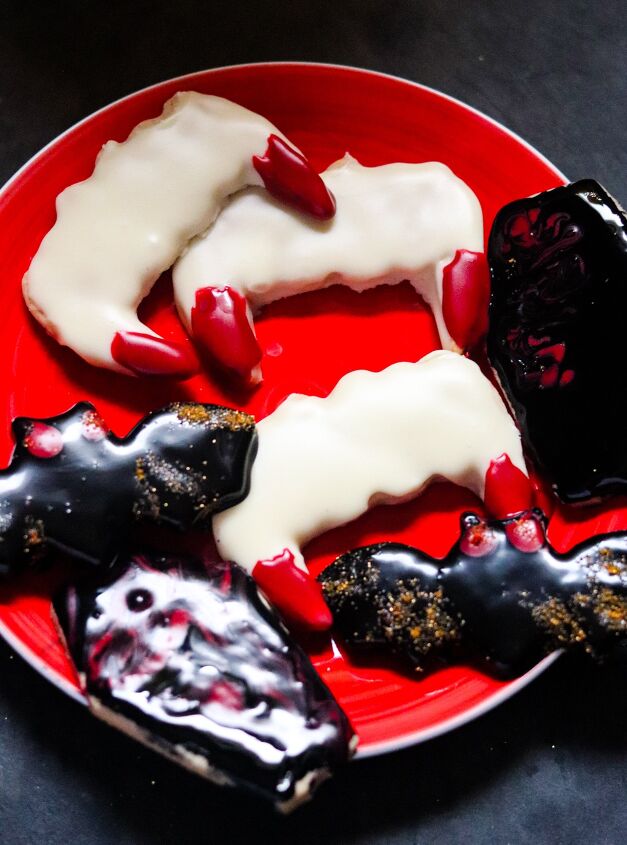
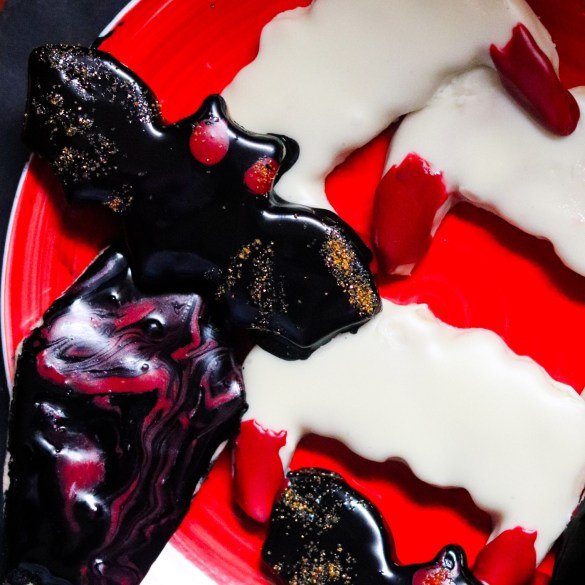
The white chocolate glaze is what makes the recipe super killer! It is such a smooth finish and is honestly a good surface to draw spooky decorations. I made some sparkly black bats, bloody vampire fangs, and bloody coffins but the opportunities with this recipe are endless! If you are planning on decorating on the white chocolate glaze, the cookies have to be refrigerated after you spread the glaze on the cookies. This will give you the hard and smooth surface you need. Or you can directly pipe the glaze into the cookie, and then refrigerate them before serving. It’s all up to you! Happy spooky baking!
Use cookie cutters of your choice. Dust each cookie cutter with flour then press into the flattened cookie dough. Scoop it up to catch the cookie shape.
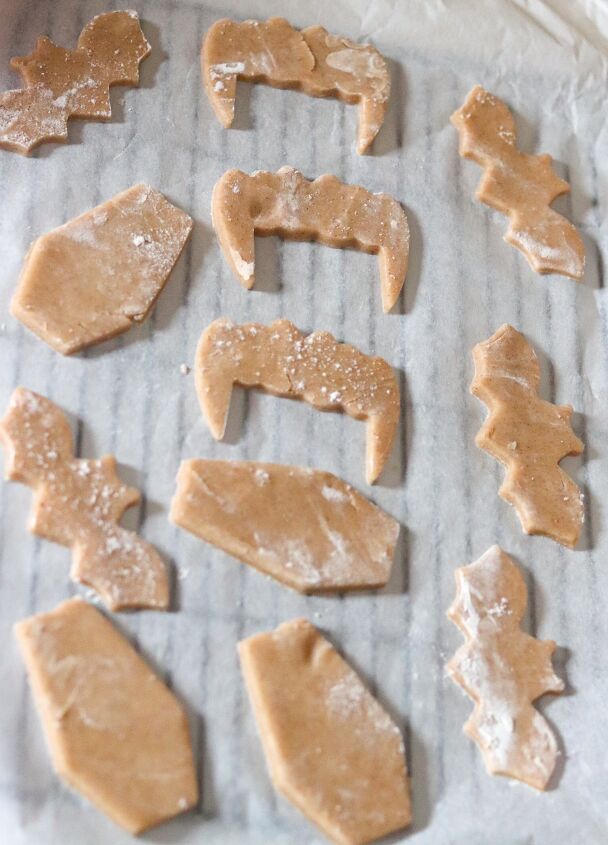
Place your cookies on the lined baking tray, leaving about 1 inch (2 cm) of space between them. I made these cookies in 4 batches.
Bake cookies for 10 minutes until the edges are lightly browned. Let them cool on a wire rack. Repeat this step until all the cookie dough is finished up.
Decorating with the white chocolate glaze:
- Melt white chocolate chips in a large mixing bowl in the microwave until smooth.
- Whisk the melted white chocolate chips, heavy cream, and icing sugar together until smooth. This is your glaze.
- Check the consistency of the white chocolate glaze: it shouldn't be too thick like buttercream. If that happens, add more cream until a more liquid consistency is reached.
- Decorate your cookies with the glaze (add coloring if you want). I divided my white chocolate glaze into three bowls: one bowl had the white glaze, then the second bowl was mixed with black food coloring, and another with red food coloring.
- To decorate the bat cookies: I spread a fine layer of black glaze over the bat-shaped cookies using a flat spatula. Then I refrigerated it to set the glaze. After that, I used a toothpick inserted into the red glaze to form the glowy eyes and placed some sprinkles of gold using a paintbrush to define the bat wings.
- To decorate the vampire fang cookies: I spread a smooth layer of white chocolate glaze using an icing spatula over the fang-shaped cookies. I refrigerated them to harden the glaze. Then outlined the bottom of the fangs with the red glaze to make them look like blood-stained fangs.
- To decorate the coffin cookies: I spread a smooth layer of black glaze over the coffin cookie with an icing spatula then added drops of the red glaze to make it look "bloody" using a squeeze bottle.
- Always refrigerate the cookies for a few hours to let the glaze set completely before serving.
Did You Make This Recipe?
I would love to see your creations! Tag me on Instagram at @thefoodybean
Spooky Glazed Cinnamon Sugar Cookies
Recipe details
- 24-36 Cookies
- Prep time: 20 Minutes Cook time: 45 Minutes Total time: 1 hr 5 min


Comments
Share your thoughts, or ask a question!