Dark Chocolate Mousse Domes: Two Ways

12 Servings
1 hr 40 min

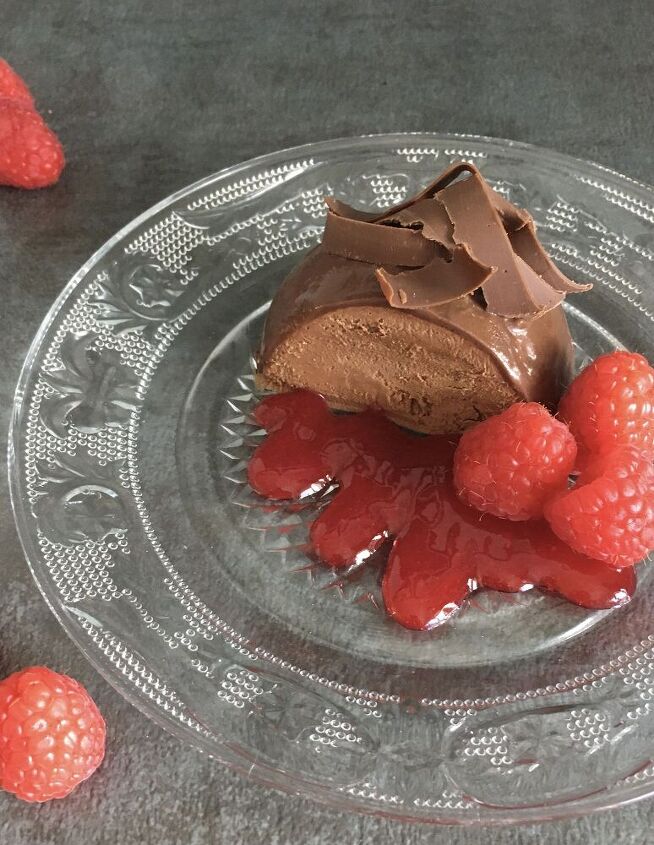
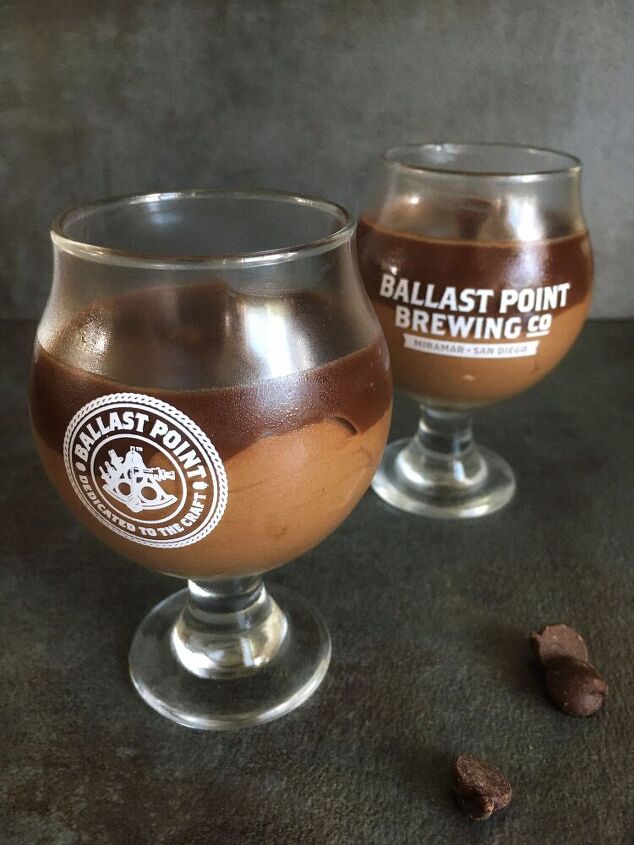
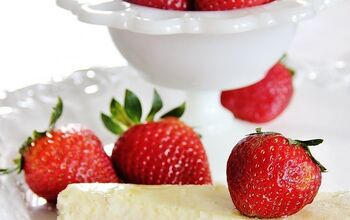
Rich, creamy chocolate mousse gets topped with a dark chocolate ganache or enveloped in a sweet chocolate shell - your choice! This fun, easy recipe gives you two options for gettin' fancy!...and, if you don't have a half-sphere mold, these are still super cute and super yummy in glass containers! I've even done these in mason jars and made mousse-to-go: great for a picnic! Moreover, whether you serve with raspberry sauce for a summery sensation or sprinkle with graham cracker crumbs and some toasted marshmallows for for a campfire feel in the fall, this recipe fits any season...and, of course, you can simply serve it with a spoon. No matter what, these Dark Chocolate Mousse Domes are sure to impress your guests and satisfy your palate! I hope you enjoy.


Choose a silky, fudge ganache...

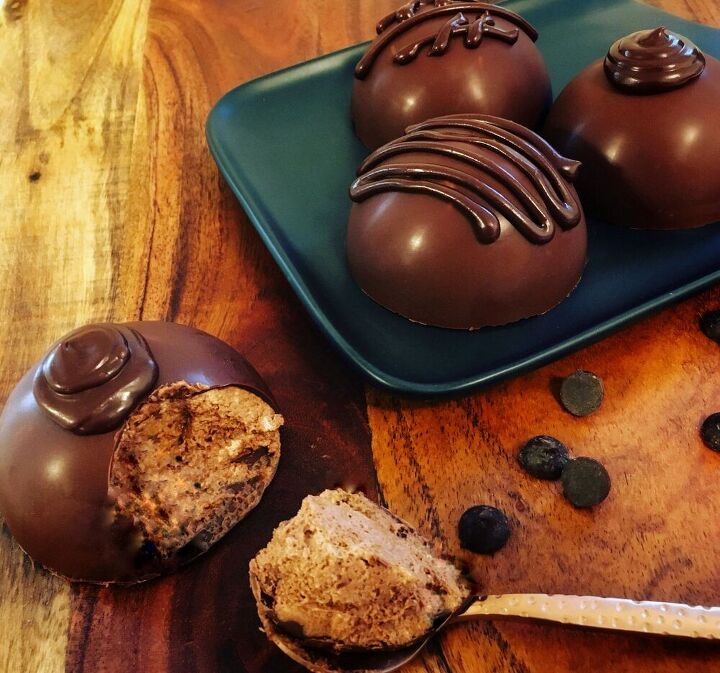
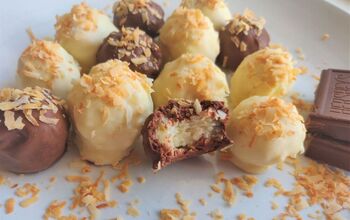
...or a sweet candy shell...

...or make the recipe as my Simply Sinful Rich Chocolate Mousse Cups if you don't have half sphere molds!

Dark Chocolate Mousse Domes: Two Ways
Recipe details
  • 12  Servings
  • Prep time: 50 Minutes Cook time: 50 Minutes Total time: 1 hr 40 min
Show Nutrition Info
Hide Nutrition Info
Ingredients
Option 1: Chocolate Shell
  • 2 ounces white candy coating dipping chocolate (Stater Brothers’ brand is the best)
  • 3 ounces semisweet chocolate chips
Option 2: Ganache Glaze
  • 4 ounces of semisweet chocolate (Baker's)
  • ¼ cup light corn syrup
  • ½ cup heavy whipping cream
  • 1 ½ tsp vanilla extract
Mousse
  • 6 ounces semisweet chocolate (Baker's)
  • ¼ cup whole milk
  • 1 tsp espresso powder (optional but highly recommended)
  • ½ cup salted butter (1 stick)
  • 1 egg yolk, room temperature
  • 1 cup heavy whipping cream, cold
Instructions
Chocolate Shell Domes
Melt dipping chocolate: Chop the white dipping chocolate then combine white dipping chocolate and chocolate chips in a heatproof bowl. Microwave at 30 second intervals, stirring after each interval for 10-15 seconds. Continue this process just until chocolate is smooth; careful not to over-microwave…we don’t want burnt chocolate. (This took me a total of 90 seconds).
Paint your domes – if you have a culinary paintbrush, have at it! Otherwise, I use the back of a teaspoon. Carefully “paint” the inside of each dome mold, trying to an even and thin coating (but give yourself some grace – if it’s not perfect, it will still be magical)! Wipe off any chocolate that gets outside of the mold using a wet paper towel.
Place domes in fridge…then prep your mousse!
*If opting for ganache glazed domes, the order of preparation is reversed: the mousse gets made first, then the ganache.
Mousse
Separate egg yolk and set aside (this allows the yolk to come to room temperature).
Fill the bottom of a pot with about an inch of water.
Set bowl into pot – the water should not touch the bottom (check by lifting the bowl out to see if the bottom is wet – if it is, dump out a little water and try again) Remove the bowl and turn heat to medium-high to bring water to a boil.
As the water is heating, prep and measure the chocolate, milk, espresso powder, and butter into the bowl.
As soon as water boils, turn the heat down to medium and set bowl into pot. Whisking constantly, melt ingredients together.
As soon as the ingredients are blended smoothly, remove the bowl and set on cooling rack. *Allow to cool 15-20 minutes.
After the mixture has been cooled for at least 15 minutes, start whipping the cream. Place the cold cream into a separate bowl and whip on medium-high speed until medium peaks form (this means that the whipped cream is starting to take shape…but looks like you put whipped cream on a piece of pie then left it for 5 minutes so it’s slightly melted!)
Whisk the egg yolk into your chocolate mixture.
Scoop out 1/3 of your whipped cream and fold into chocolate mixture. Once folded, add the chocolate into the remaining whipped cream and fold until combined.
If using chocolate shell domes, remove the mold from the refrigerator, fill the molds (you can use a piping bag or simply scoop carefully using a teaspoon), cover with wax paper and saran wrap, and place in freezer or fridge (your preference). The domes will be ready to serve in 30 minutes. If using ganache glaze, fill the molds, cover with wax paper and saran wrap, and place in freezer. Prep the ganache glaze (if choosing this option)
Ganache Glaze
Chop the chocolate into chunks (think chocolate chip sized); this will help them melt quickly so the chocolate doesn’t burn.
Measure corn syrup and cream into a small sauce pan. Place over medium-high heat and bring to a boil, stirring frequently.
When the mixture starts to boil, turn off heat and add vanilla and chopped chocolate. Whisk until smooth and then let the mixture rest for 30 minutes.
Prep baking rack on top of wax paper. Remove domes from freezer and pop out of molds onto baking rack. Pour glaze evenly over domes. Place baking rack into fridge for 10 minutes to set domes (and scrape any leftover glaze into a jar or plastic squirt bottle for later use).
After the domes have set for 10 minutes, place them into a storage container and freeze them for 20-30 minutes before serving.
Tips
  • *I’ve stored and served these both from the freezer (let stand for 5 minutes at room temperature before serving) and from the fridge. The various chocolate coatings and mousse take on a different texture and taste from the freezer. I’ve had various taste testers say they preferred the domes from the freezer, while others insisted the ones from the fridge were superior! I’d suggest you try it for yourself! Either way, garnish with Raspberry Coulis, a Candied Orange slice and Dark Chocolate Orange Fudge Sauce, or simple chocolate curls and enjoy! (See my blog for these additional options.)
  • As a foodie, I’ve been reading lately about chocolate…ok ok, as a foodie nerd, I’ve been reading about chocolate! Anyway, one Christmas, my brother and his girlfriend bought me a cookbook called Bittersweet: Recipes and Tales from a Life in Chocolate and I’ve been perusing the brownie section…in this text, Alice Medrich explains the differences between using semisweet chocolate versus cocoa powder in brownies (super interesting! I’d recommend you check it out!)…and it got me thinking: what’s the difference between semisweet Baker’s Premium Baking Bars and semisweet chocolate chips? Why would I choose one or the other? …and while I can’t explain the chemistry to you, I noticed that the first ingredient in Baker’s chocolate bars is semi-sweet chocolate while most semisweet chocolate chips list a form of sugar as their first ingredient…so, we’re on our way to chocolate nerdiness, and choosing Baker’s when a less sugary result is desired!
Jessica | Better with Buttermilk
Want more details about this and other recipes? Check out more here!
Go
Comments
Next