


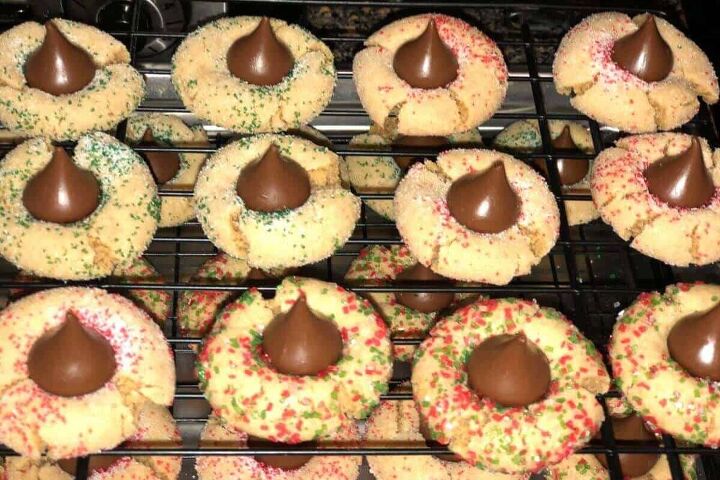
Christmas Hershey’s Kiss Cookies

Christmas is a wonderful time for making sweet treats and goodies to share with friends and loved ones. The Christmas Hershey’s Kiss cookies are sometimes called Peanut Blossoms or Hershey Kiss Cookies. All I know is they are my favorite cookie of all time, and it doesn’t feel like Christmas until I make them each year.
Christmas Kiss cookies don’t have to just be a Christmas cookie. You could use regular white sugar to roll them in and have them year round. Or you could do alternate holidays as well. Red for Valentines, Red, white and blue for 4th of July. Pastels for Easter. The sky is really the limit. But these cookies are a staple in my family for Christmas. If you’ve not had them or it’s been a while, do yourself a favor and whip up a batch this season.
This post contains affiliate links. If you purchase something from those links, I may make a small commission. See our full Disclosure and Disclaimer Policy here.
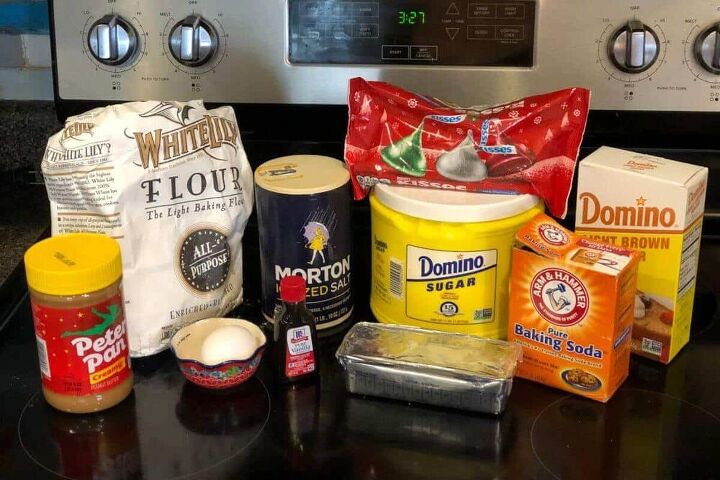
Ingredients
- 1/2 cup vegetable shortening
- 1/2 cup creamy peanut butter
- 1/2 cup white sugar, plus 1/2 cup more for rolling cookies
- 1/2 cup light brown sugar
- 1 egg
- 2 TBSP milk
- 1 tsp vanilla extract
- 1 & 3/4 cup all-purpose flour
- 1 tsp baking soda
- 1/2 tsp salt
- 1 bag Hershey’s Kisses, unwrapped
- Colored decorating sugar
Equipment Needed:
- Stand Mixer
- 2-3 Large Baking Sheets
- Parchment Paper
- Plate for dough
- Small bowls for decorating sugar mixture
Save some $$
Want an easy money saving tip? Grab Hershey’s Kisses when they go on clearance after holidays. I always get the Fall/Halloween ones on clearance and save them for my Christmas baking. It doesn’t matter what color the wrapping was! They are all going to be unwrapped and used anyway!
Baking Instructions – Christmas Kiss Cookies:
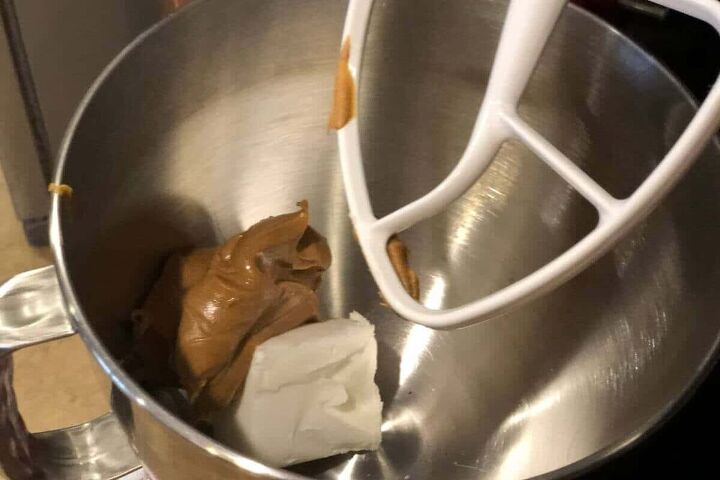
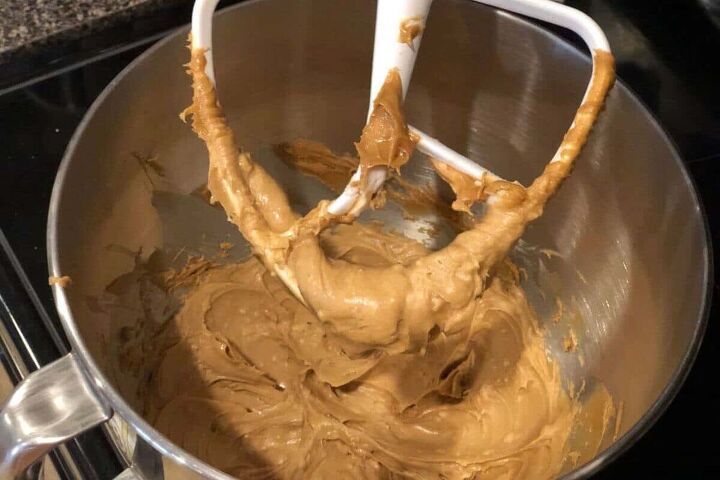
Step 1:
In your stand mixer, cream together the shortening and peanut butter. Make sure it’s smoothly combined.
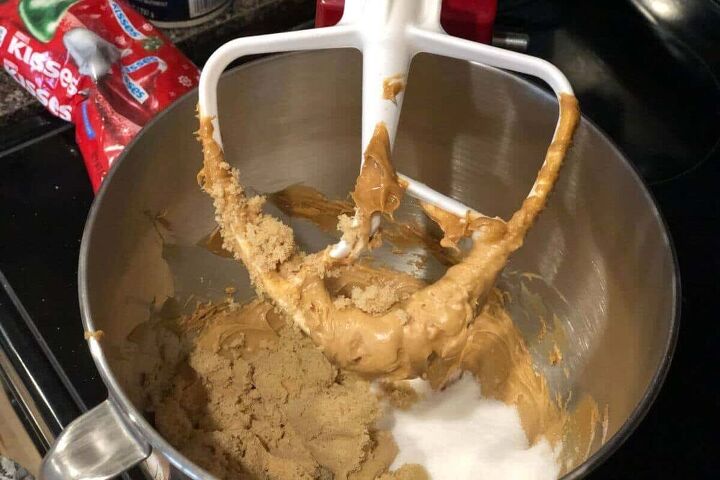
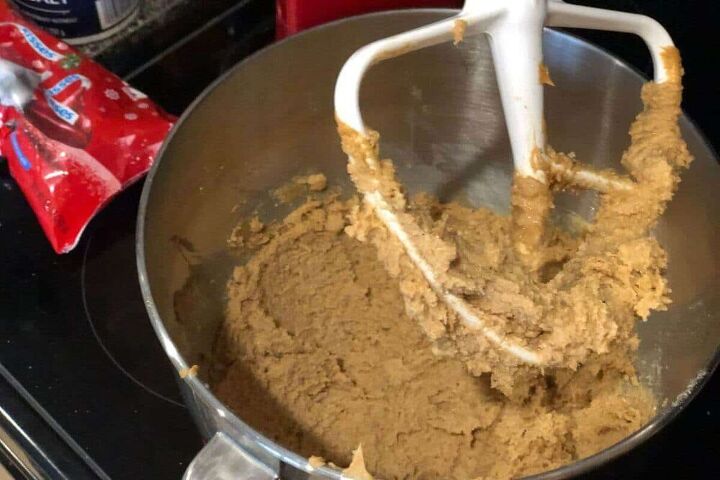
Step 2:
Next, add in 1/2 cup of white sugar and all the brown sugar and mix well.
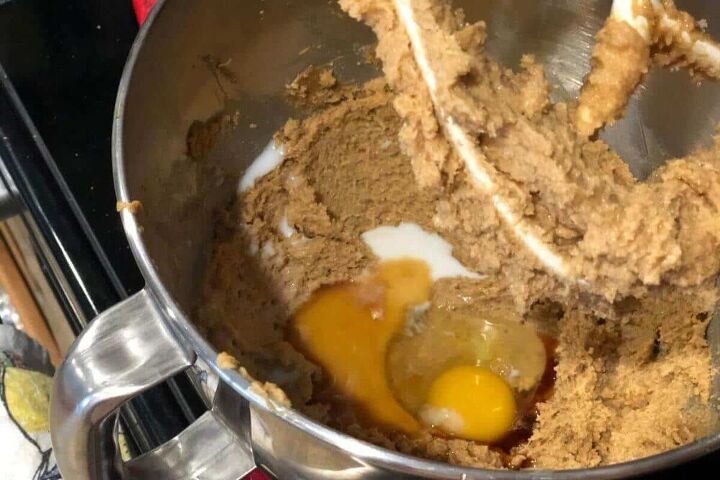
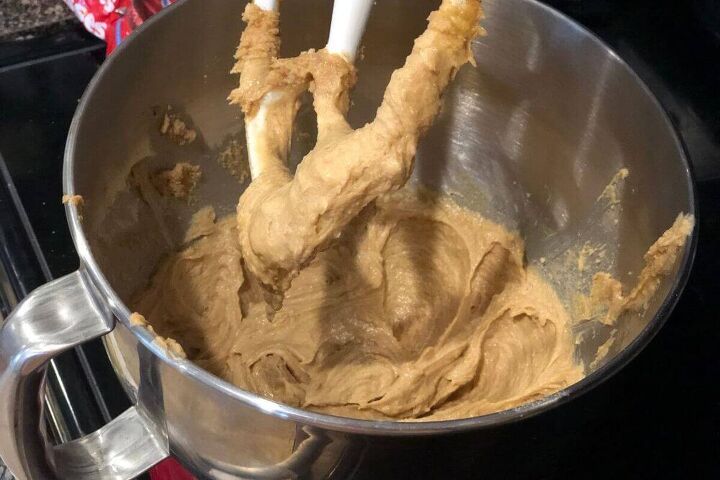
Step 3:
Add in the egg, milk and vanilla and mix well.
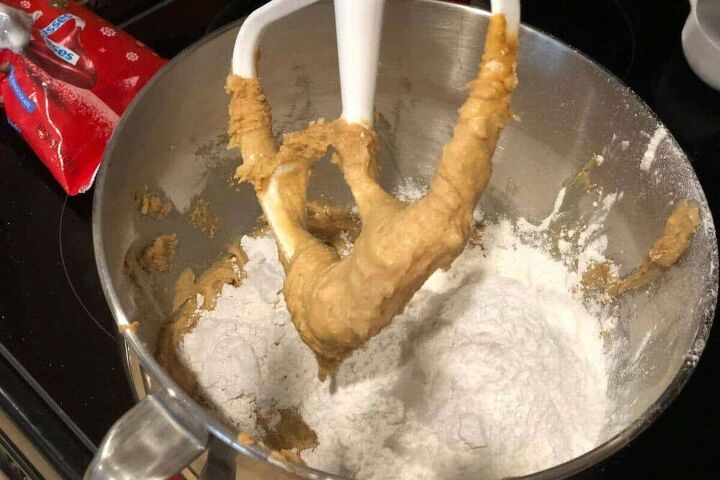
Step 4:
Sift flour, soda and salt into a seperate bowl together. This way there are no big lumps getting added to the mixture.
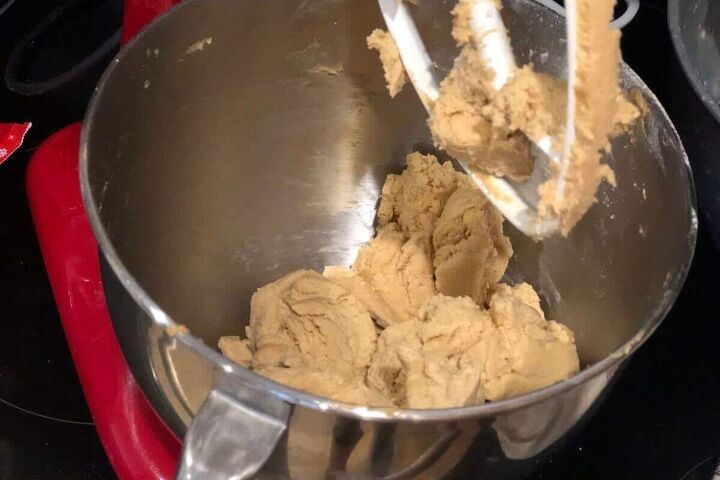
Step 5:
Once sifted together, add the flour mixture to the mixer and mix until well blended. The dough will be very thick. You can add in a few increments if you want to. I just put it all in and slowly (SLOWLY TO AVOID MESS!) let the mixer combine it all together.
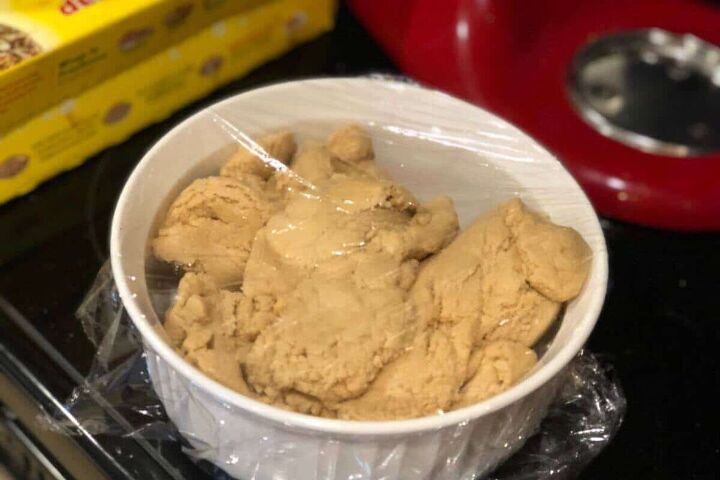
Step 6:
Now that the dough is mixed, it’s time to let it cool. That makes it much easier to roll out later. Let the dough cool in the refrigerator for at least one hour. I’ve even done overnight. Just make sure it’s covered with plastic wrap if you leave it for longer than an hour.
Step 7:
Preheat the oven to 375*.
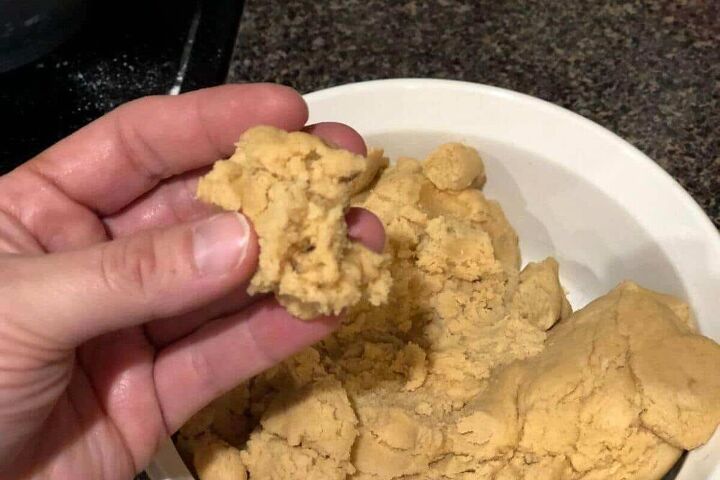
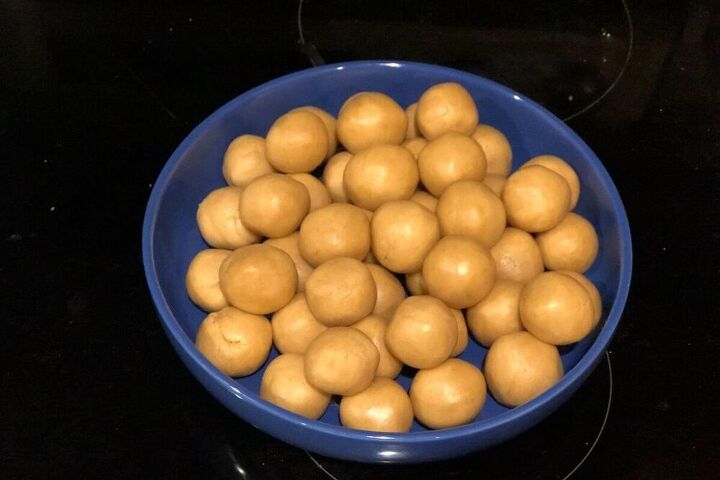
Step 8:
Pinch off pieces of dough and roll the dough into desired size ball shape (I do mine at about 1-1.5 inches in width). That makes for a nice size cookie when it spreads and bakes. Once I have the balls rolled, I just set them on a large plate and let them sit until I’m ready for the next step.
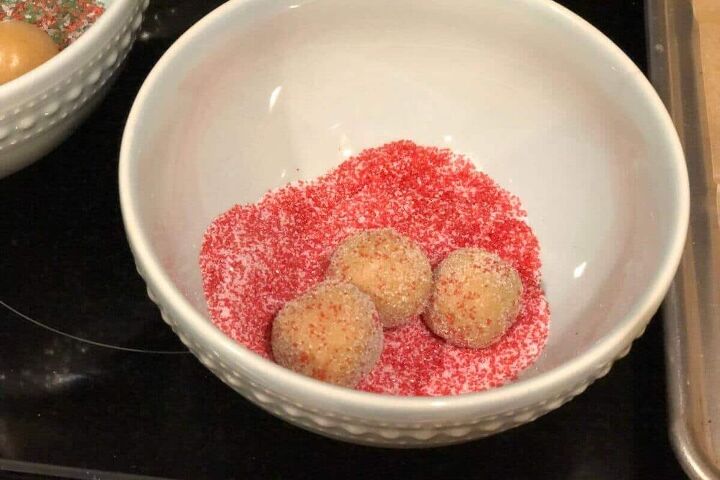
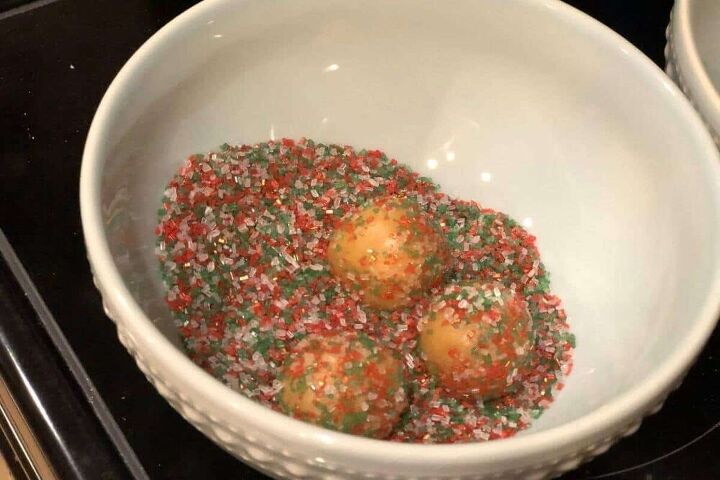
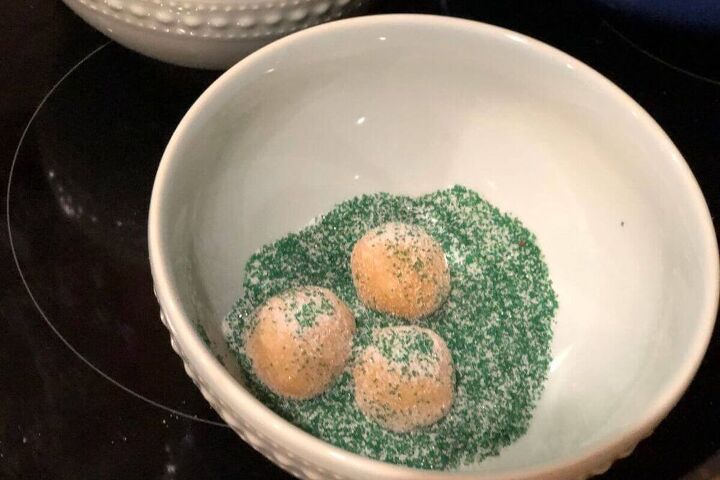
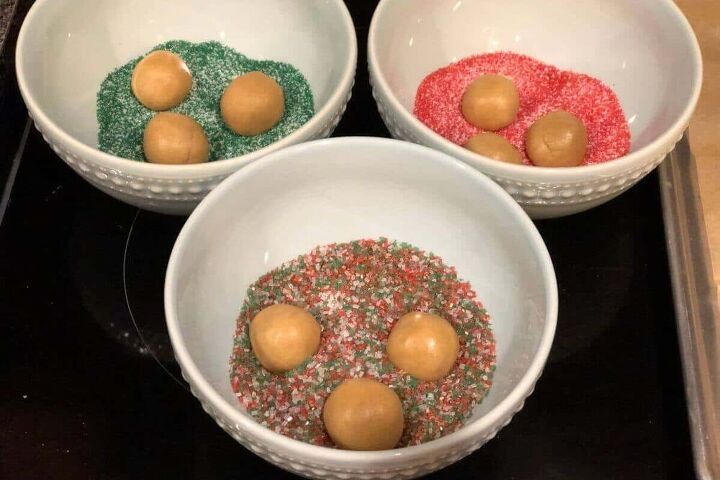
Step 9:
Now it’s time to roll the dough balls in the sugar. And it’s here that you get your chance to be creative. You can just roll the dough balls into the remaining 1/2 cup of white sugar. Or you can add colored sugar to the sugar mixture and have some colorful holiday cookies. I do a 1:1 ratio of white sugar to decorating colored sugar. But really, sugar is sugar! Make it as slight or as dark as you’d like! They turn out super pretty when you add the colored sugar to the mix.
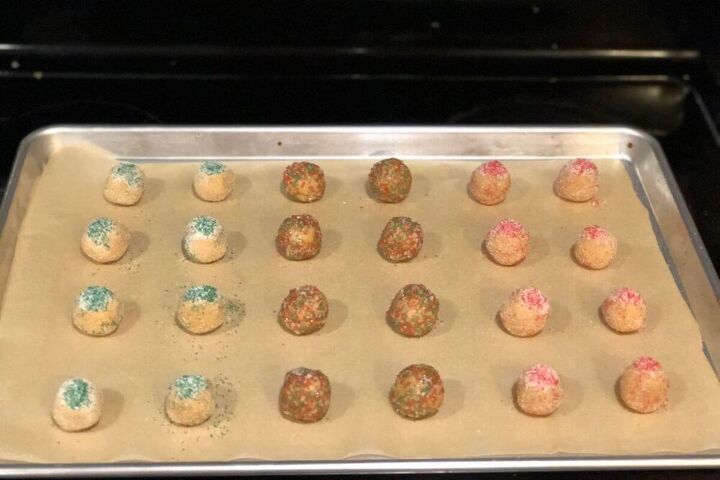
Step 10:
Once you roll the dough balls in the sugar and they are coated nicely, place them on a cookie sheet lined with parchment paper, about 2 inches apart.
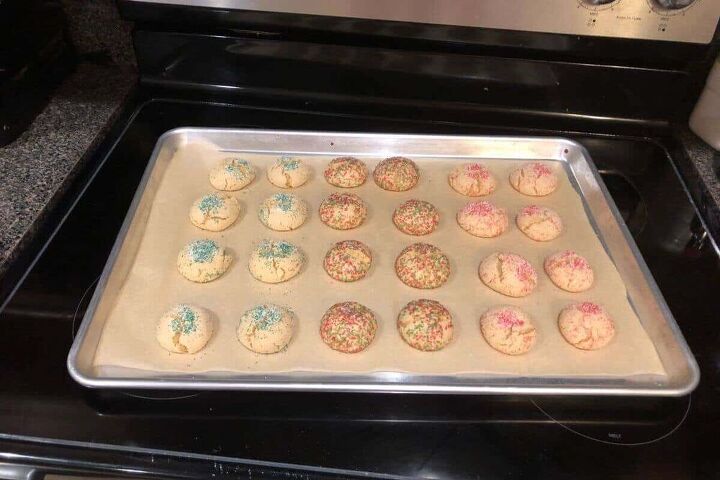
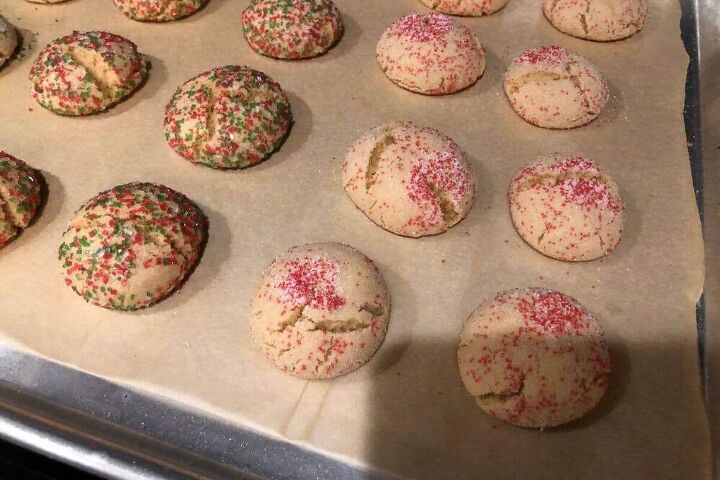
Step 11:
Let the cookies bake for 8 minutes in the oven, until they start to show little cracks on the top of the cookies.
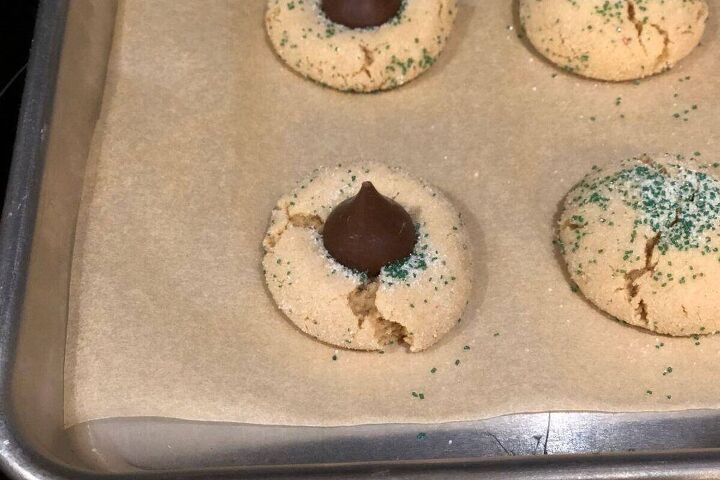
Step 12:
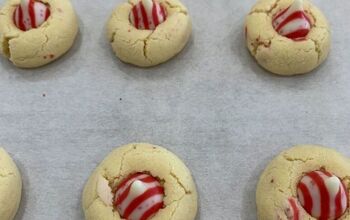
When they show small cracks, pull the sheet out of the oven, quickly press an unwrapped chocolate kiss into each cookie and press down slightly into the cookie.
Step 13:
Once the kisses are on the cookies, place the cookies back in the oven for one minute.
Step 14:
Pull the cookies out of the oven, let them rest for 2-5 minutes (they will be really delicate when they first come out of the oven. They firm up as they stand for a minute or two on the sheet) and then put them on a cooling rack to let them cool off. These cookies will need to stand at room temperature for an hour or two to let the chocolate kisses firm back up so that you can store them without squishing the kisses.
Storage
These cookies store well in an airtight container at room temperature for at least a week. Though we never have them that long!
Wrap Up – Christmas Hershey’s Kiss Cookies
These cookies are my absolute favorite. They always have been. The Christmas Hershey’s Kiss Cookies do take a little bit of work, but they are totally worth it. With the colorful sugar, they are so festive and pretty to display for any gatherings you might have during the season. I hope this might be the new cookie recipe you try this year!
Recommended Equipment Links:
- KitchenAid Stand Mixer (I have an Artisan and love it!)
- Nordic Ware Baking Sheets (my ABSOLUTE fave — I like the half sheet size!)
- Parchment Paper Sheets – Precut
- Christmas colored sugar crystals – I Love how these made the cookies look!
- Wilton Holiday Sprinkles 4-Pack
- Cookie Spatula – Wilton’s “The Really Big Spatula” is amazing!
- Collapsable Cookie Cooling Rack – these cookies have to cool for a good while. This frees up your counterspace!
- Large Cookie Storage Container
- Hershey Kisses – Milk Chocolate
Printable Recipe:
Related Posts:
- Cinnamon Sugar Sprinkle Cookies
- Easy Tips for Creating the Perfect Pantry
- Lemon Pound Cake
Want to remember this? Save this recipe for “Christmas Hershey’s Kiss Cookies” to your favorite Pinterest board!

Christmas Hershey’s Kiss Cookies
Recipe details
- 36 cookies
- Prep time: 25 Minutes Cook time: 10 Minutes Total time: 35 min


Comments
Share your thoughts, or ask a question!