


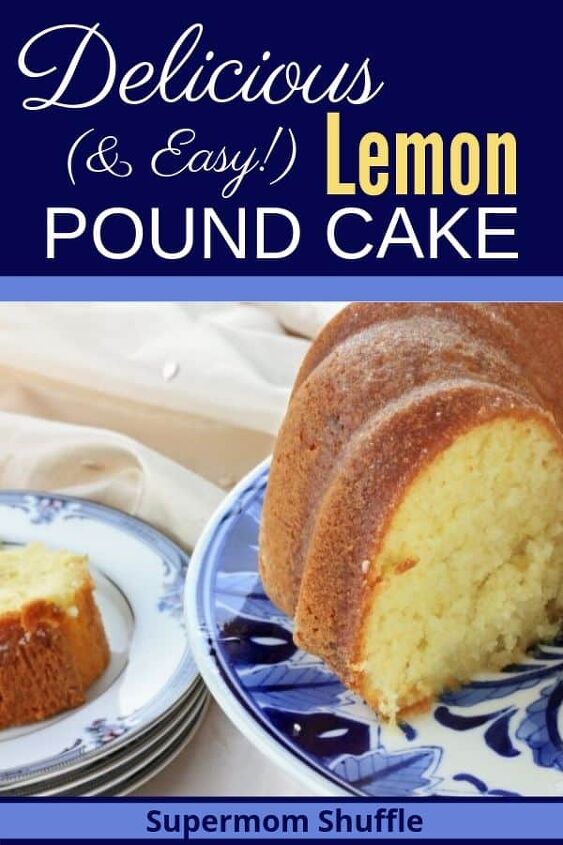
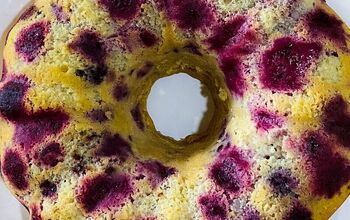
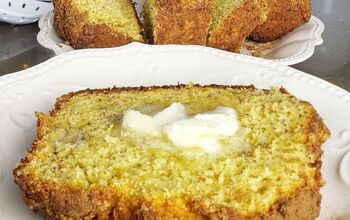
Lemon Pound Cake

This post contains affiliate links. If you purchase something from those links, I may make a small commission. See our full Disclosure and Disclaimer Policy here.
I love a delicious pound cake. And I love lemons. Put those two ingredients together and I’m in HEAVEN! Lemon Pound Cake never disappoints a crowd, is super easy and comes out perfect every time.
This is my grandmother’s recipe handed down to my mom, who is famous for this cake in our little world. Now, I come from a long line of Betty Crocker chef- like bakers, but it’s important to note, I’m really not one of them. Baking isn’t my strong suit nor is it my superpower. HOWEVER, this cake is so, so, SO easy, even I can do it. Which means ANYONE can!
- 2 sticks margarine or butter (softened to room temperature)
- 1/2 cup vegetable shortening (Crisco)
- 3 cups granulated sugar
- 5 eggs
- 3 cups all-purpose flour
- 1 cup milk (2%)
- 1/2 teaspoon baking powder
- 2 1/2 teaspoons lemon extract (McCormick Brand)
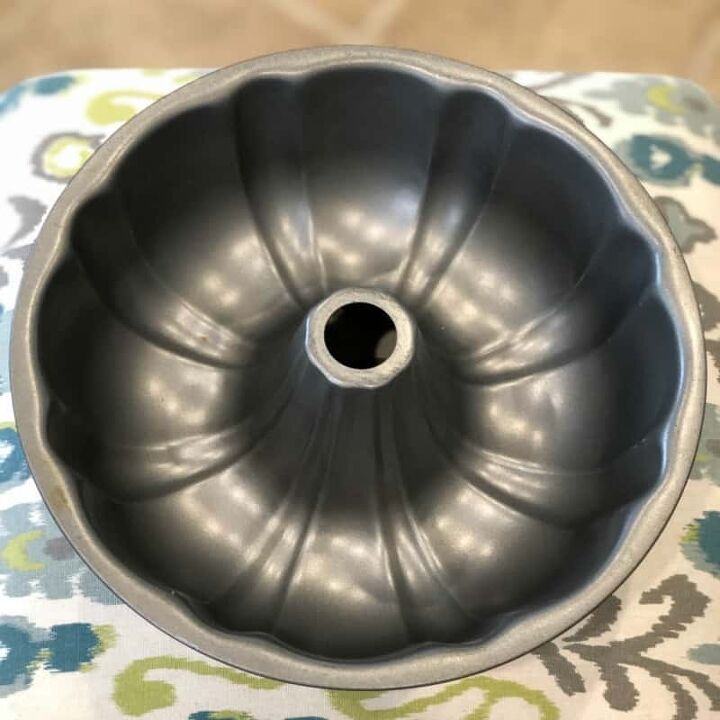
You can use a regular loaf pan, like this one, for your cake if you want. But I like to use a bundt cake pan like this one. It makes it a really pretty cake and it’s just a little more fun! I’m all for adding in a little more fun. You can even get super fancy and get a bundt cake pan like this one for an even more beautiful cake.
We’ve got our pan, now we are off to the races!
Preheat oven to 325°.
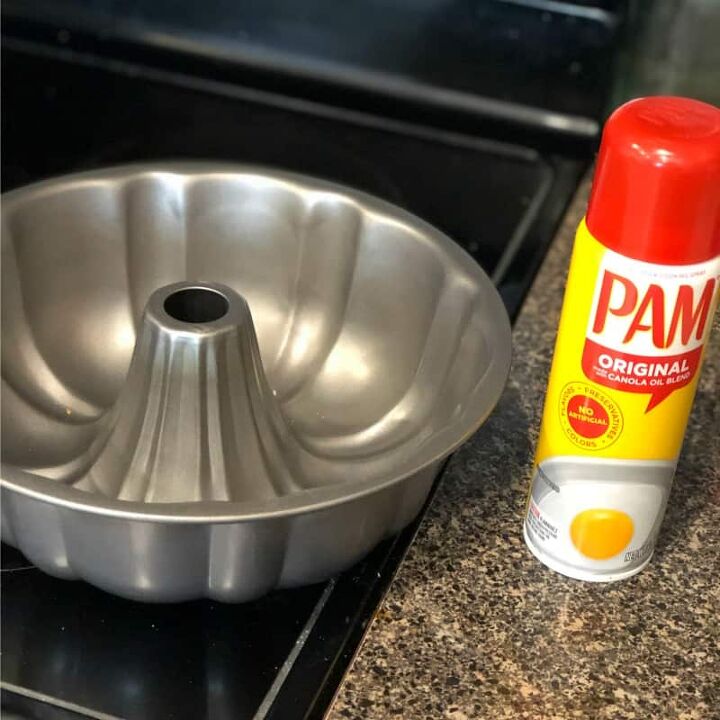
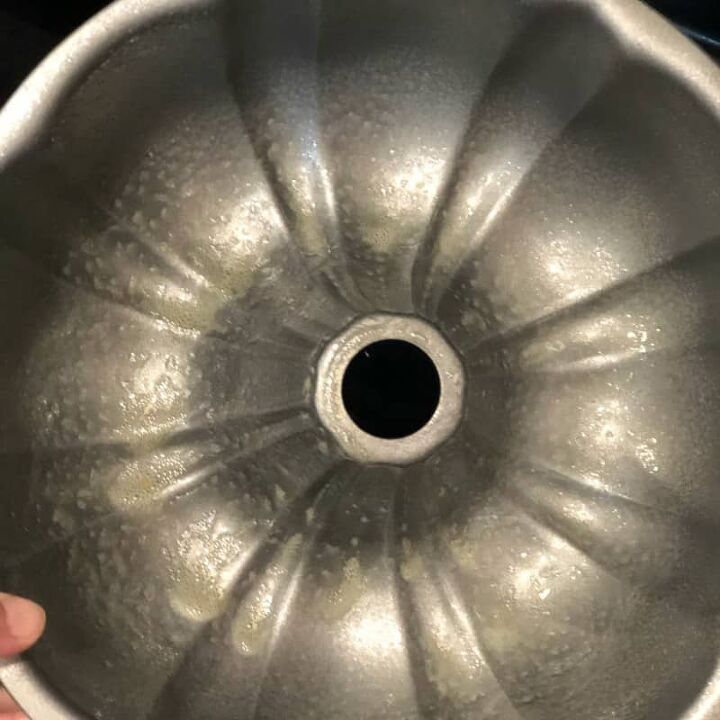
Now, prepare your pan. Spray your pan WELL with non-stick cooking spray, like Pam or Baker’s Joy. (I like the Baker’s Joy because it already has some flour in it to further help the cake not stick in the pan! I’ll take all the help I can get!). You could also butter your pan and dust it with flour. On this particular day, I had Pam Cooking Spray easy at hand, so I went with it! If you want to use butter and dust with flour, this tutorial from Our Everyday Life is very helpful.
This cake really needs an electric mixer. I used my trusty Kitchenaid Stand mixer. My husband got it for me as a gift 10 years ago and these mixers really are worth all the hype, in my opinion. Plus, mine is red and just beautiful. Use whatever electric mixer you have available and the cake batter will mix beautifully.

Butter vs. Margarine. You can use either one. My mom swears by using the margarine in this cake, and I’m certain that’s what my grandmother used too. I’ve made it both ways, and I have to agree, it is a smidge tastier with the margarine. But it’s delicious with either ingredient!
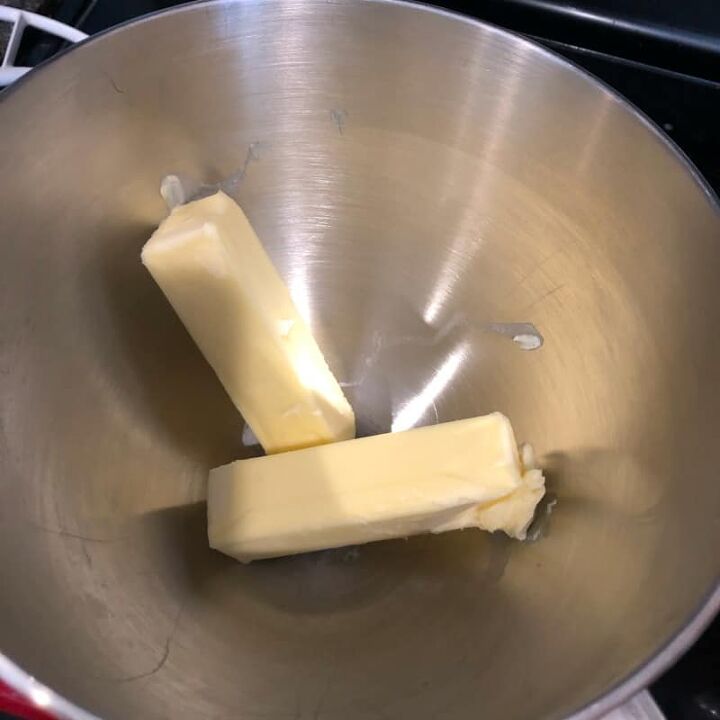
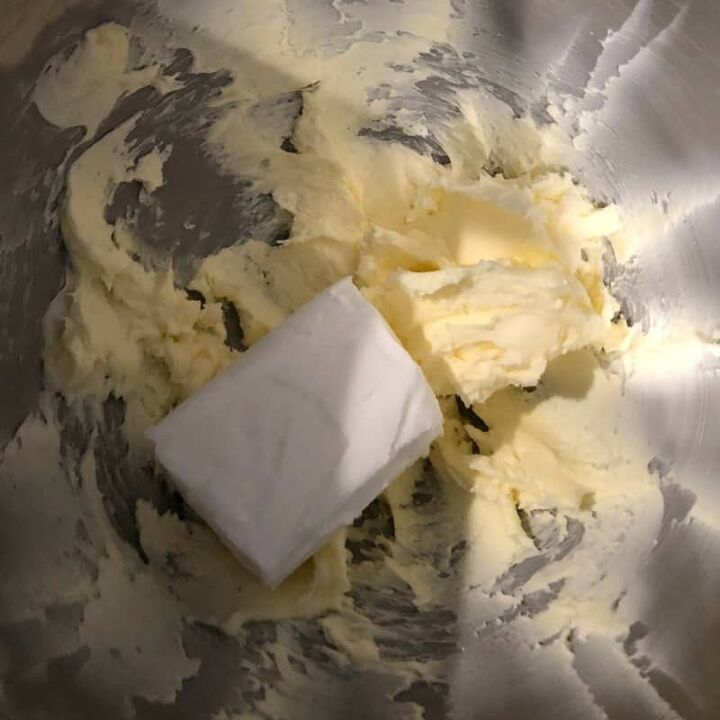
With your mixer, mix 2 sticks of room temperature butter until it’s nicely mixed together. Usually, I don’t have the foresight to put the butter out to come to room temperature, so, I simply soften it a smidge in the microwave. I’m sure the pastry chefs of the world would cringe at that… but let’s face it, they aren’t coming to my blog for answers to their baking questions either! Hahahahahahaha!
After the butter is blended together nicely, add 1/2 cup of vegetable shortening and mix together until the butter and shortening are nicely combined like in the picture above with the beater.
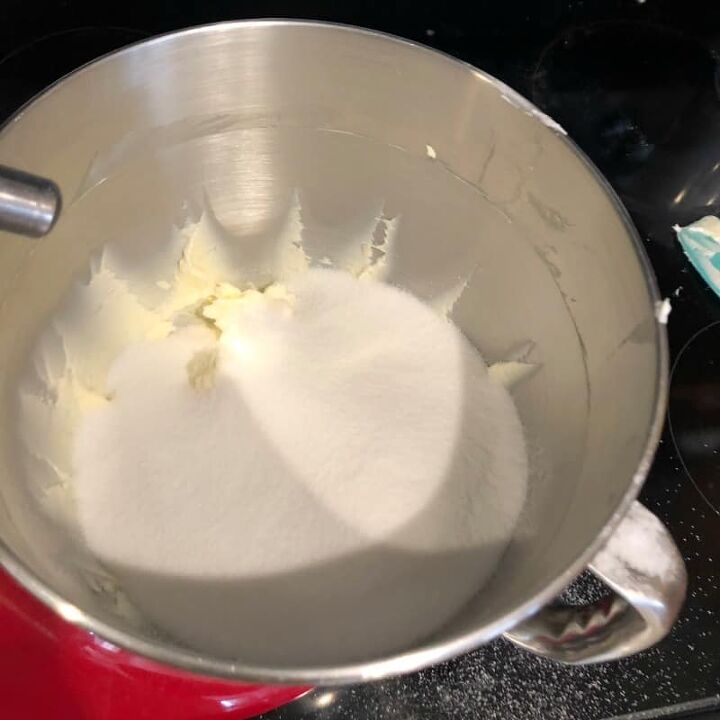

On low speed on your mixer, add in all 3 cups of granulated sugar. Then immediately begin dropping the eggs in one at a time until you have added 5 eggs. Wait until each egg has been fully absorbed into the batter before adding the next egg. I like to crack all of my eggs into a measuring cup with a spout, and then I can just pour them, shell-free, one at a time into the mixer.
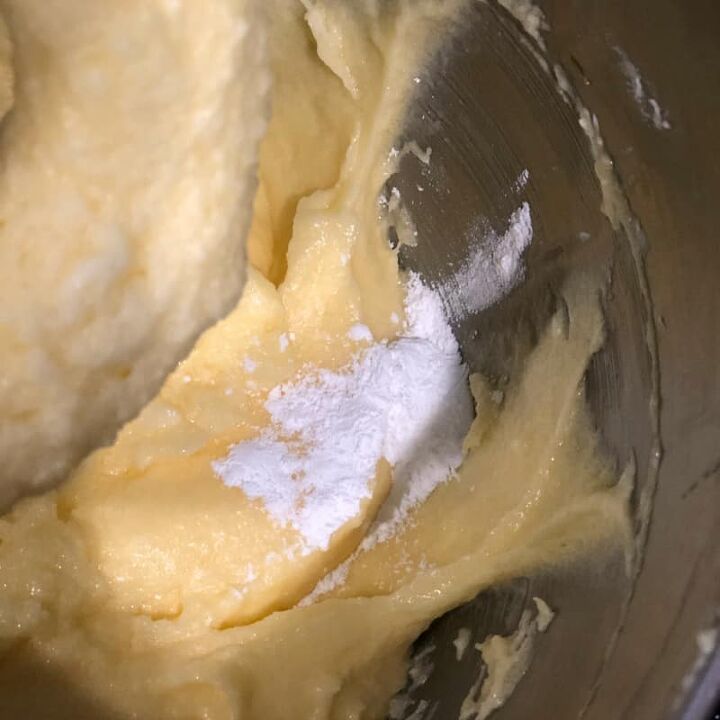
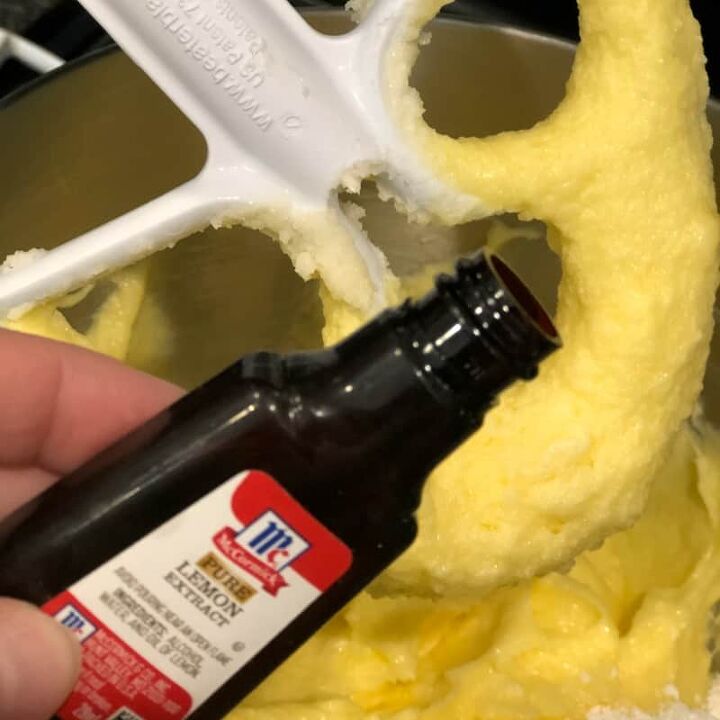
Next up, while the mixer is running, add in 1/2 teaspoon of baking POWDER. And 2 1/2 teaspoons lemon extract. I love how wonderful the lemon extract smells. You can order it online here or now most grocery stores have it in the baking aisle, near where you would find the vanilla extract. I’ve always used the McCormick brand. There are lots of other brands that I’m sure are probably just as good, but I just go with what I know works beautifully. Let those two ingredients mix in all the way.
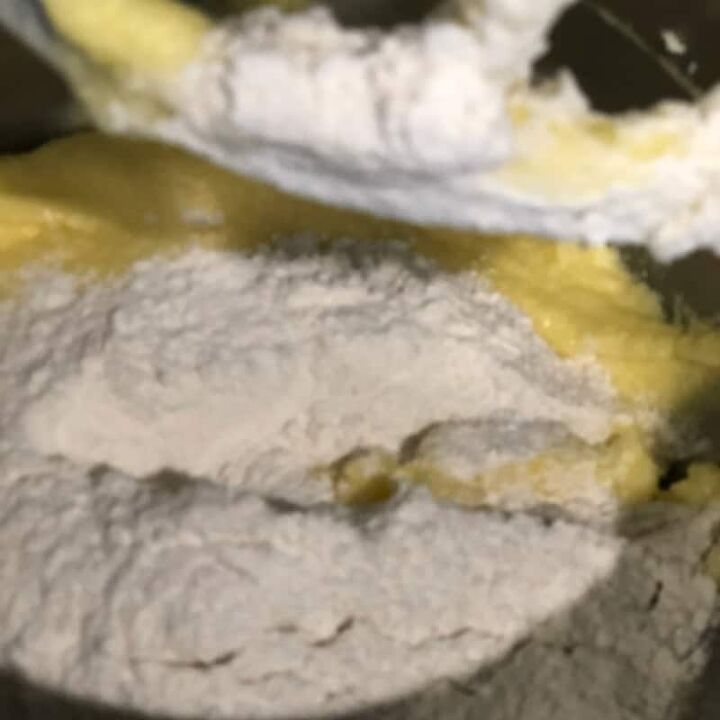
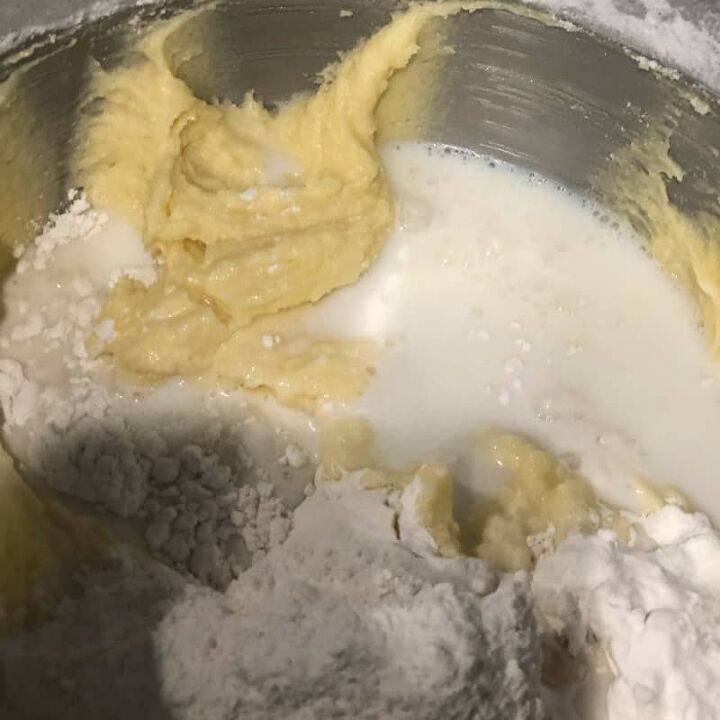
Now it’s time for the flour and milk. Hang with me on these directions because it will save you a big mess AND make the cake delicious too. You are adding 3 cups of flour total and 1 cup of milk total.
Turn off the mixer, add in 1/3 of the flour and 1/3 of the milk. Turn on mixer and mix together until incorporated. Once fully incorporated, repeat this process 2 more times until you are out of flour and milk. Doing the additions this way stops the flour from going everywhere and the milk helps the flour absorb into the batter more easily. Plus, that’s how my mom does it, so that’s what I do too!
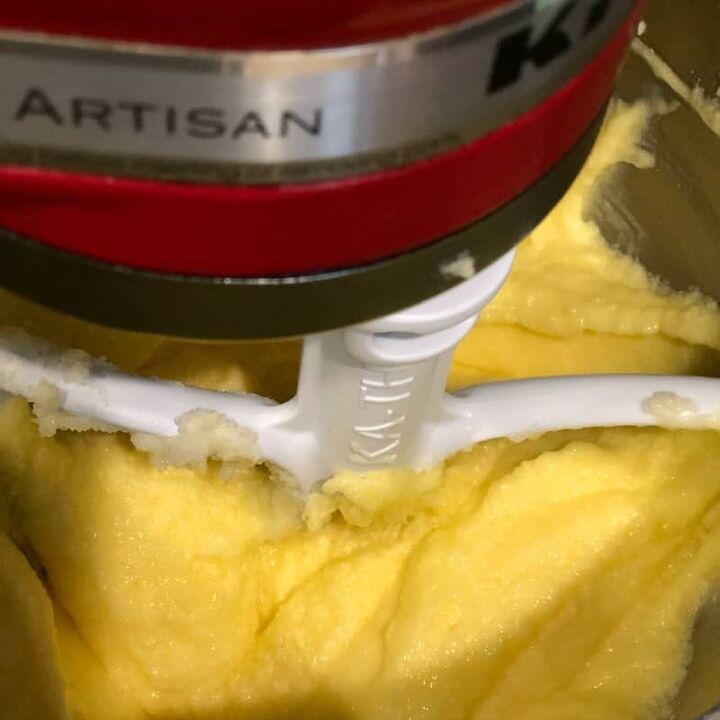
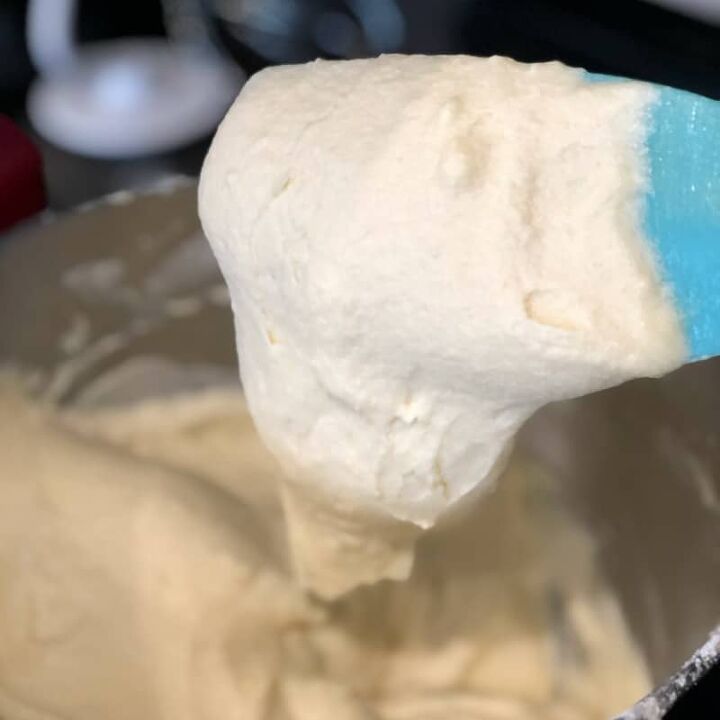
Now that the milk and flour are all mixed in, the cake is almost ready. Stop the mixer, scrape down the sides of the bowl and the beater with a spatula to make sure all the ingredients are getting incorporated and then turn the mixer on high for about 10-15 seconds to make sure everything is mixed well. But don’t do this long, you don’t want to overmix either. (I know – it’s a delicate balance!)
In the end, you’ll have a really thick, beautiful pale yellow batter that smells like lemons! It also tastes DELICIOUS but I’m probably not supposed to encourage raw batter eating.
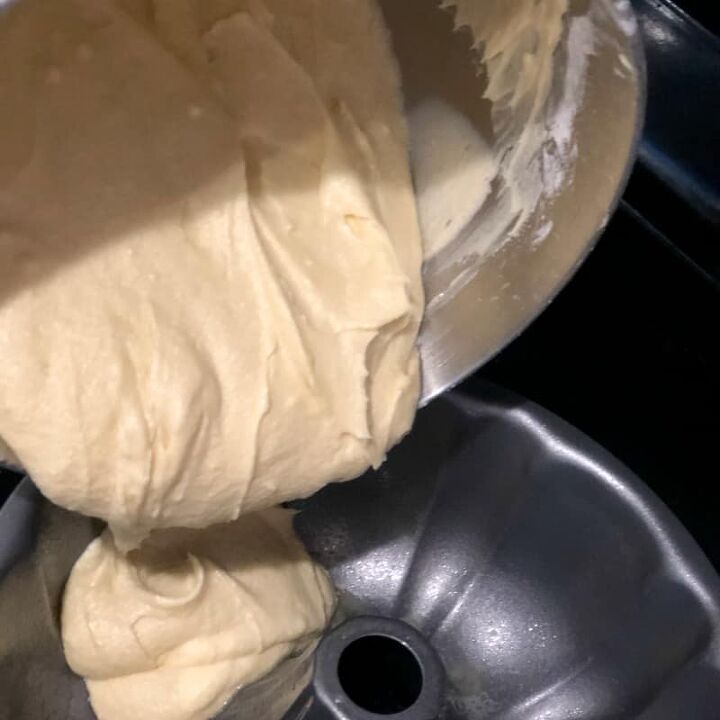
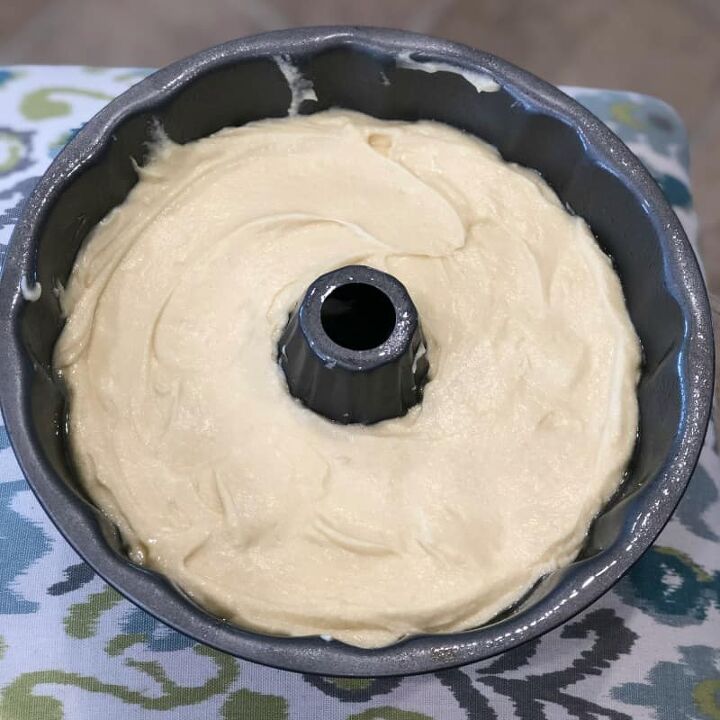
Pour batter into your prepared pan, filling no more than 2/3 of the pan. Smooth out the top of the batter with a spatula to make it smooth and even in your pan.
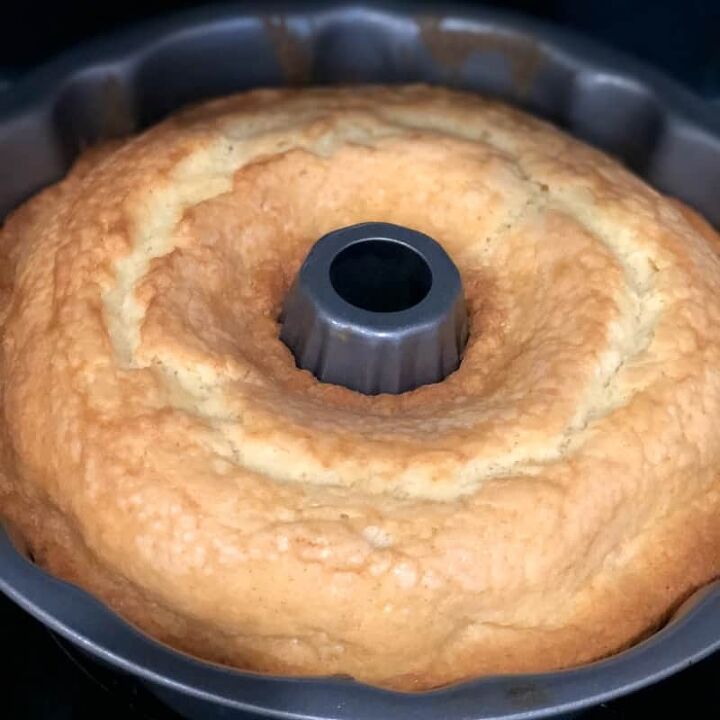
Bake your cake at 325° for 60 minutes. Check the cake for doneness by inserting a toothpick into the middle of the cake. If the toothpick comes out clean, the cake is done. If it has batter on it, continue to bake the cake and check it in 5 minute increments.
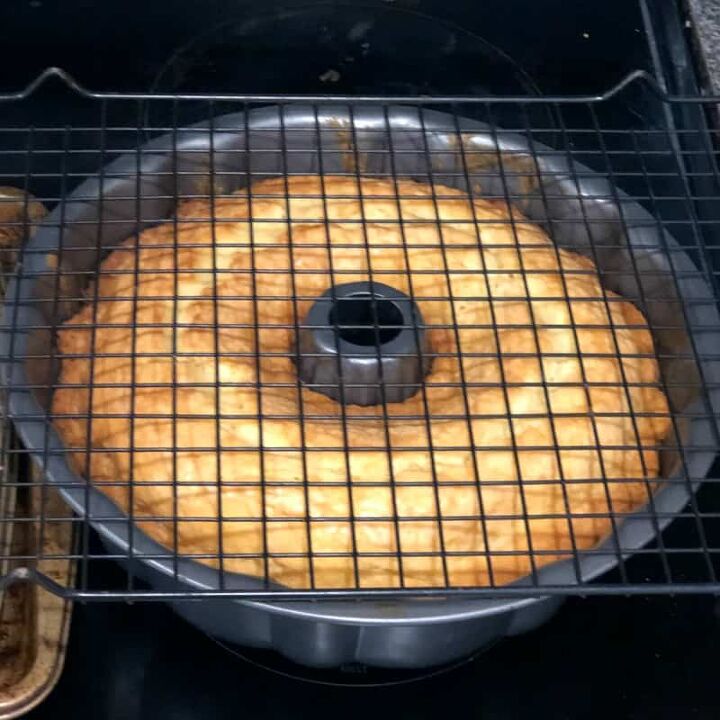
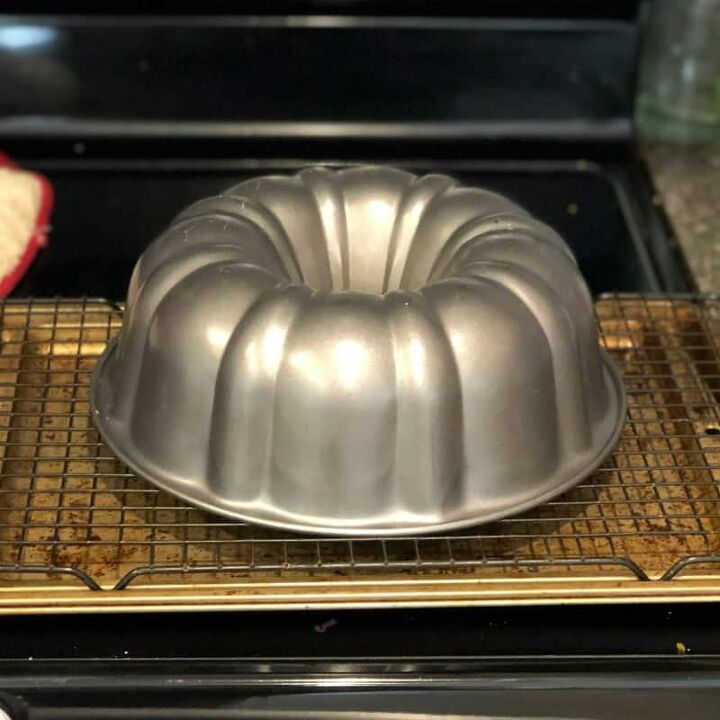
When the cake comes out of the oven, sit it upright on a baking rack for 15 minutes and allow it to begin to cool down. After about 15 minutes, turn the cake over onto whatever platter or plate you want the cake to be served on. The cake pan should slide right off. If not, give it a little more time and gently tap on the cake pan until you hear the cake release.
This cake is delicious at any time, but it’s hard to beat it when it’s warm and out of the oven. That’s my favorite time to eat it for sure! It’s wonderful for breakfast with some coffee too.


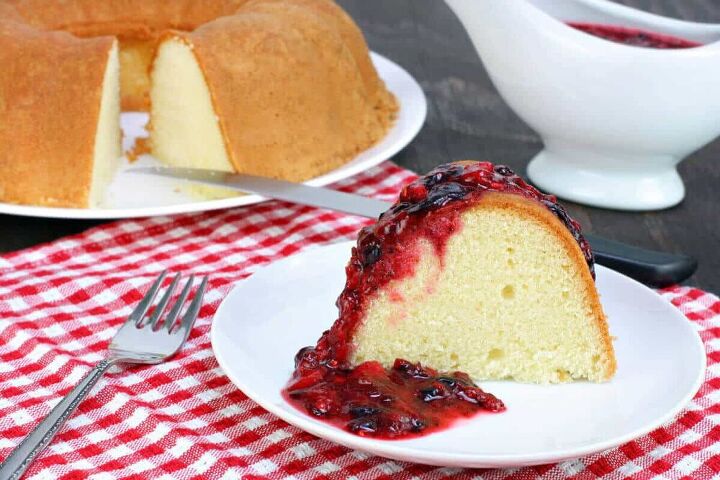
One of my favorite things about this cake is that it doesn’t have icing. For some reason, to me, icing a cake, seems like a nearly herculean effort. It’s not, but to me it seems that way. So I’m all for a cake that needs no icing!
You could definitely make a lemon glaze if you wanted, like on The Kitchen Magpie. Or dust it with powdered sugar. Or even serve it with a jar of lemon curd. Try simply adding in some fresh berries and whipped cream for a delicious summer dessert. The possibilities are nearly endless.
This cake will last 3-4 days left out on the counter in a covered cake container. If you have any leftover, or don’t want to eat the entire cake, it freezes beautifully. To freeze, I go ahead and cut the cake into slices and then wrap each slice very well in plastic wrap. Then, I take the wrapped up pieces and put them inside a freezer safe gallon size bag. You can take a piece out and microwave it for instant warm cake dessert!
This Lemon Pound Cake truly is so easy to make and it’s such a crowd-pleaser! PLUS, it doesn’t need any icing! EXTRA bonus! It is simple and delicious. So, for me, easy, simple and delicious lemon pound cake is a winner. As a busy mom, I need a recipe in my arsenal that doesn’t require crazy ingredients, is easy, and comes out perfect every time. I love to take this cake to pot lucks, give it as a gift for a friend that needs a pick me up or just to have on our kitchen counter as a snack! Give it a try today. You won’t be sorry!
- Bundt Cake Pan
- KitchenAid Stand Mixer
- Cake Spatula
- Measuring Cups
- Cooling Rack
- Measuring Spoons
- Measuring Cup with Pour Spout
- Lemon Extract
- Cake Stand
- Cake Storage Container
Want a great meal to go with this dessert? Try my easy and scrumptious Blackberry Pork Tenderloin!

Want to remember this? Save this post about “Lemon Pound Cake” to your favorite Pinterest board!
Lemon Pound Cake
Recipe details
- 12 slices
- Prep time: 20 Minutes Cook time: 1 Hours Total time: 1 hr 20 min


Comments
Share your thoughts, or ask a question!
This looks so delicious!
Can you use fresh lemon juice and/or zest? I don't really like extracts.