


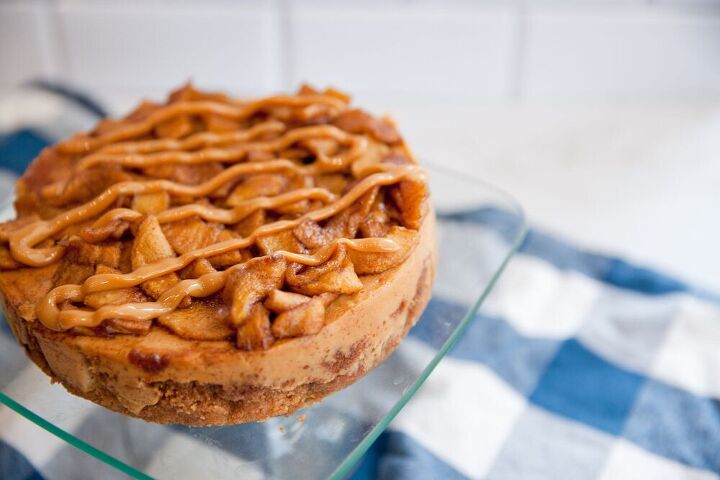
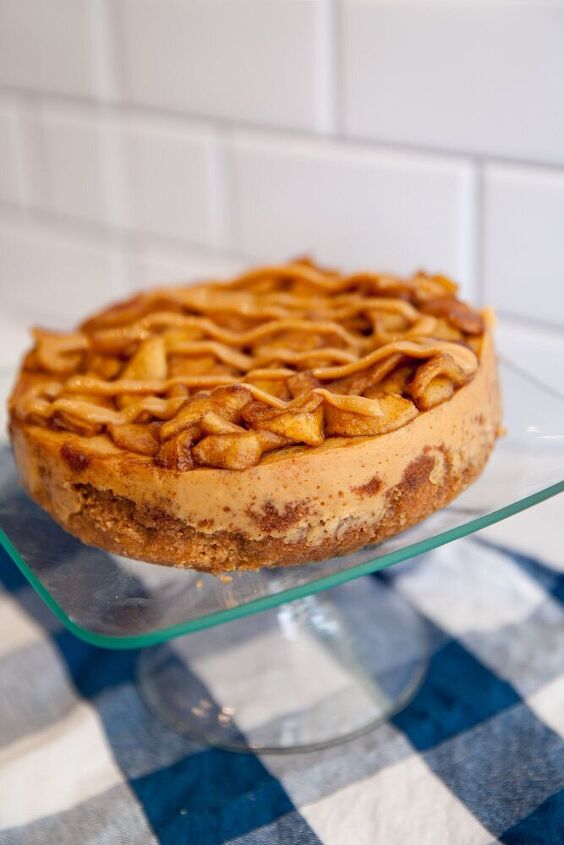
Instant Pot Caramel Apple Cheesecake
6 Servings
58 min
I have an addition for your dessert table this holiday season!
This Instant Pot Caramel Apple Cheesecake is divine and totally hits the spot! I know pies are usually the star at during the holidays, and while I love them, I feel like we should start a movement to get more cheesecakes into our bellies!
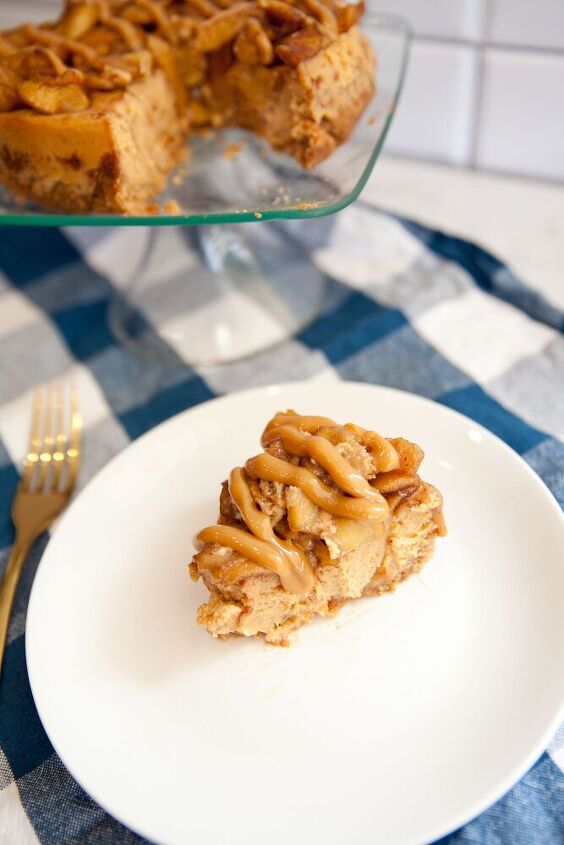
While this cheesecake is small, it packs a punch in flavor, texture, and richness, so a little slice will go a long way! You still get that familiar flavor of apple and cinnamon like an apple pie, but it’s paired with a creaminess that cannot be beat!
Plus, it’s the perfect dessert to make the evening before and let chill in the refrigerator all night.
Instant Pot Caramel Apple Cheesecake
Recipe details
- 6 Servings
- Prep time: 30 Minutes Cook time: 28 Minutes Total time: 58 min
Show Nutrition Info

Want more details about this and other recipes? Check out more here!


Comments
Share your thoughts, or ask a question!